
In order to install the new pole seats, it was necessary to dismantle quite a bit of the LTA. Both plates came off, and I’d been clever the way I installed the pole seats, so the middle plate came off with a couple of captured screws still intact, holding the UTA pole seats on (blind, of course)
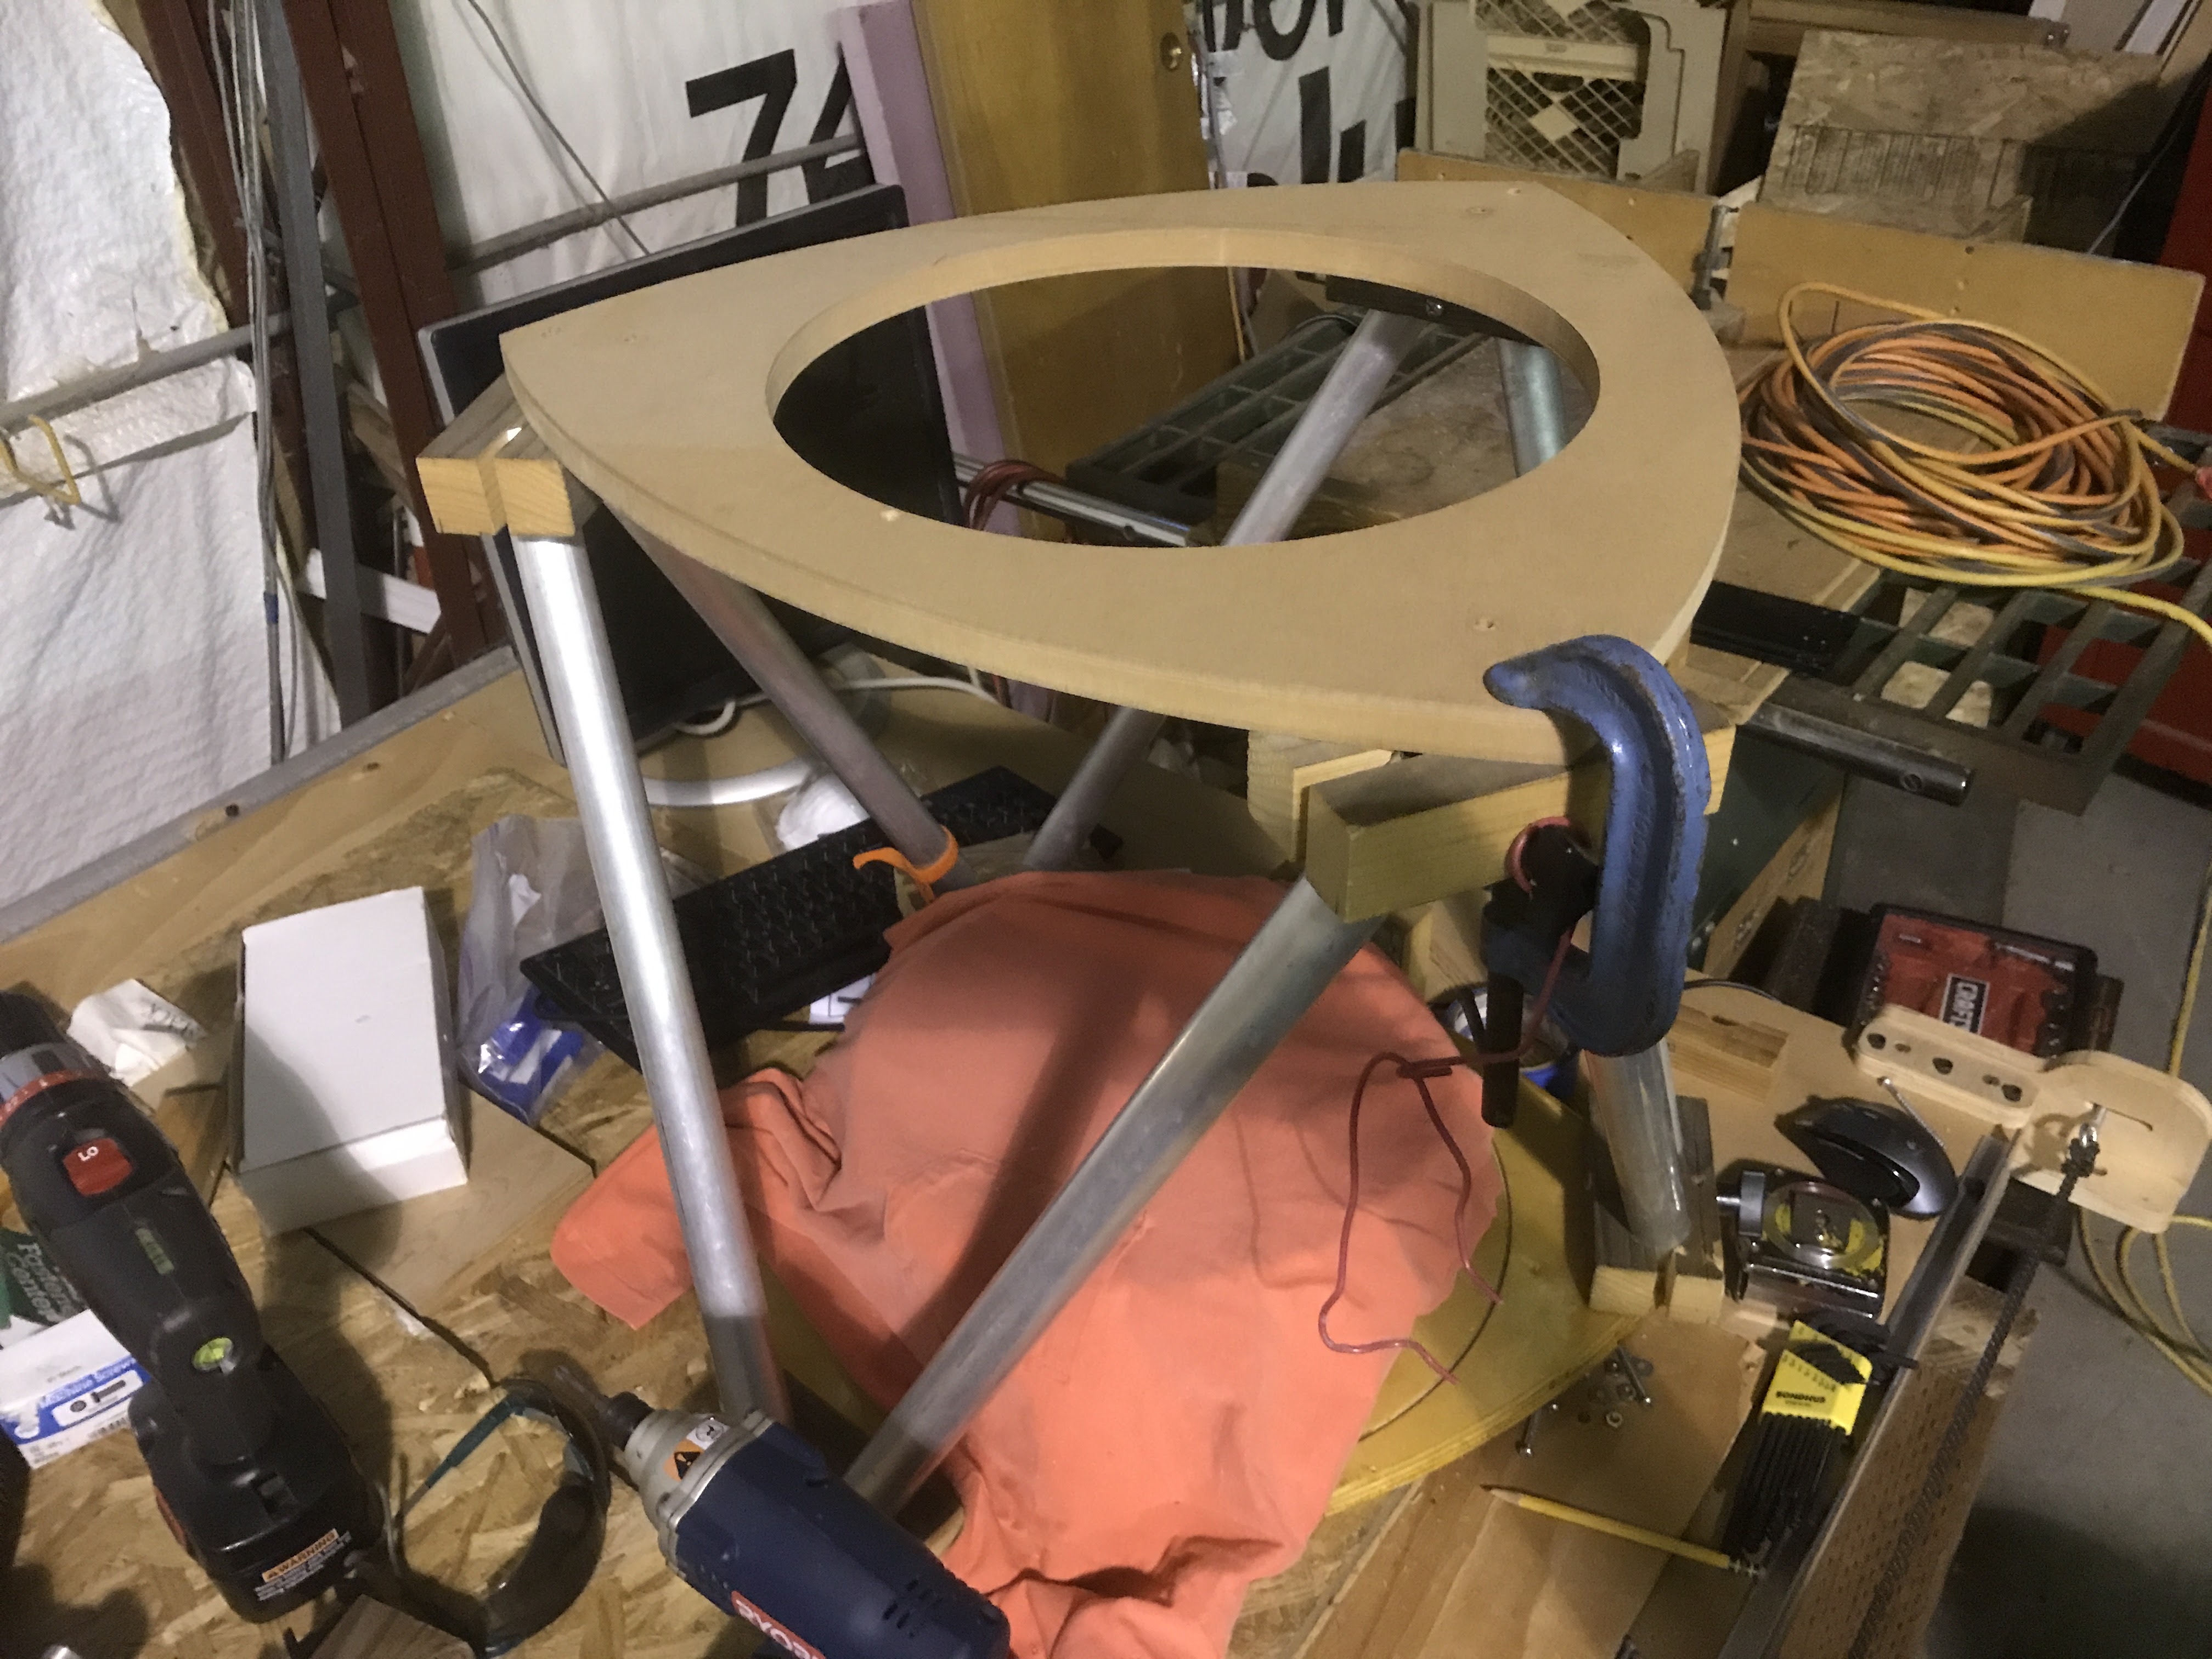
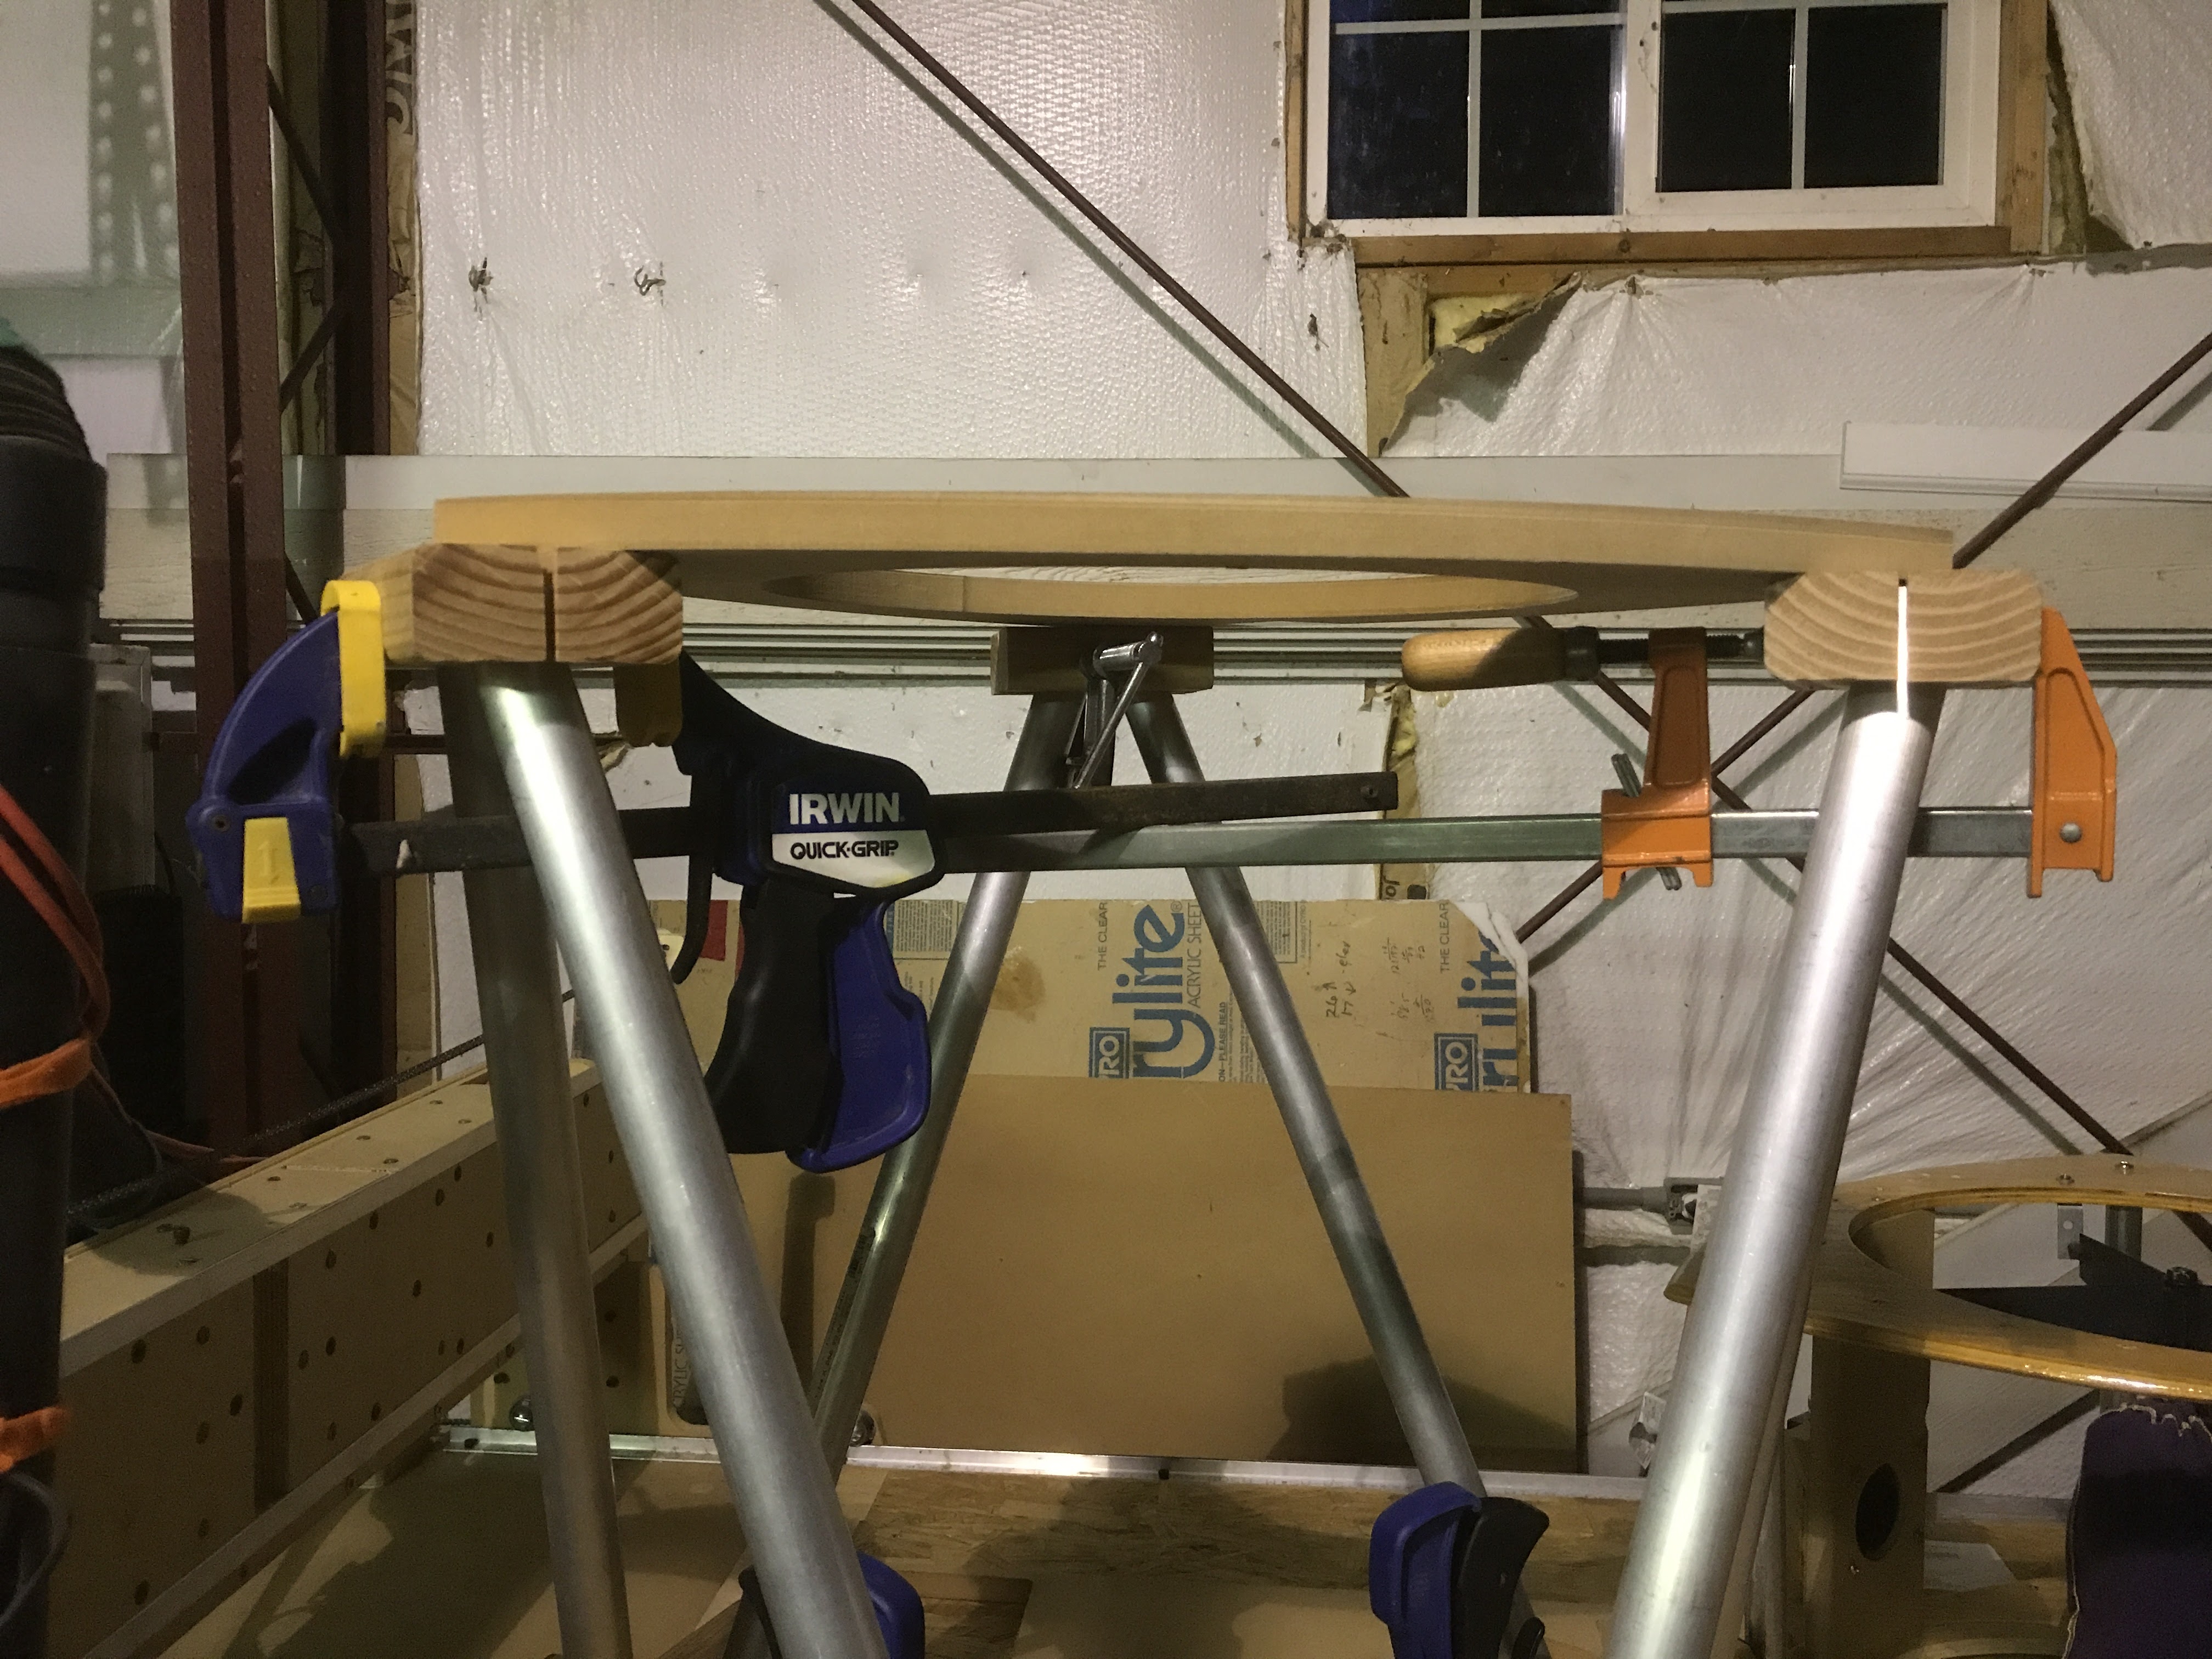
I test-fit the 3/4″ ring onto the LTA, of course it’ll bolt onto the pole seats perfectly.
I would need to re-cut the front mount plate bracket, which wasn’t so easy the first time, but still, not impossible.
I played around a little with the bracket, to think about whether I needed a whole new piece (I might) or can I work with what I’ve got?
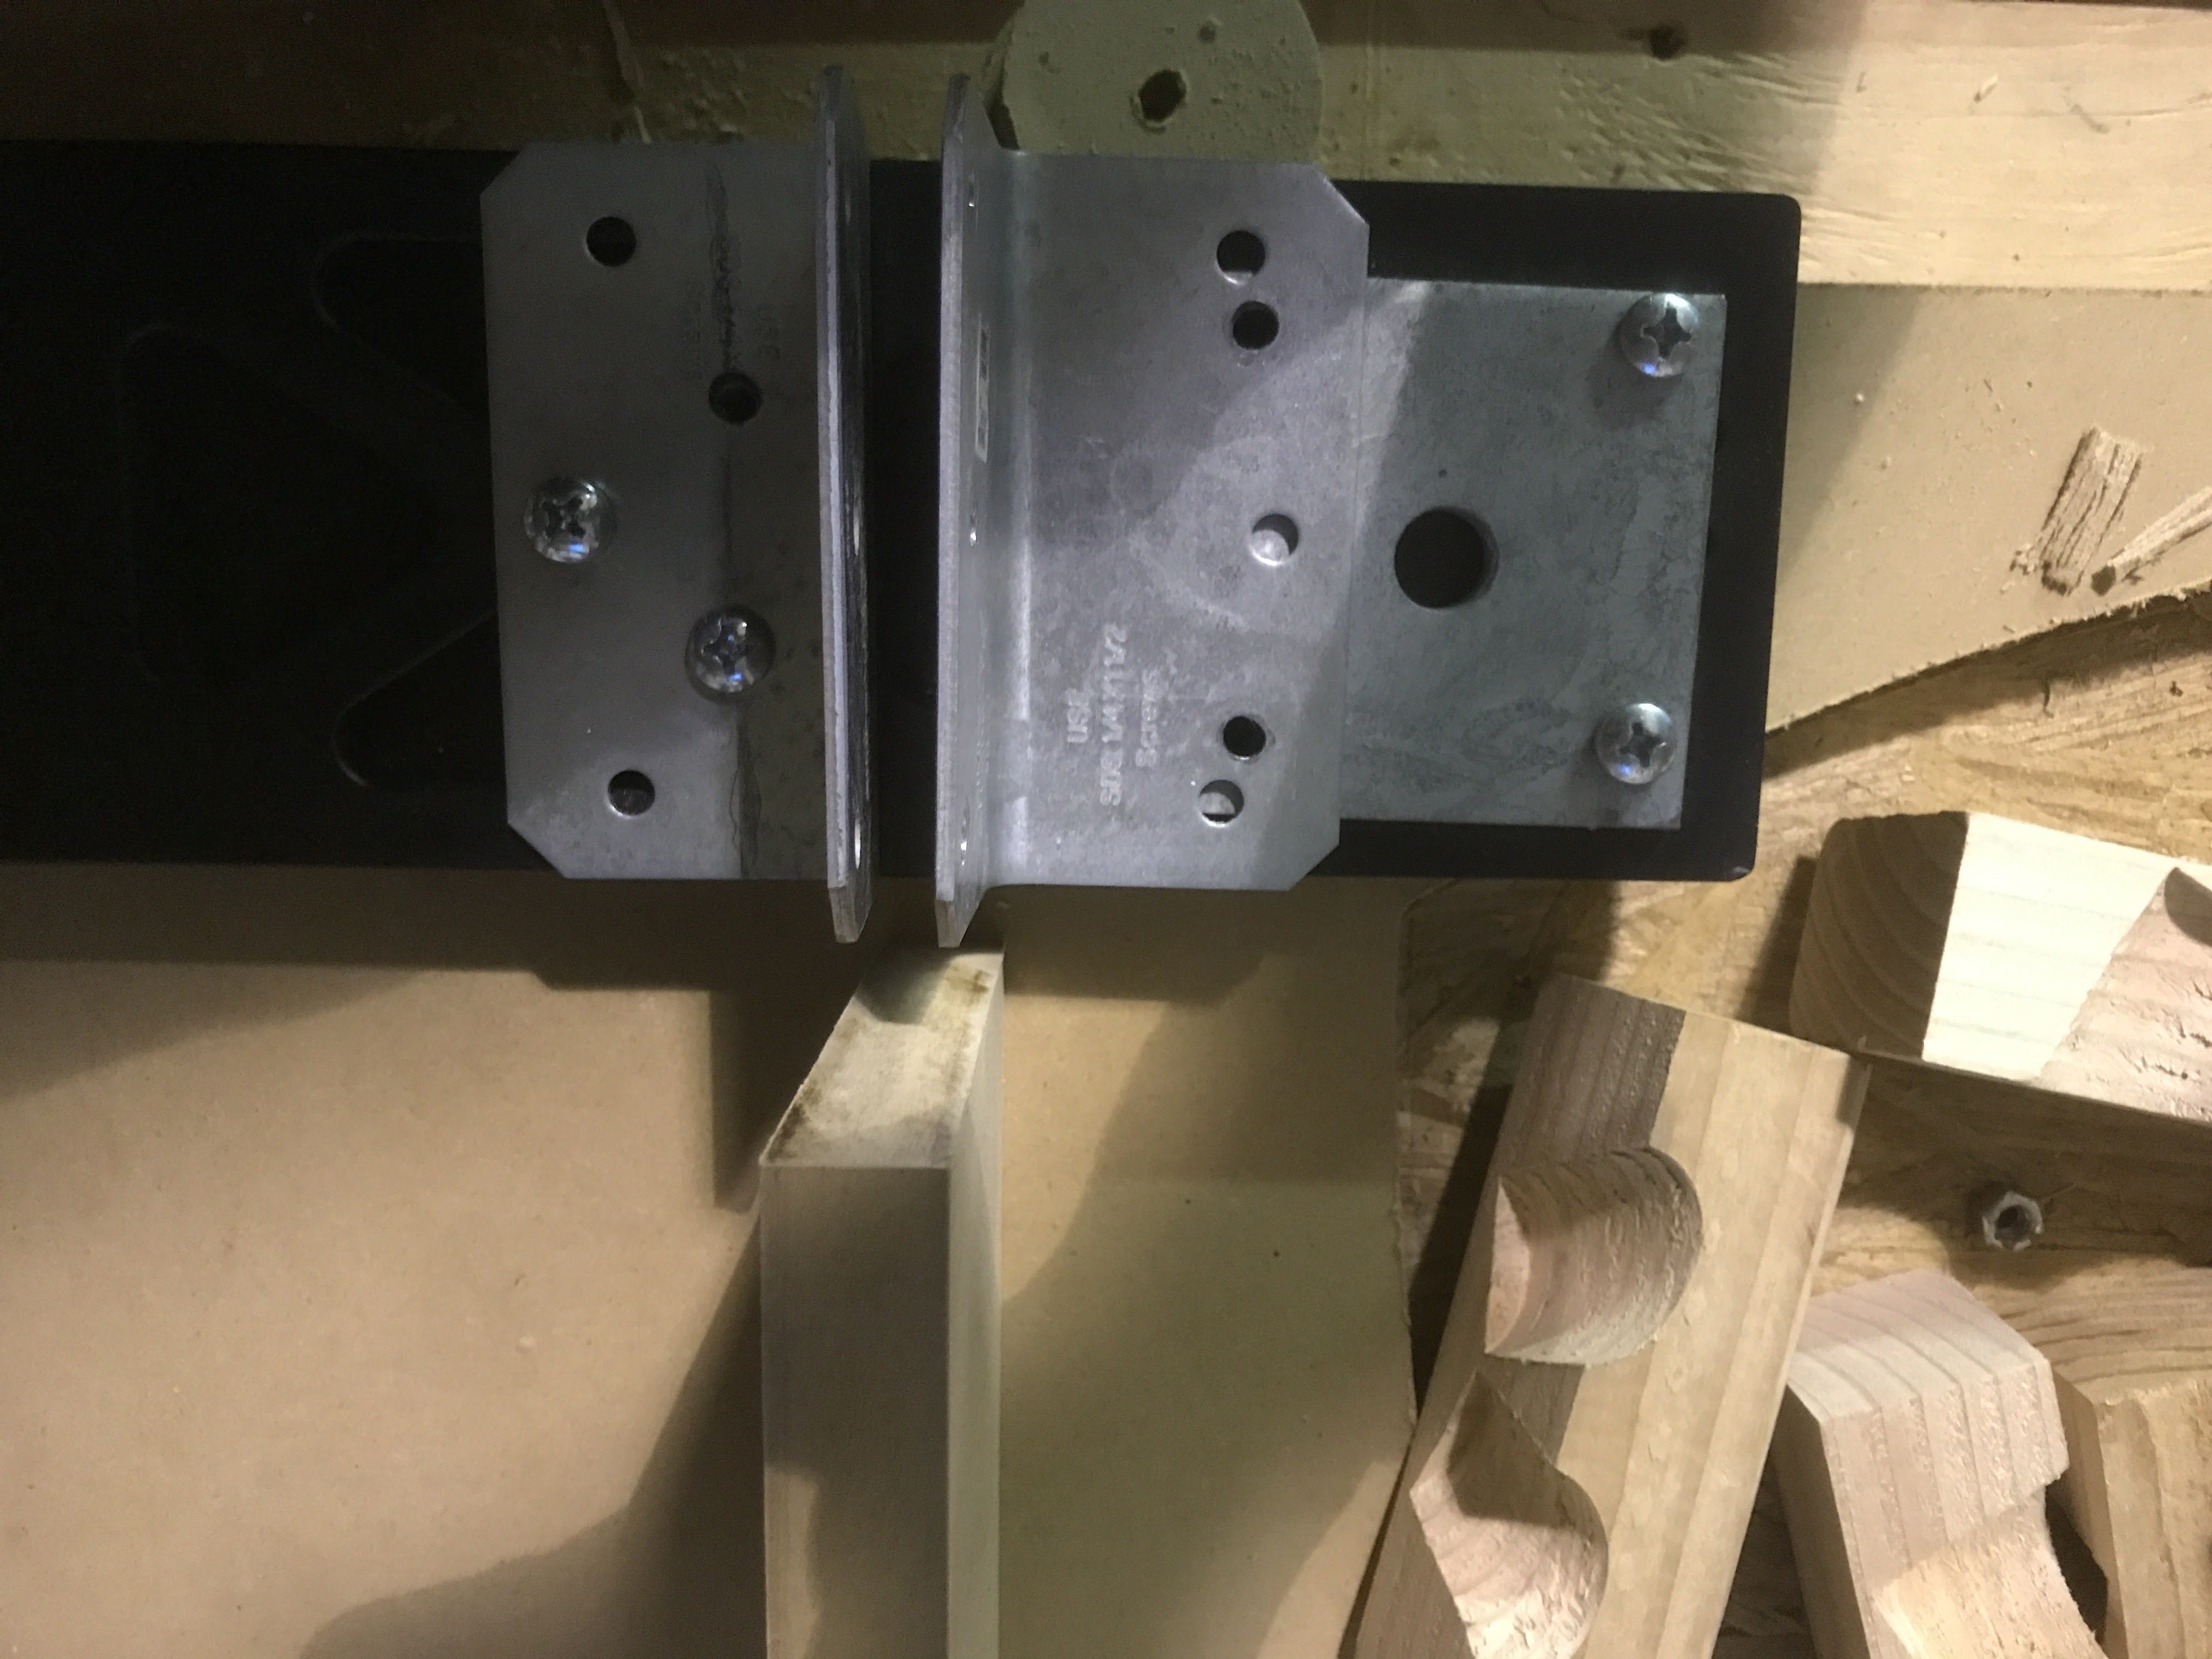
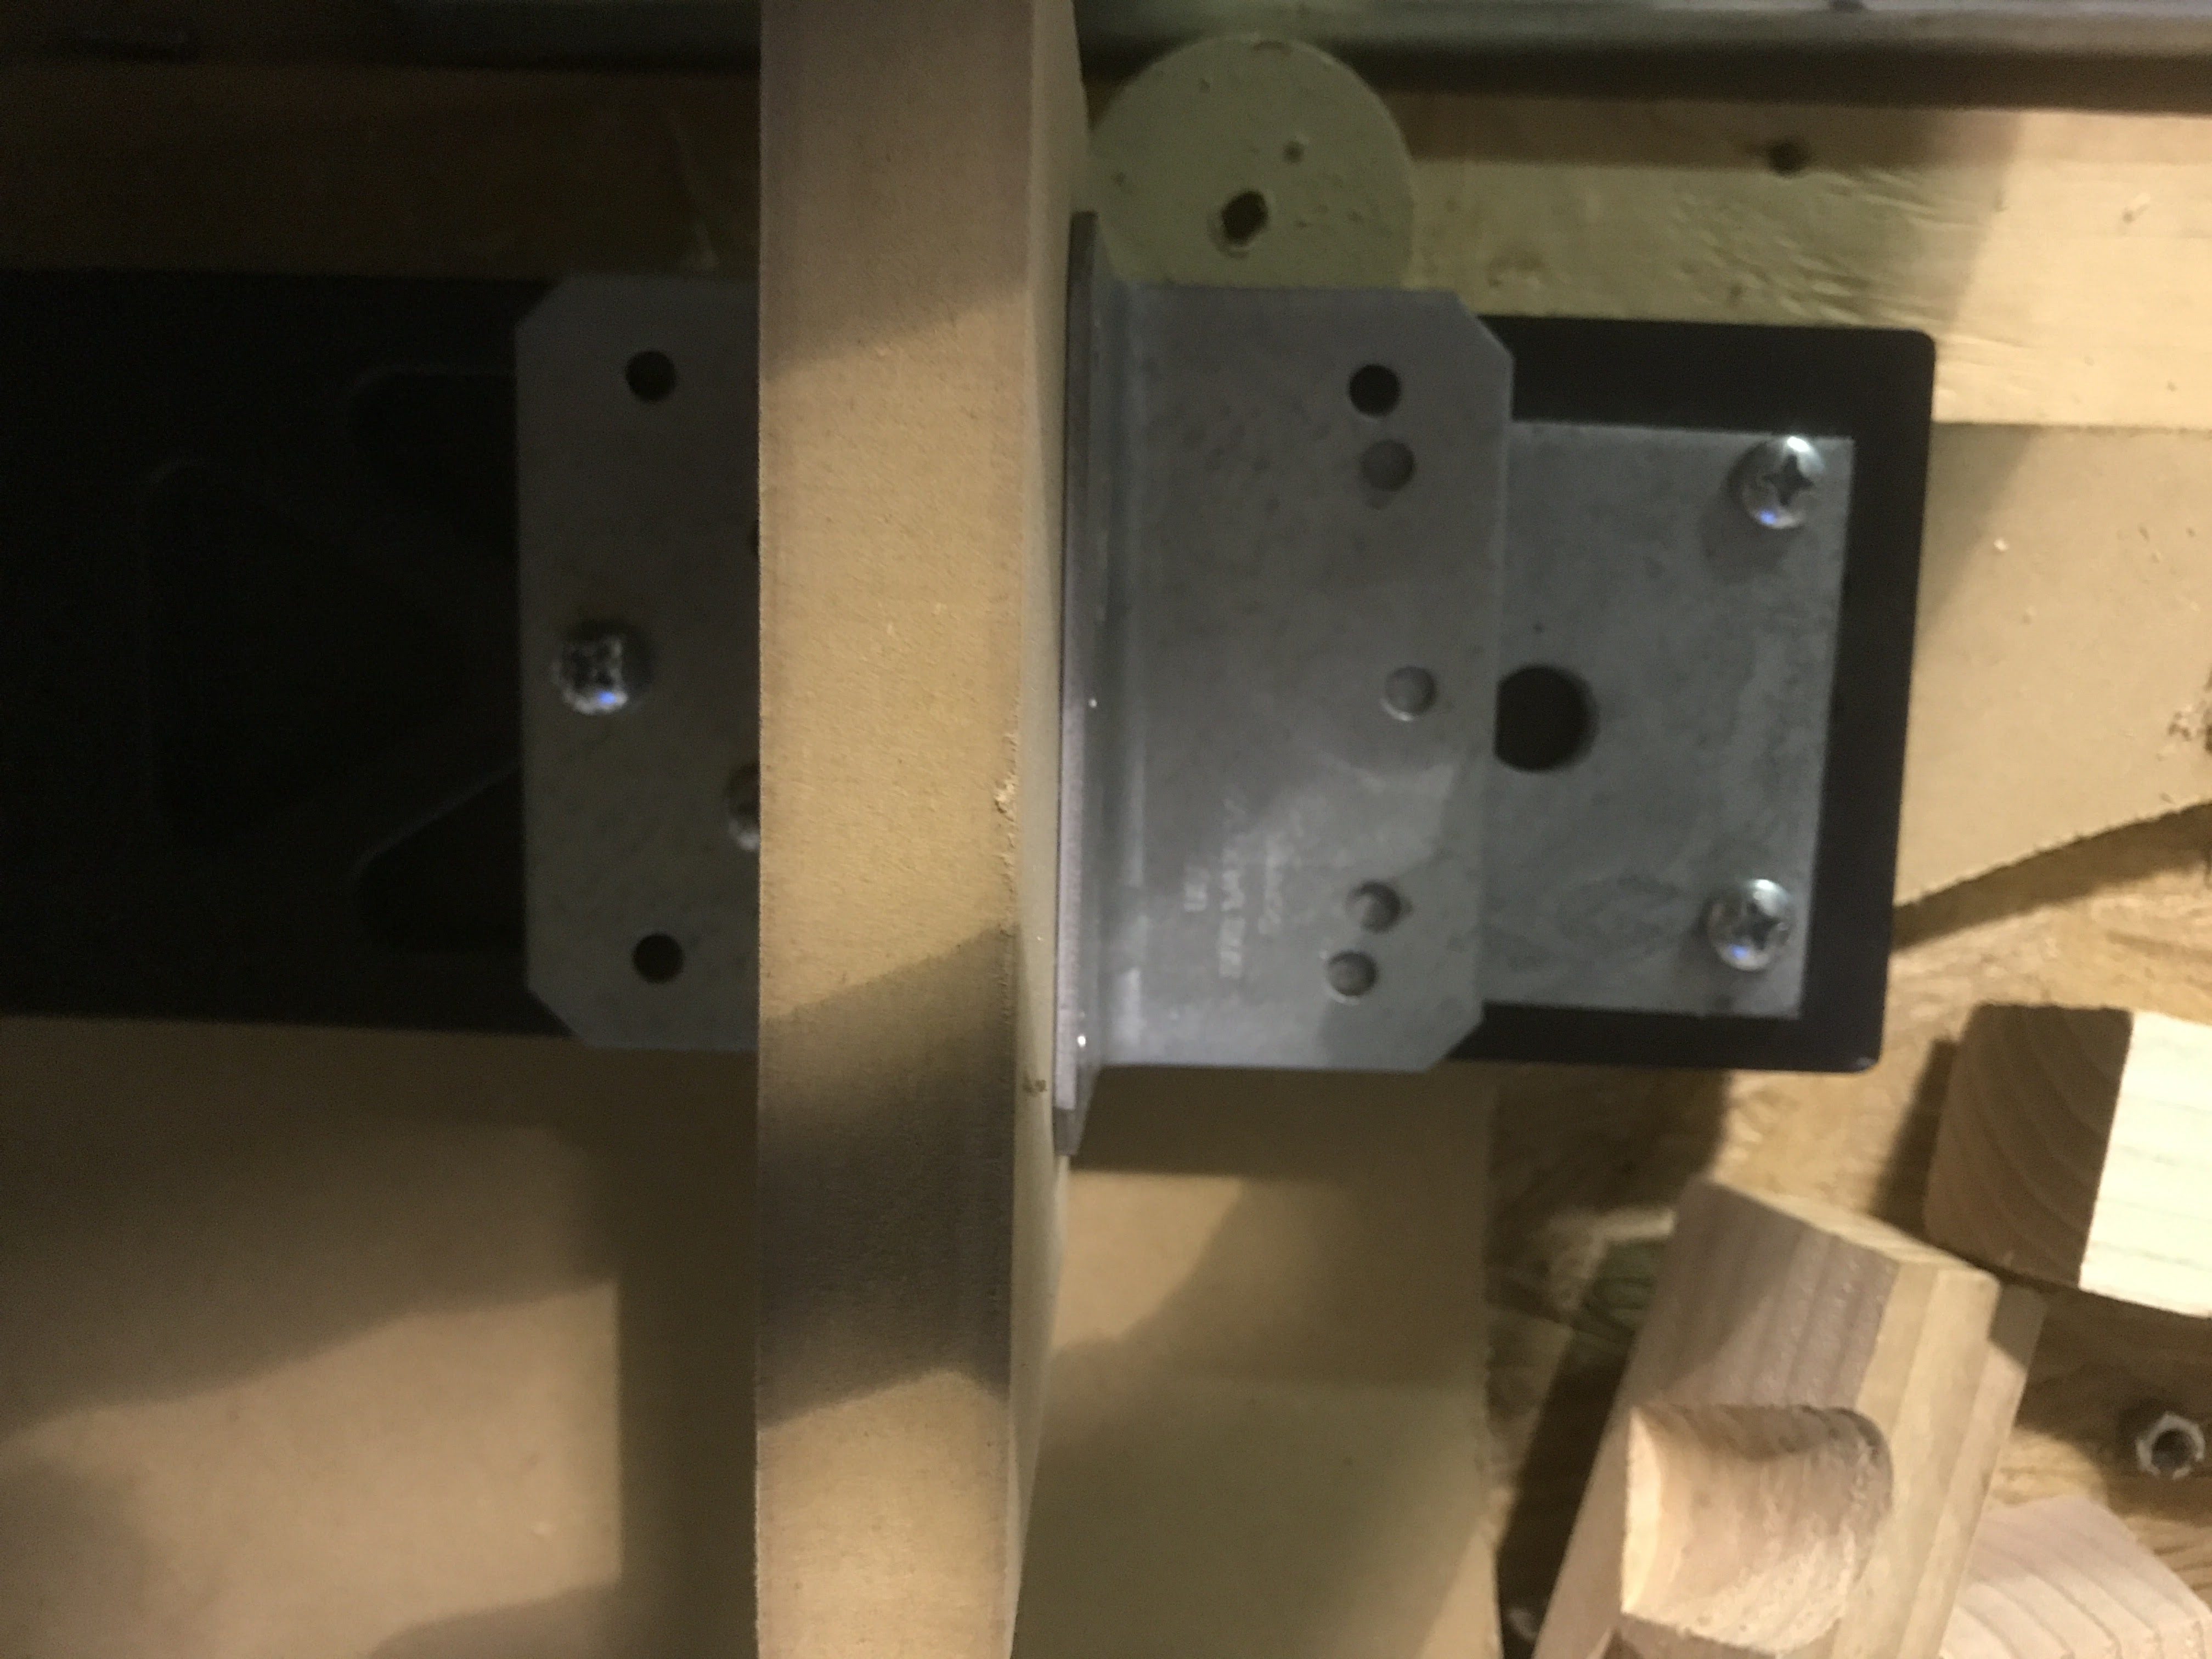
It’s not like the thing is swiss-cheesed, it’s just that I have to move the holes in the bracket, but going from 1/2″ ply to 3/4″ ply means I’m only moving them by 1/4″ (the back bracket doesn’t move), which is the same diameter as the screws. So it turns into a slot instead of a hole, and it’s a slot in the direction you’re worried about the thing slipping in, so it’s a consideration. First drill it, if you need a new bracket, you need a new bracket. Install ring onto truss first, then install the bracket, centered.
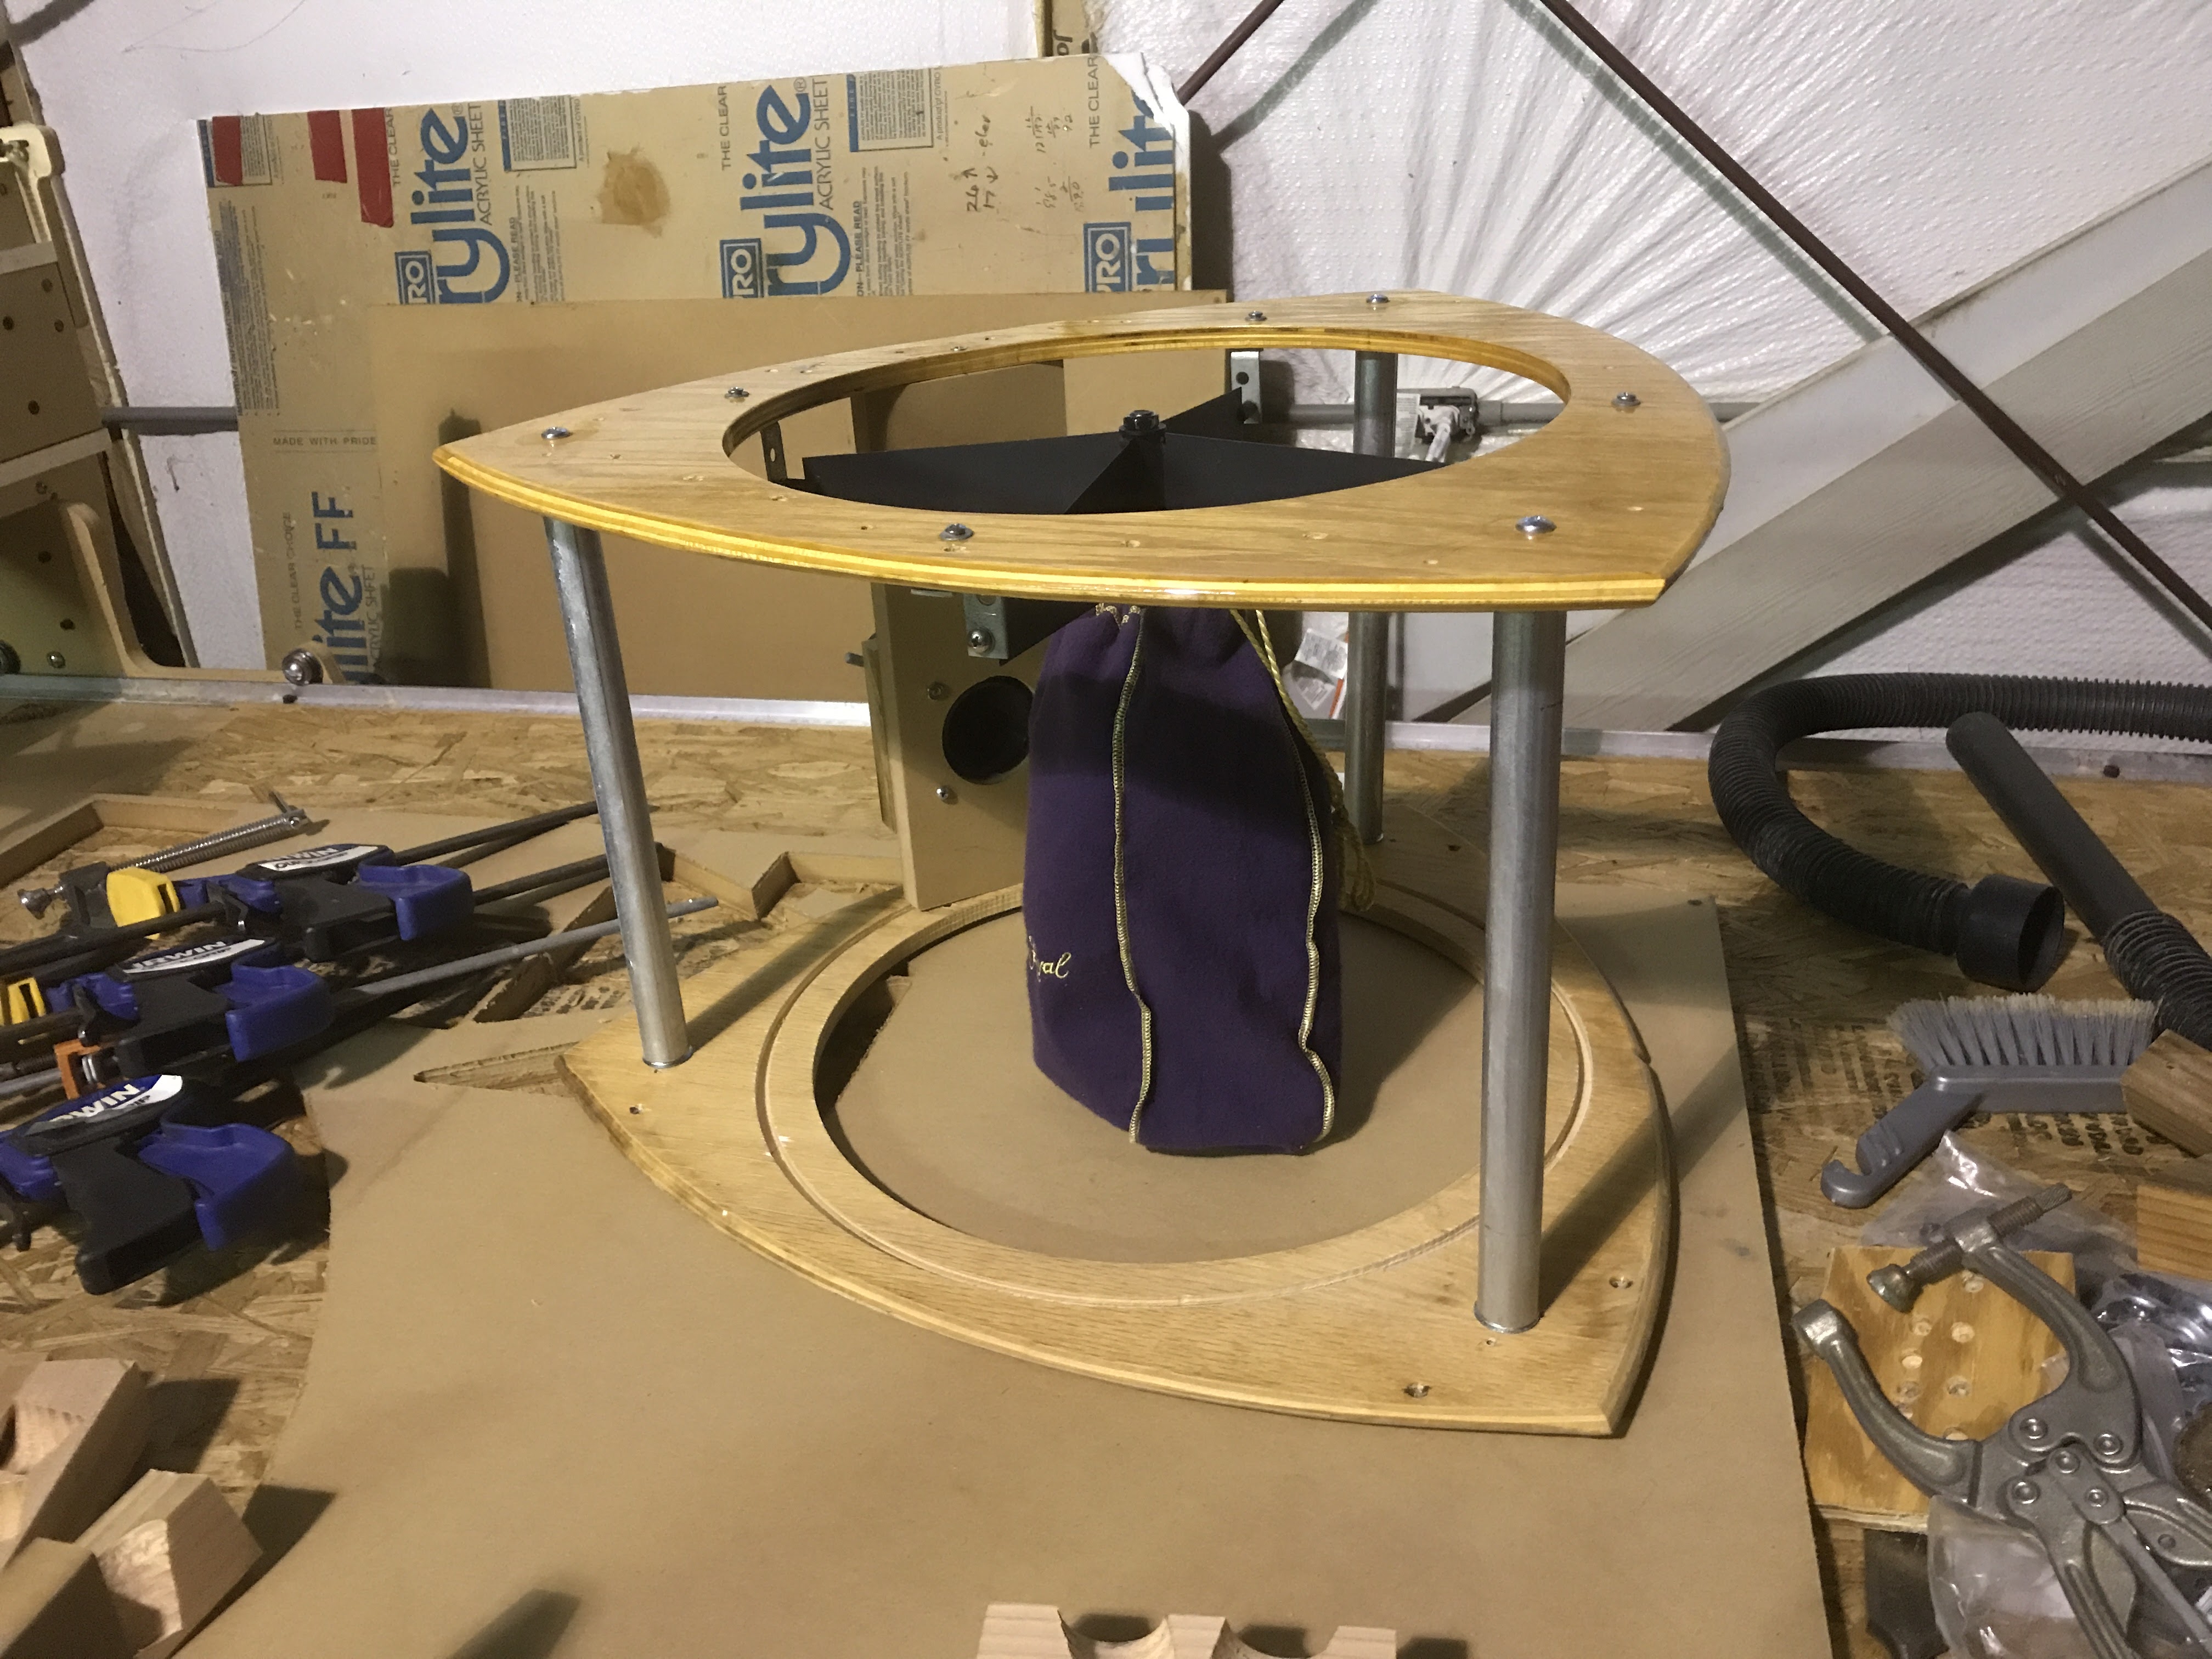
I installed the old middle ring (which has a history) onto the UTA; fits like a glove, just need to re-drill the focuser mount holes. I might need to pick up (or scrounge) some flat-head 1/4-20″ bolts, to blind the UTA tubes behind the truss pole seats.
I also deburred the poles, they look really great. I test-fit the UTA truss together, and looked carefully at the new pole seats for where I’d drill the clamp bolts. I think I’m going to have to re-cut the pole seats, and put the pole holes a little farther apart. I’ll see if I can dig up the spreadsheet, because it seems like I ran into this before. I need to double-check my jig, because the seats are not to exactly the same depth, either, to the level of precision which the previous set show.
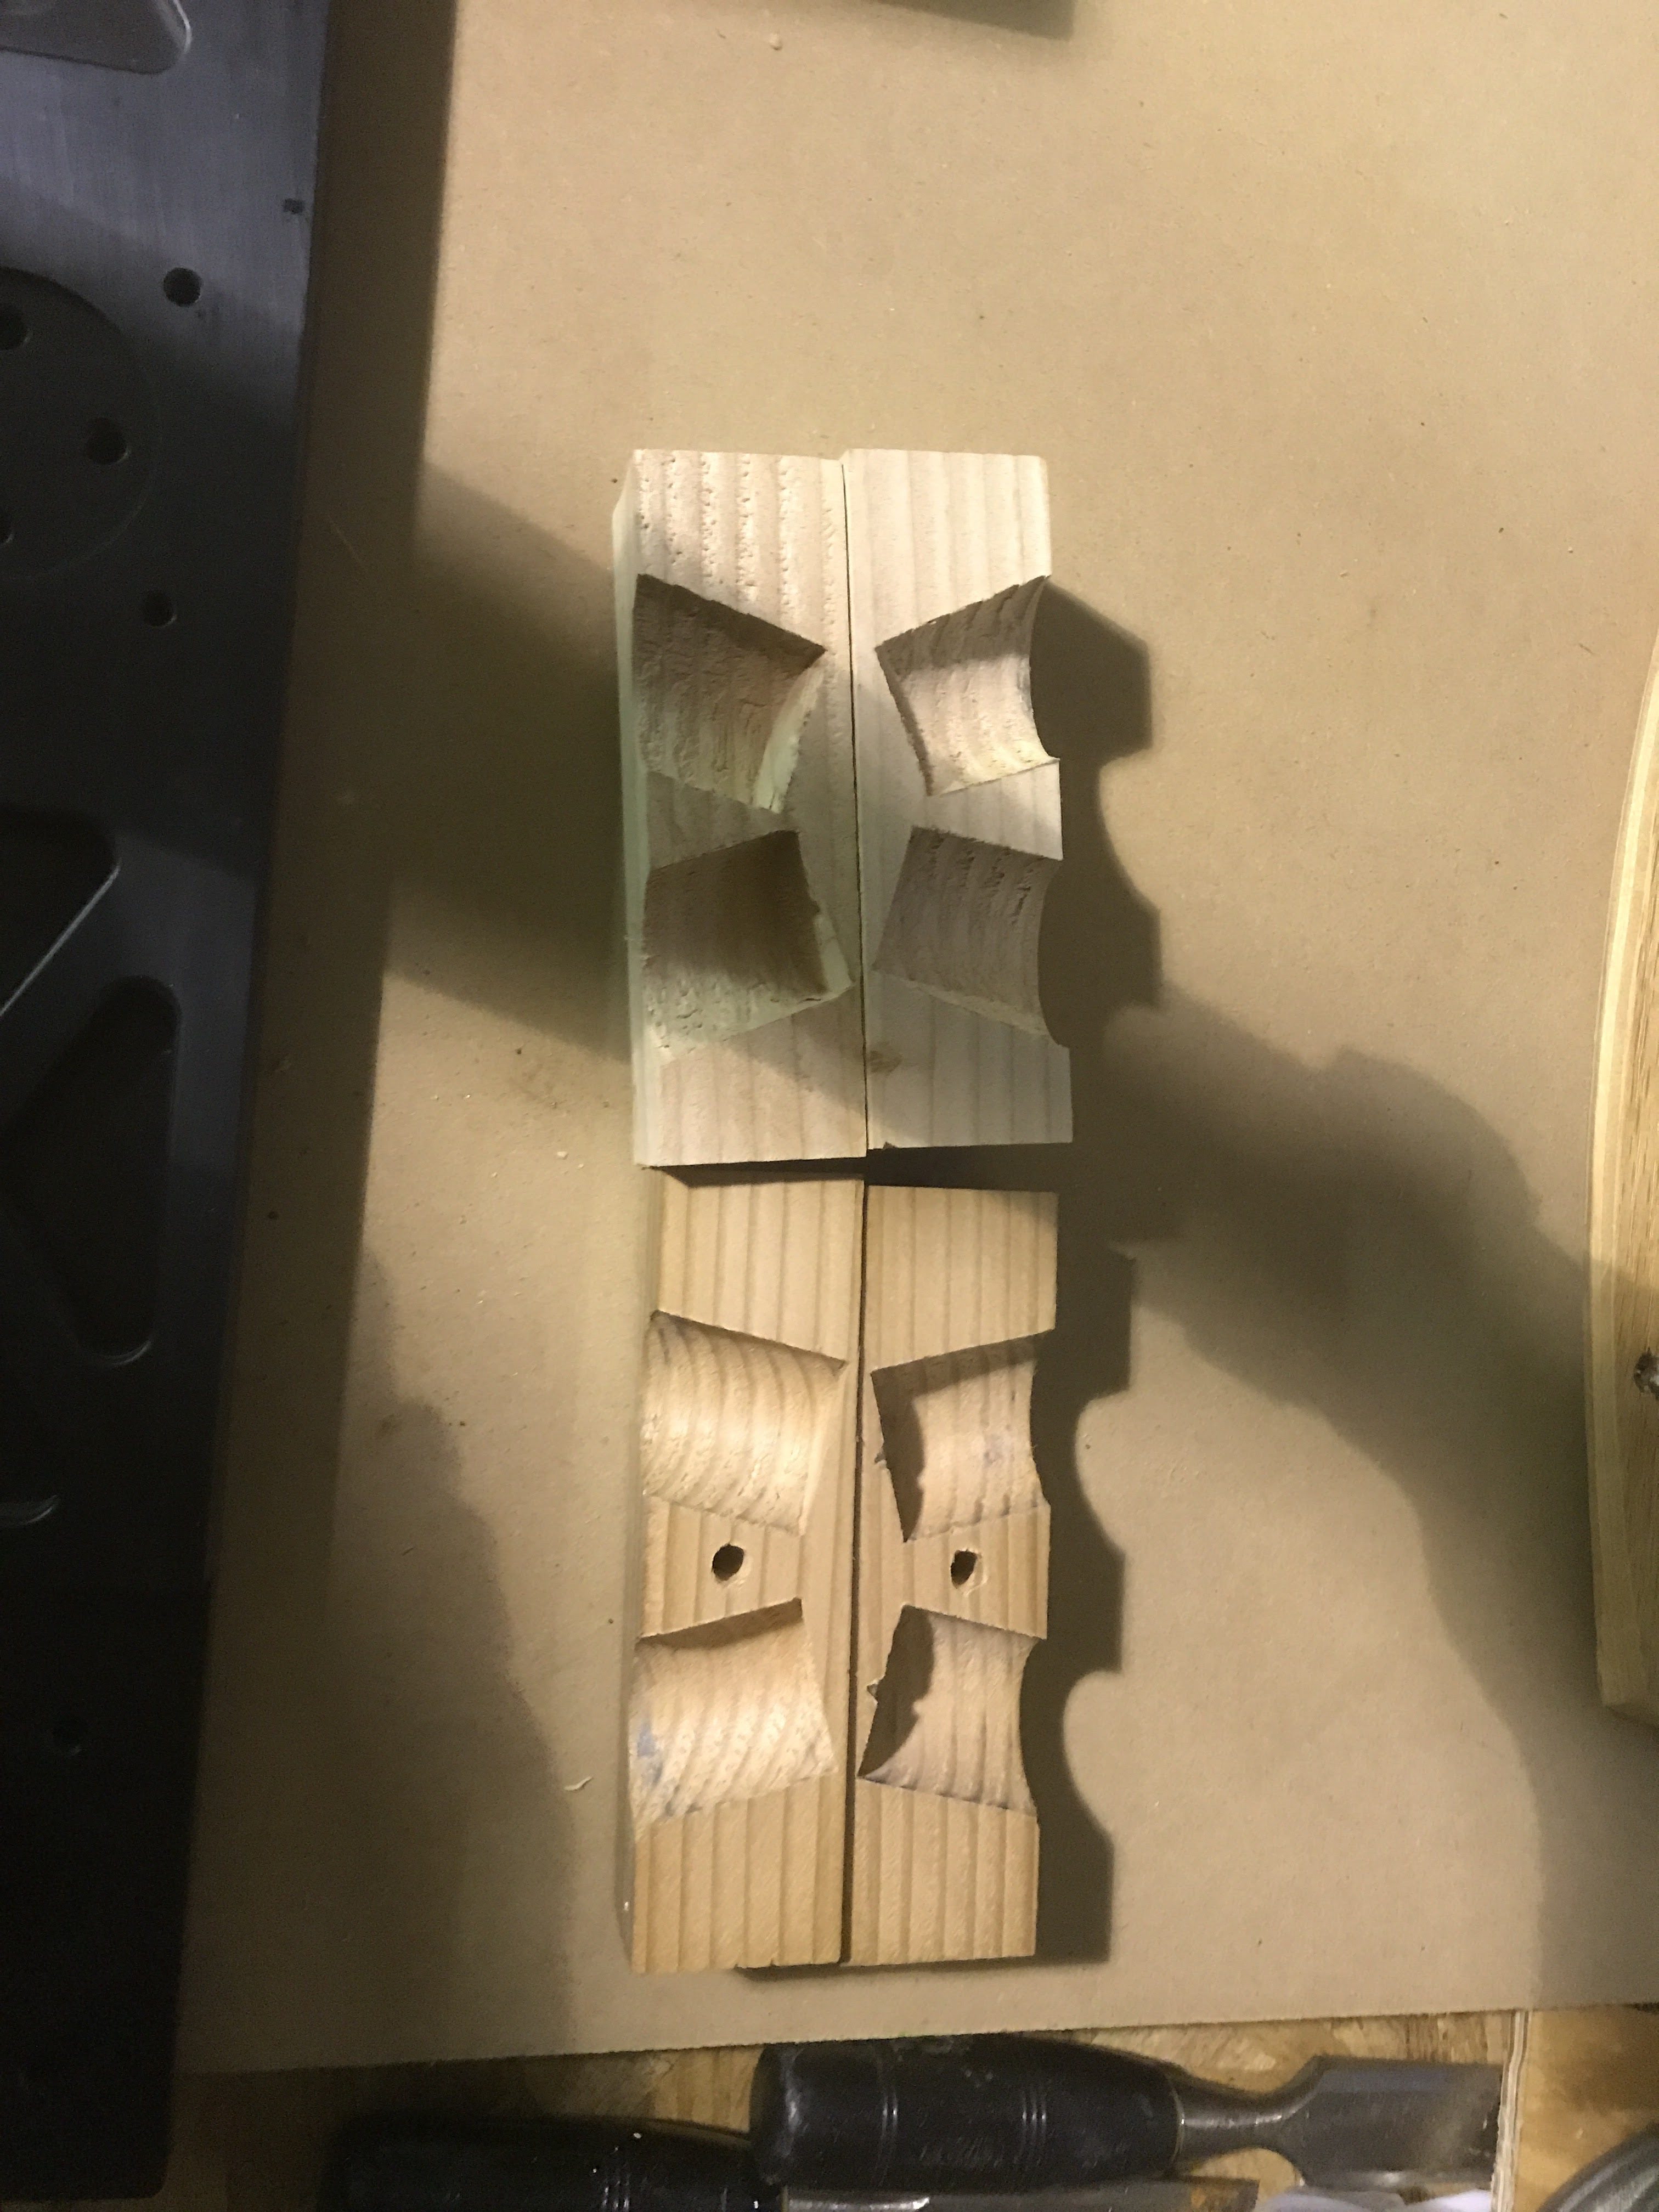
But, the new truss poles seem to the be correct length.
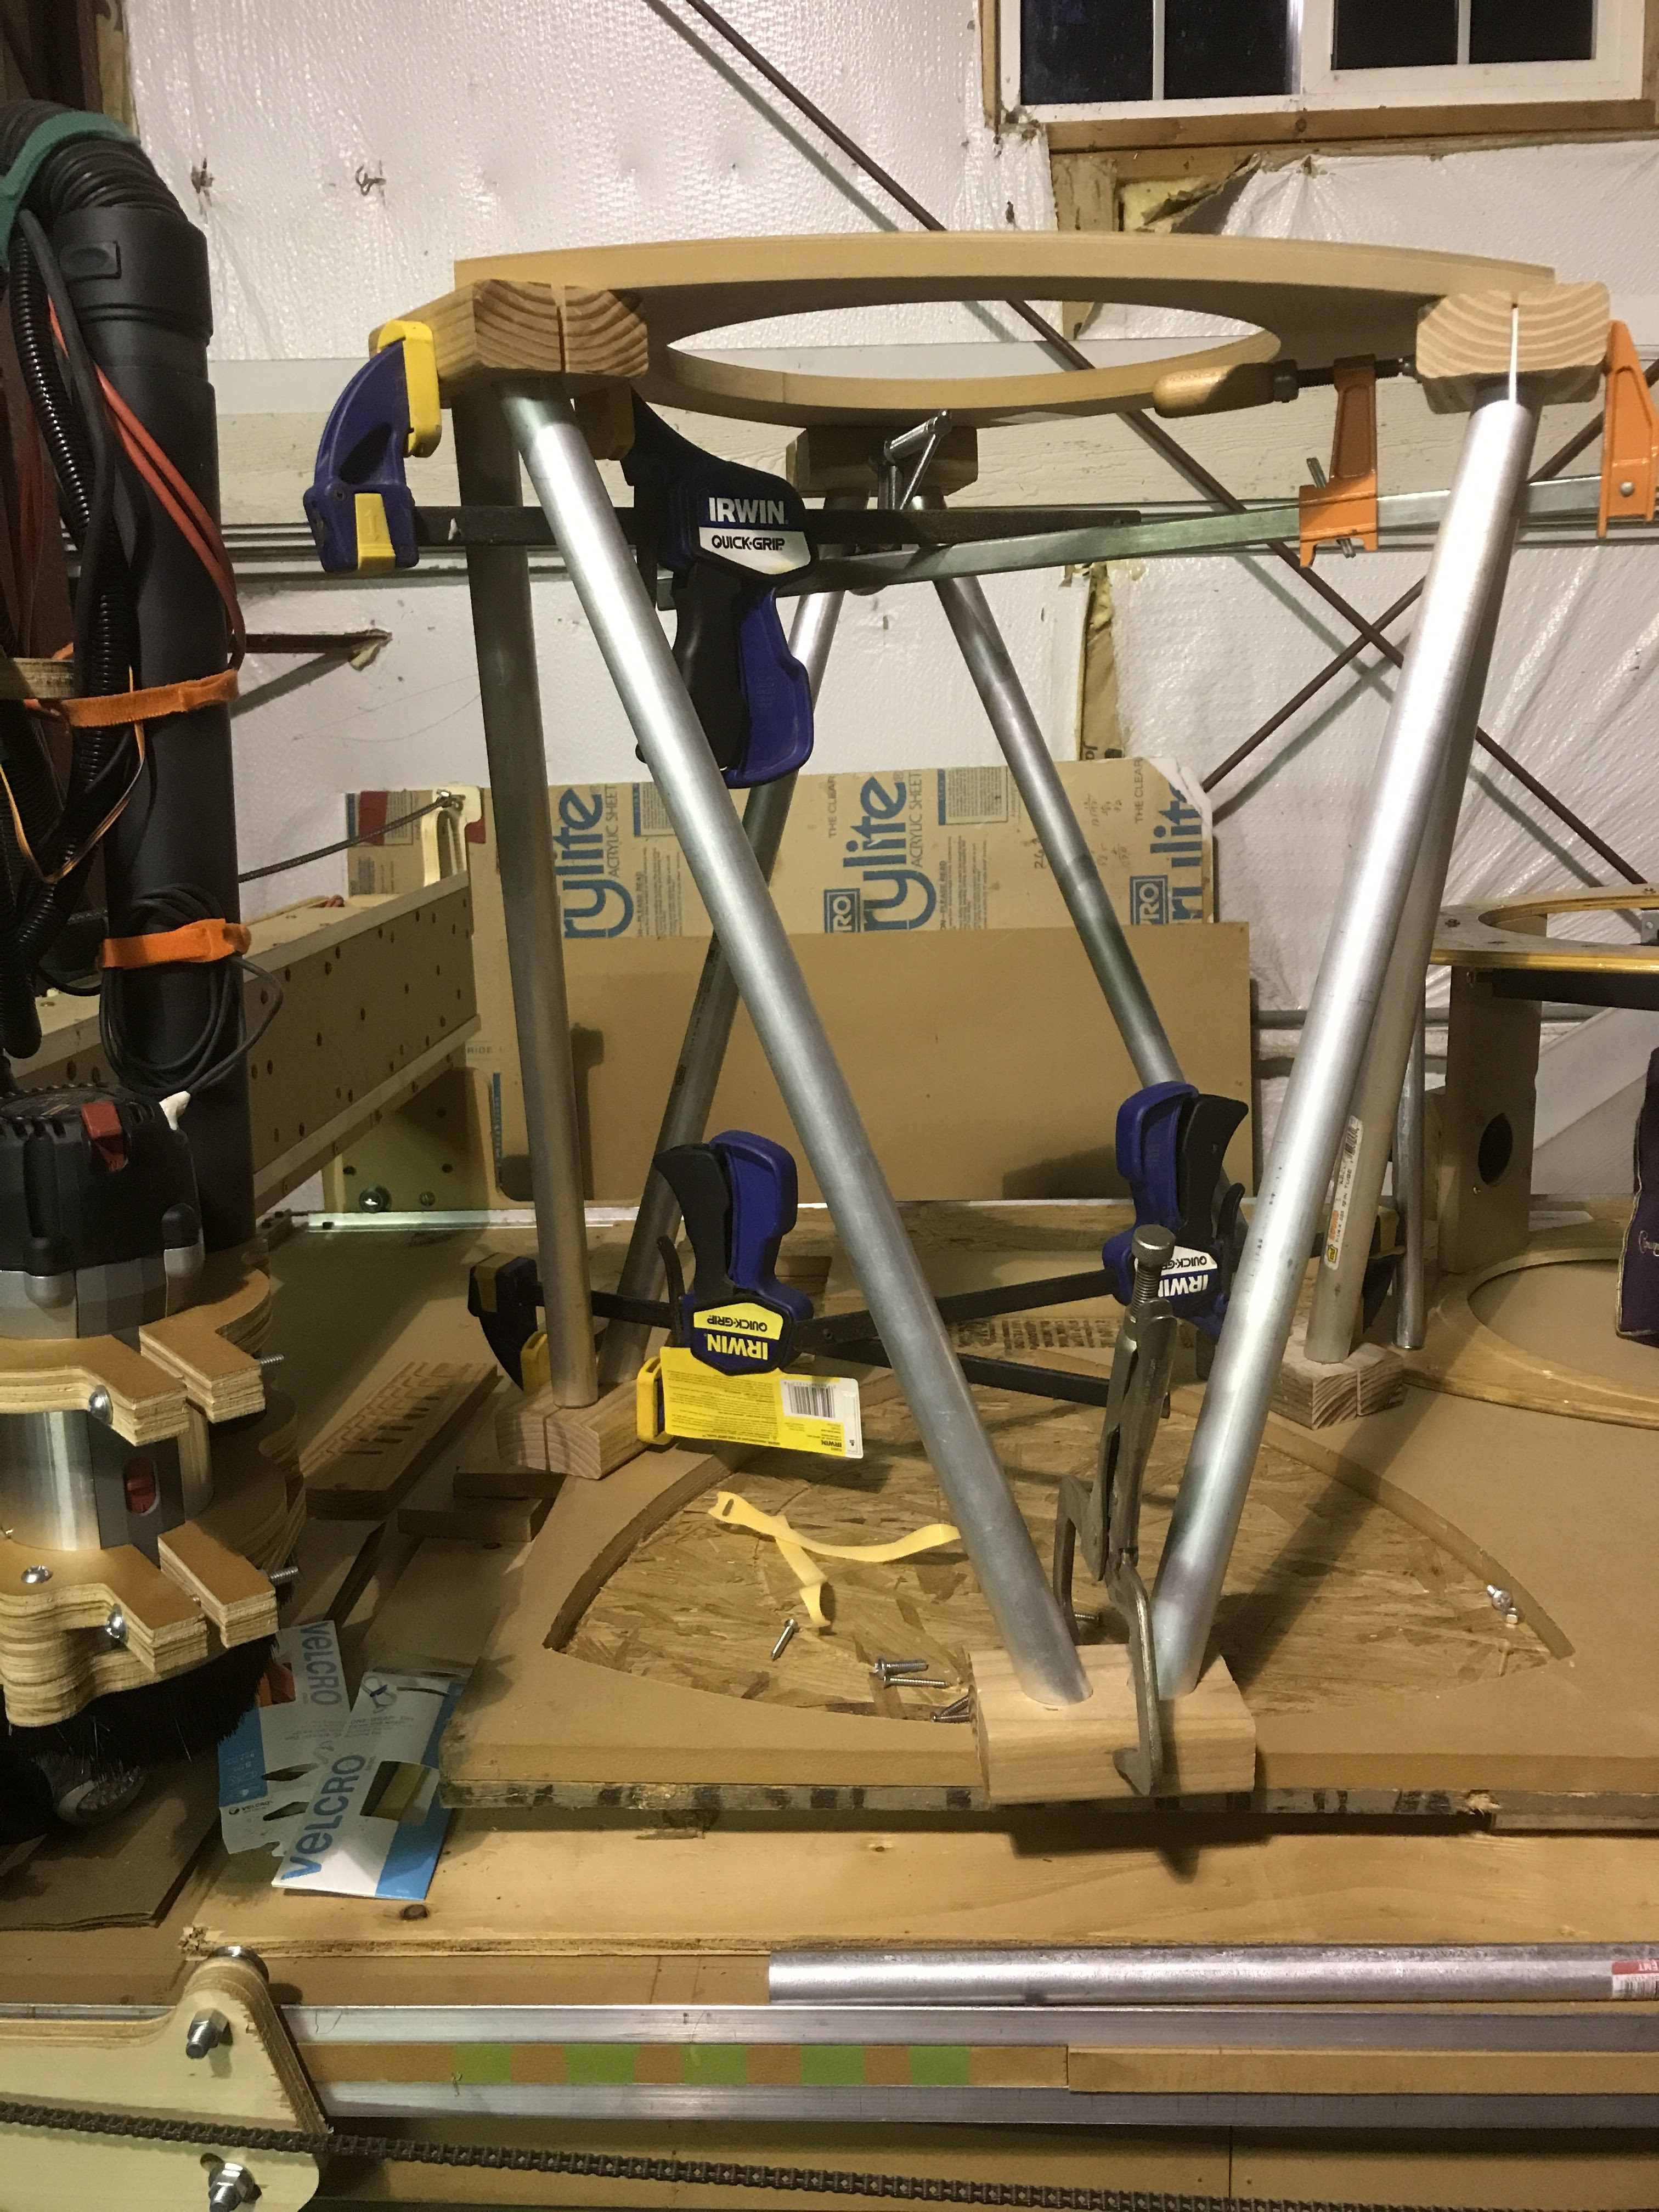
This fits almost the same as the previous set had; once clamped, I think it’ll be right on.
So, I have a lot to do
– re cut pole seats
– middle ring bracket
– re mount focuser board
– … and then I’m back to where I thought I was today, nearly ready to reassemble.
Final stretch. Tomorrow’s Saturday. Buckle up the chin strap.
MOST COMMENTED
Observatory
Observatory 2.0 – Time has come today!
General / Maintenance
First Light, a deeper look
Mount / Observatory / Telescope
Observatory 2.0 – Result!
Observatory
Observatory 2.0 – The Pier goes in
Gear / General / Maintenance
Martin Farmer Wormblock installation notes
Deep Sky / Long Exposure Photography
NGC2244, The Rosette Nebula
Deep Sky / Long Exposure Photography
Another beautiful night.