The new MFWB showed up yesterday, and I knew that I needed some time to work on it, so I did the installation during the day today. Here are some notes about the process.
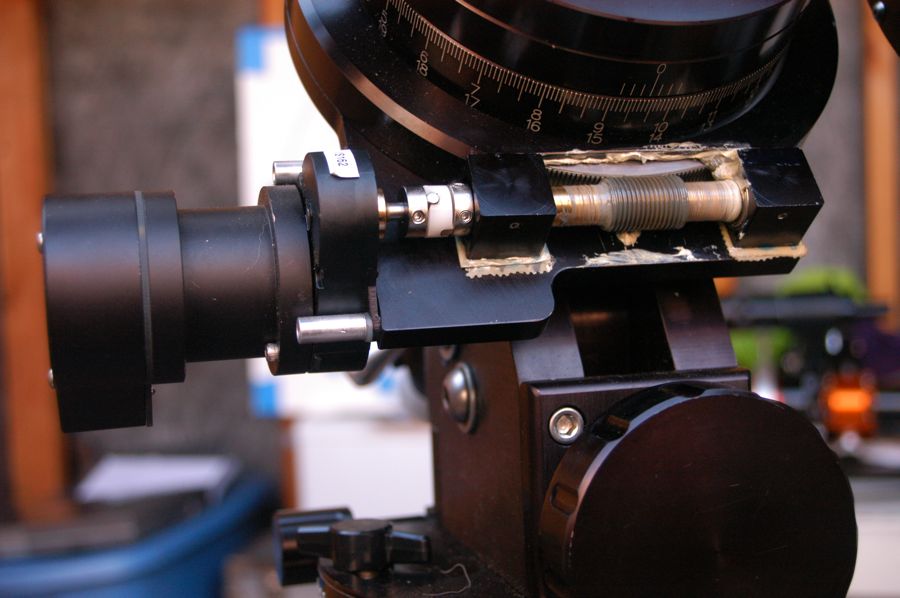
Here’s what the original wormblock looked like.
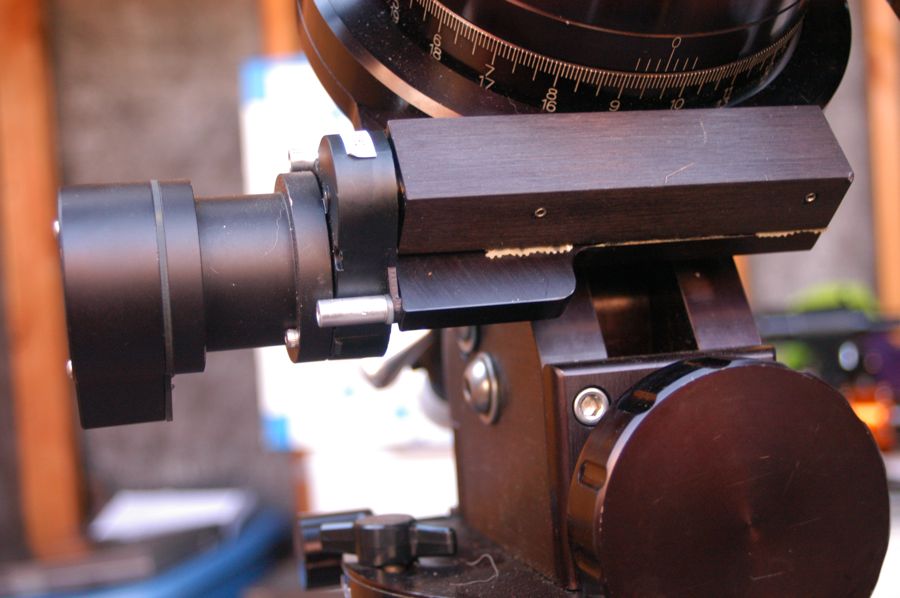
I was installing the new worm block, ceramic bearings, a new gearbox for RA, and a replacement for the Oldham coupling.
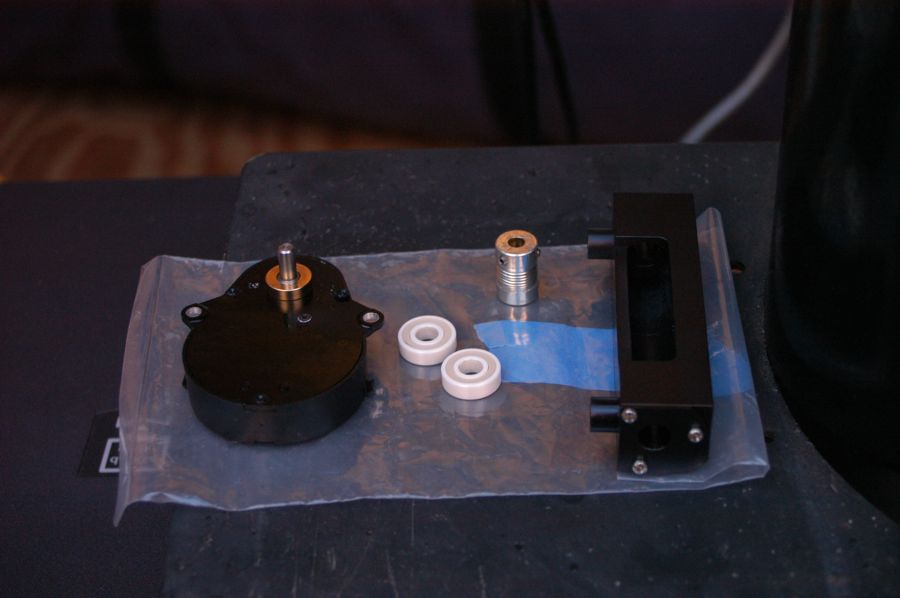
As you can see, the stock Losmandy worm “block” is split into two individual parts, making adjustment tricky.
The motor has to come off in order to get at the gearbox.
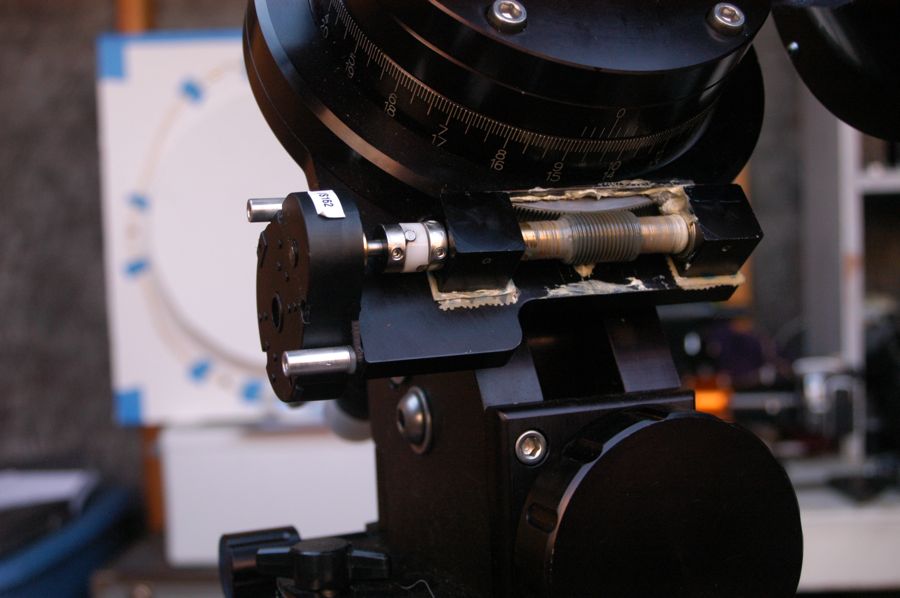
The gearbox brings a piece of the Oldham coupling with it.
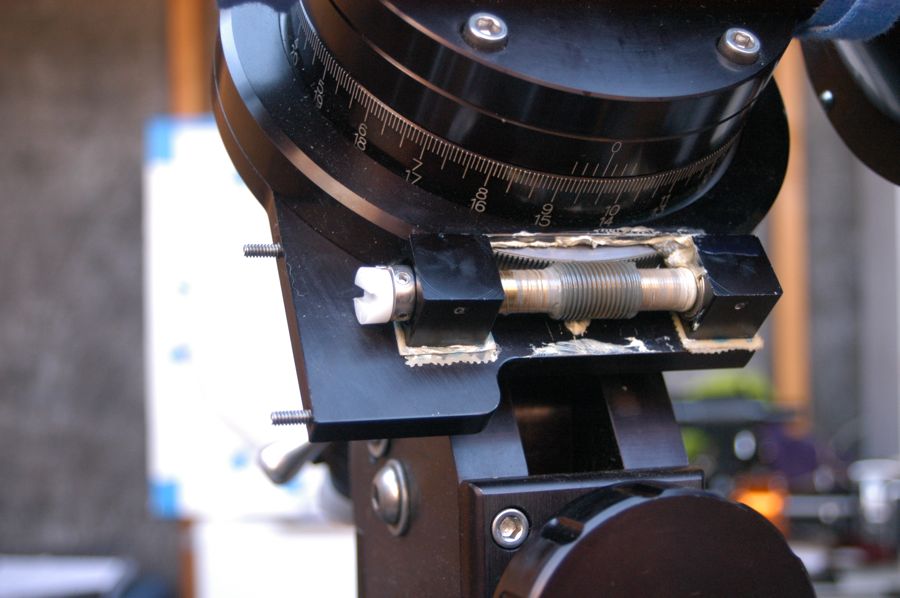
The Oldham coupling needs to come off in order to get the worm out of the blocks.
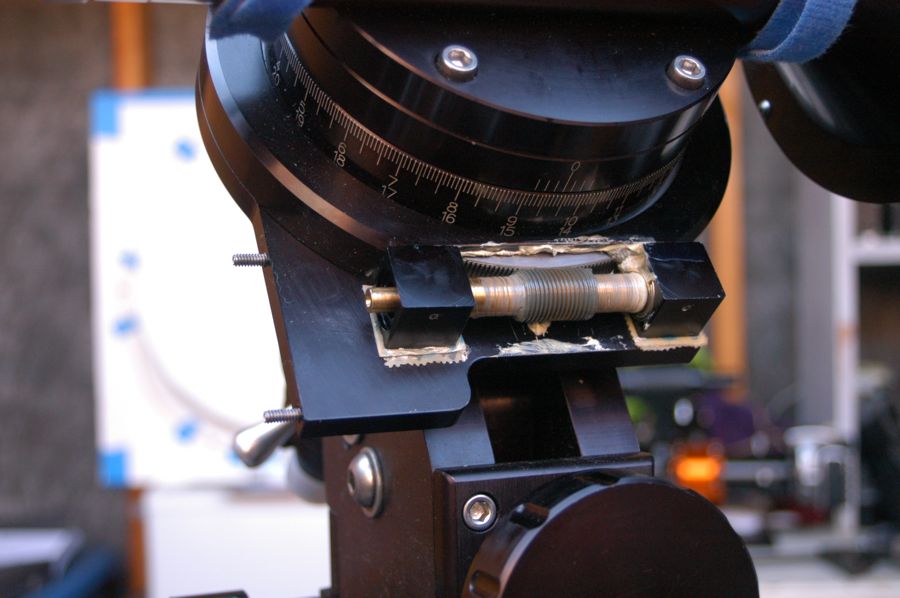
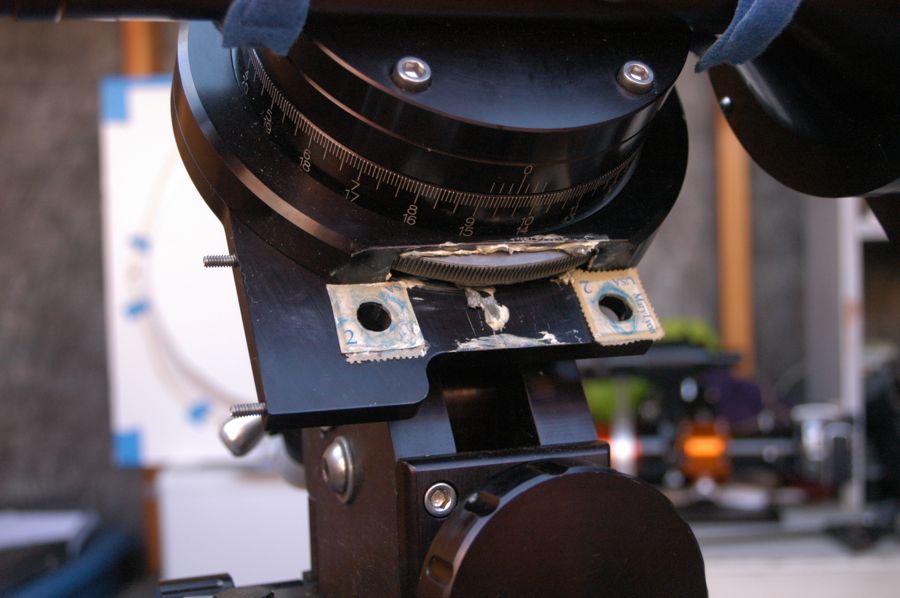
Here you can see my abortive attempt to “shim” the old worm blocks using stacked postage stamps.
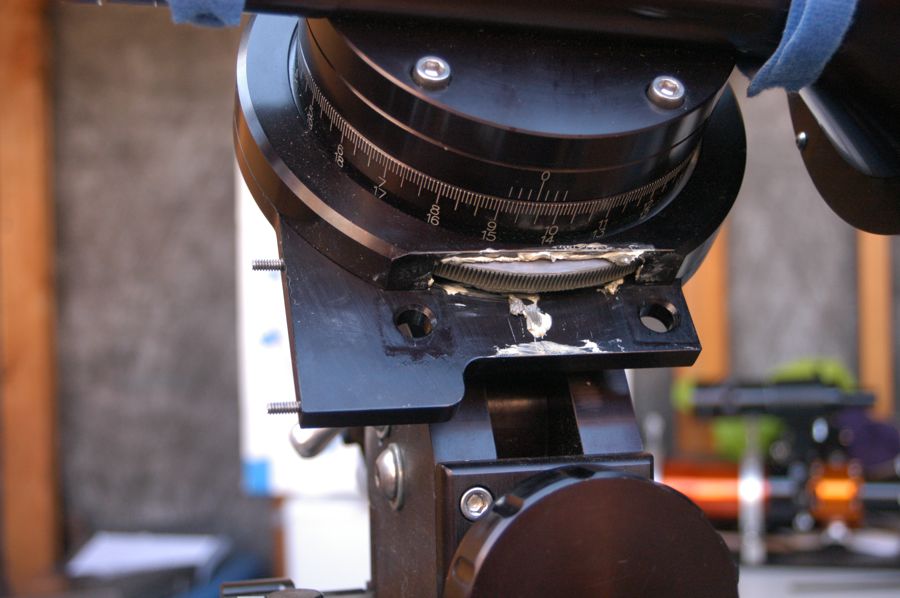
Worm block plate cleared and ready for maintenance.
Now that I had the worm out, I installed it into the new worm block, along with the very nifty ceramic bearings.
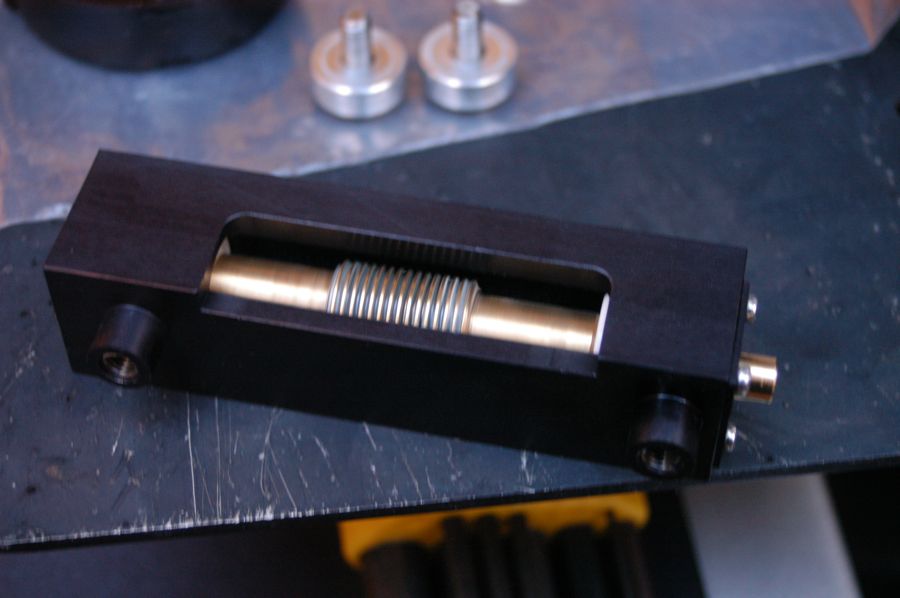
This end of the block is “pushed in” a little so that the worm can be pre-loaded. It should be tight enough that the worm can’t wobble back and forth (left-to-right within the block), but spins freely (it sounds a lot like a rolerskate wheel in motion).
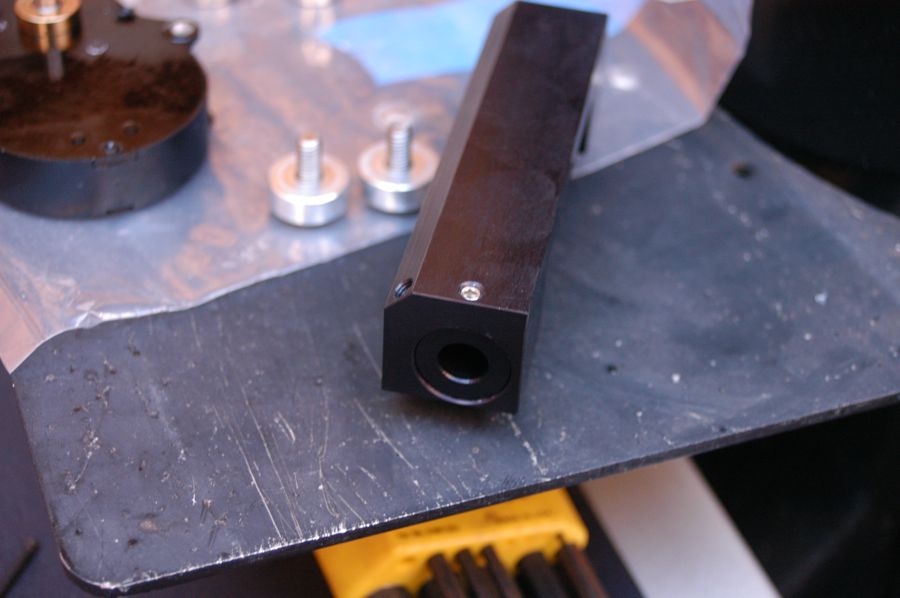
Here’s the wormblock all assembled, with bearings and worm in.
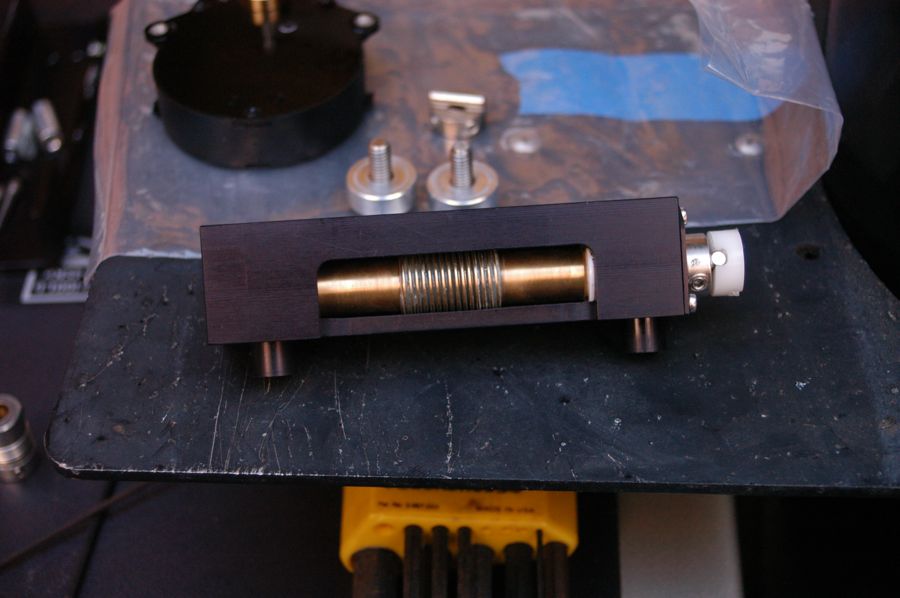
Now it’s ready to be installed, with a nice thick coat of white lithium grease.
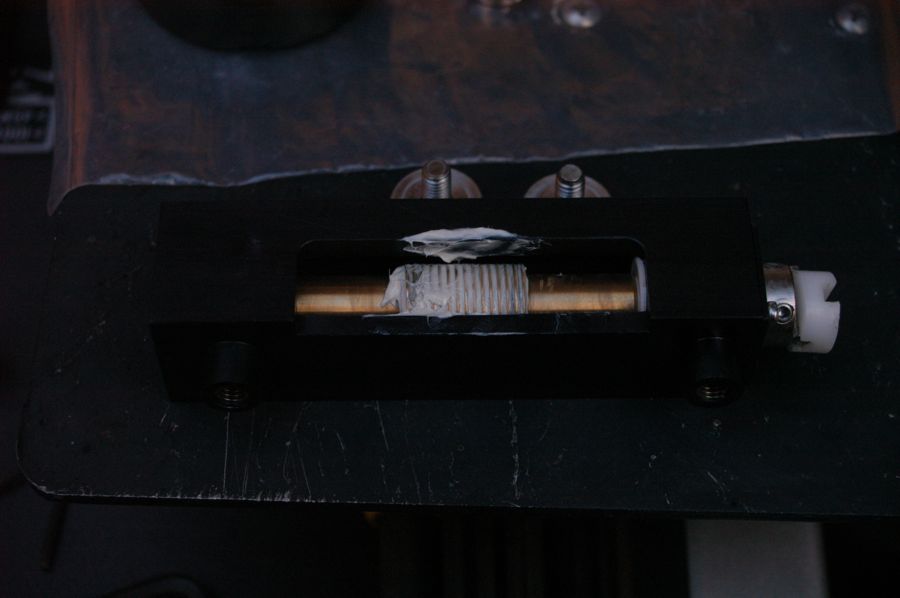
Here’s the new wormblock in place on the mount, ready for adjustment. Note that the original Oldham coupling is in place. More on this later.
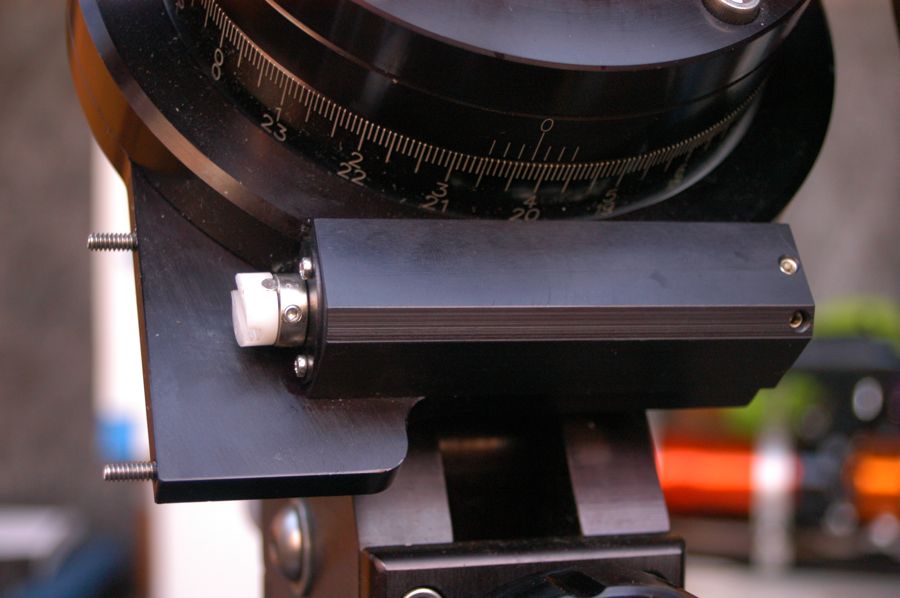
…time passes.
What I did next is to use two identical sets of feeler gauges and a rubber mallet to ensure that the gap between the worm block and the worm wheel housing is exactly the same at both ends of the wormblock.
Once the gaps are equal, I then turned the Oldham coupling (which has a convenient spot to put a screwdriver), and, thus, the worm, so that the mount rotated a full 360deg in both directions. I re-adjusted the gap and re-ran this test until I found the tightest gap where there was no binding at any point in the rotation.
This took several iterations, especially since it took me awhile to figure out how to properly apply the rubber mallet…
I finally settled on 0.045” as the proper gap, tightened down the block, and was ready to re-assemble!
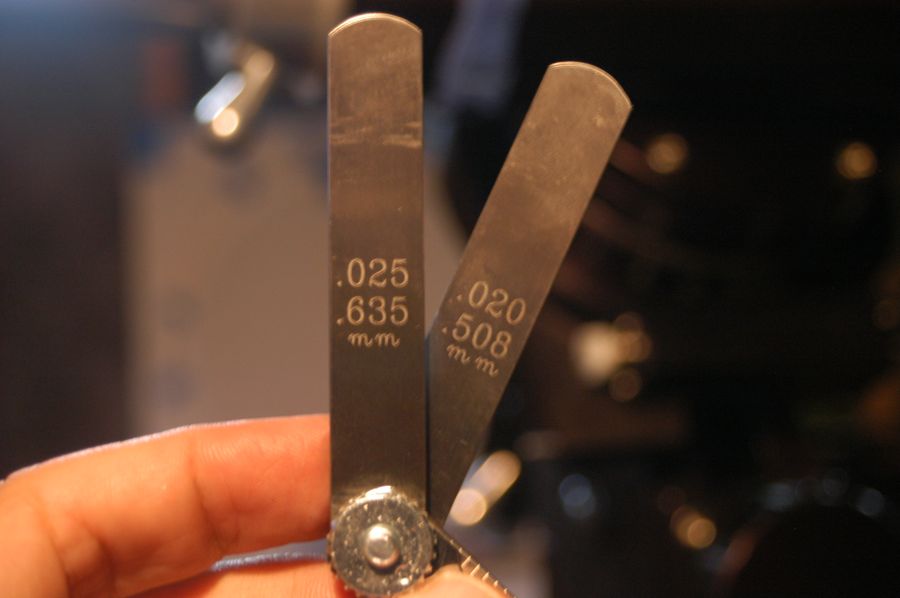
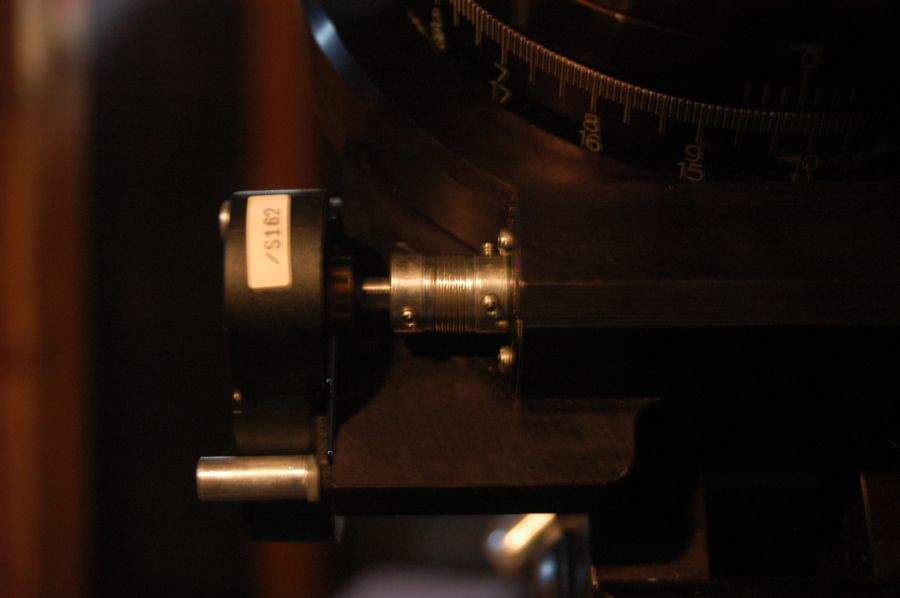
I replaced the Oldham coupling with this new gizmo. The process is: put the new coupling onto the gearbox (I replaced the gearbox with a new one at this point), install the gearbox (hand-tighten only). Then gap between the worm block and the coupling to be even all the way around (I chose 0.002” at random). Tighten the grub screws on the wormblock side first, gapping each one. Then tighten the grub screws on the gearbox side. The “spring” should be pushing towards the gearbox when the install is complete.
That was the last of the fiddly adjustment. I installed the motors, and was ready to test!
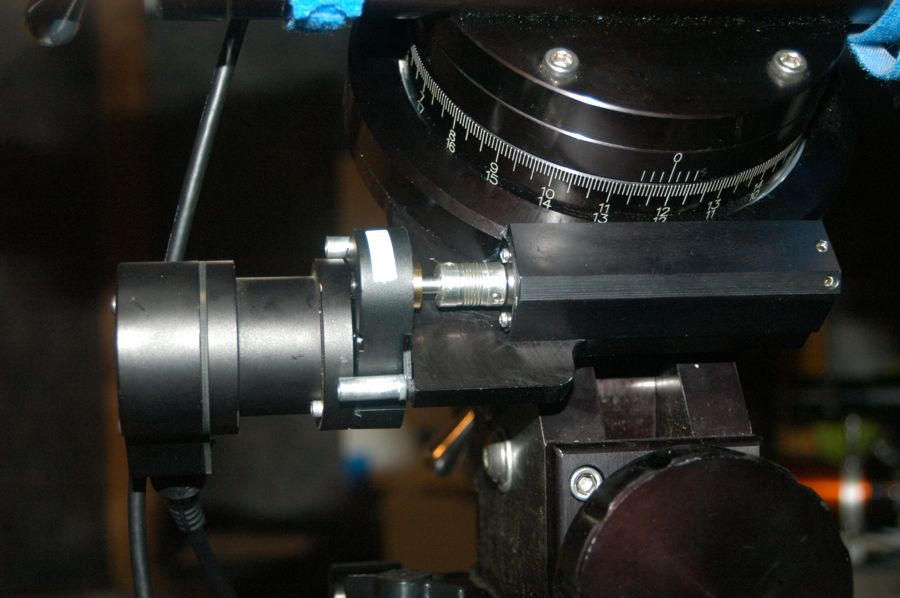
I tested the mount powered up, slewing 360deg in each direction at 1200x sidereal, with no stalls. At 1600x, I got some stalls (entirely expected). I left the slew speed at 1200, goto at 800 for now.
I could not have done any of this without having my friend, the G-11 Jedi, explaining what I was up to. Thank you very, very much.
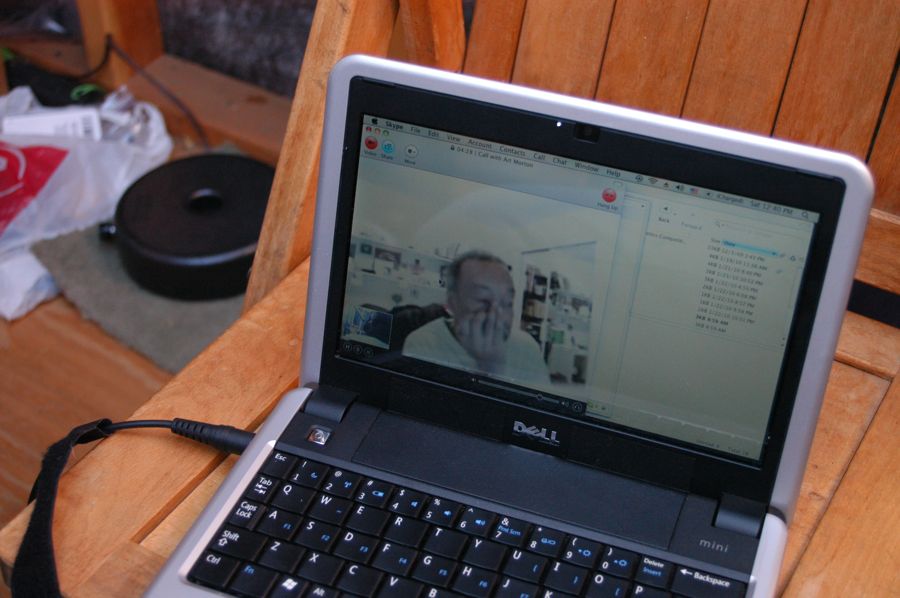
The internet is a wonderful thing.
It’s supposed to be clear tonight; then I can test.


Do you know if those Martin Farmer wormblocks are still available and/or how I can get in contact
with Martin Farmer ?
Thanks
Markus
Hi Markus,
I found Martin Farmer on the Yahoo Losmandy group. I don’t know what his current business status is. Mr. Farmer, if you read this, please contact me to let me know whether I should post a link or email address here.
Best,
Jimbo
Thanks a lot Jimbo. I will check back regularly to see if Mr. Farmer answered your reply. If Mr. Farmer agrees you could also send that information to my email address instead of posting it. In the meantime
I will try to get in contact with him through the Yahoo Group.
Thanks again
Markus
Will do, Markus.