
And that is how we do that.
I drilled all the clamp holes in the pole seats, and installed them. One by one, the bar clamps were replaced with something a little more permanent.
Got the truss all together, and finally realized…
It’s too big. The Reuleaux Triangles that make up Trixie’s rings are 22″ in radius, so I cut the blocks to 22″. So the middle of the block is right at the corner of the ring, no place to attach it. :facepalm:
I went back to the spreadsheet, and (finally being able to grok the previous notations on this) realized I’d cut (and, I believe, re-cut, without mentioning it on the blog (for shame!)…) the old ones to 18″.
So I’m all getting ready to cut 6 new blocks with all the attendant dashing heroics and derring-do, and I stop to think for a moment.
I have blocks cut too wide.
The blocks I took off were for a longer scope, thus should have steeper angles… what’s the harm in trying them with the shorter poles? They would make a smaller ring than they used to, but how *much* smaller, and would it make a difference?
So I tried them. And they worked! The clear circle in the center is much smaller, maybe 15″ or so (I didn’t measure), but all safely out of the FOV, so :shrug:
They were easier to install, too, with actually the same number of visible screws, now that I think about it. Hey, I like it 🙂
I’ve been working on this scope too long …
The pole seat screws went in pretty easy, I installed the mount plates, and all of a sudden, Trixie was reborn.
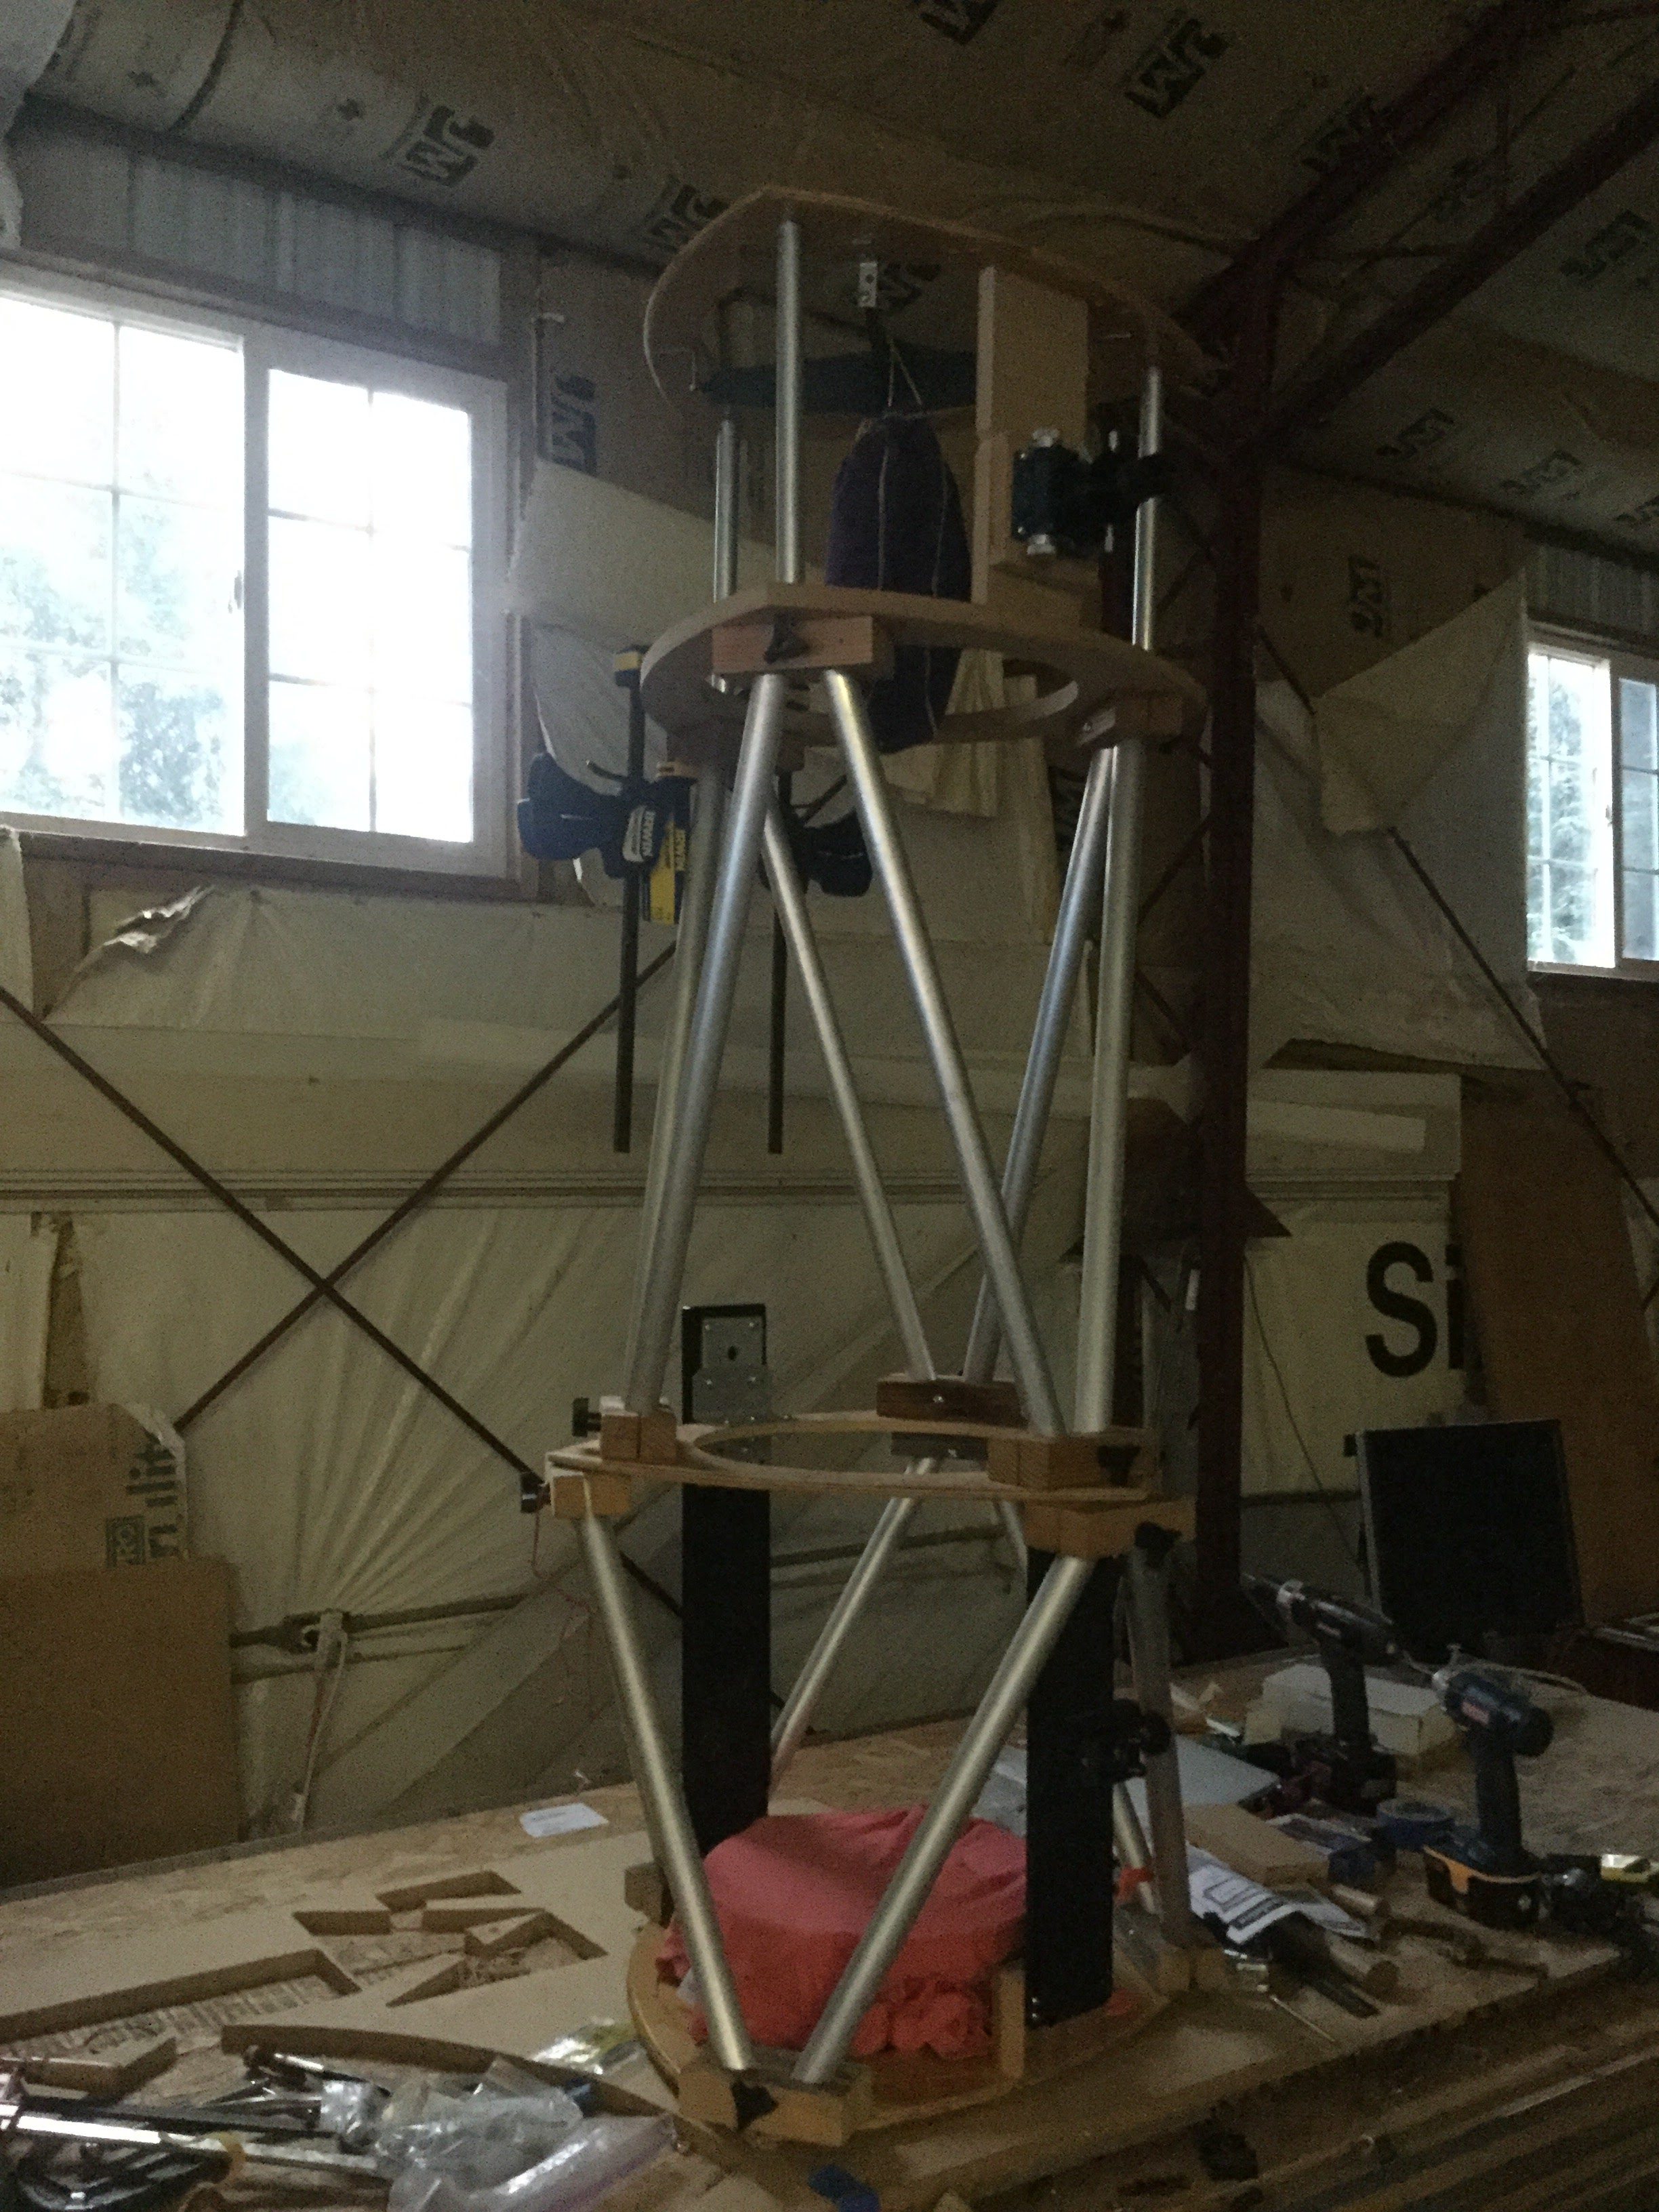
What was I solving? I was trying to remove flexure from the focuser board, by attaching it at both top and bottom. This problem was introduced in the original design, and I still maintain would have worked well for visual use. However, with a heavy camera and motor focuser and &c, I needed more strength.
The solution? Adding a second ring to the “upper tube assembly” let me mount the focuser board supported at both ends, a much stronger design.
This moved the focuser relative to the mirror, so the UTA tubes needed to be shortened and reinstalled. (see what I did there? a week of kibbutzing about it turns into a nice bit of elegance. I like it. I say so.)
The OTA is a bit longer than it used to be, 62″ overall. The CNC table is built to 39″, a comfortable standing worktable height for me. There’s another few inches of sheet ply (I use a lot of spoilboard now; I’ve been spurned before) on top of that, and Trixie was *way* up there. With the mount plates off, the easiest way to work on her is vertical.
Well, I guess we’re ready to give her a try. Chief Engineer reports Optical Tube Assembly ready to be remounted for first light.
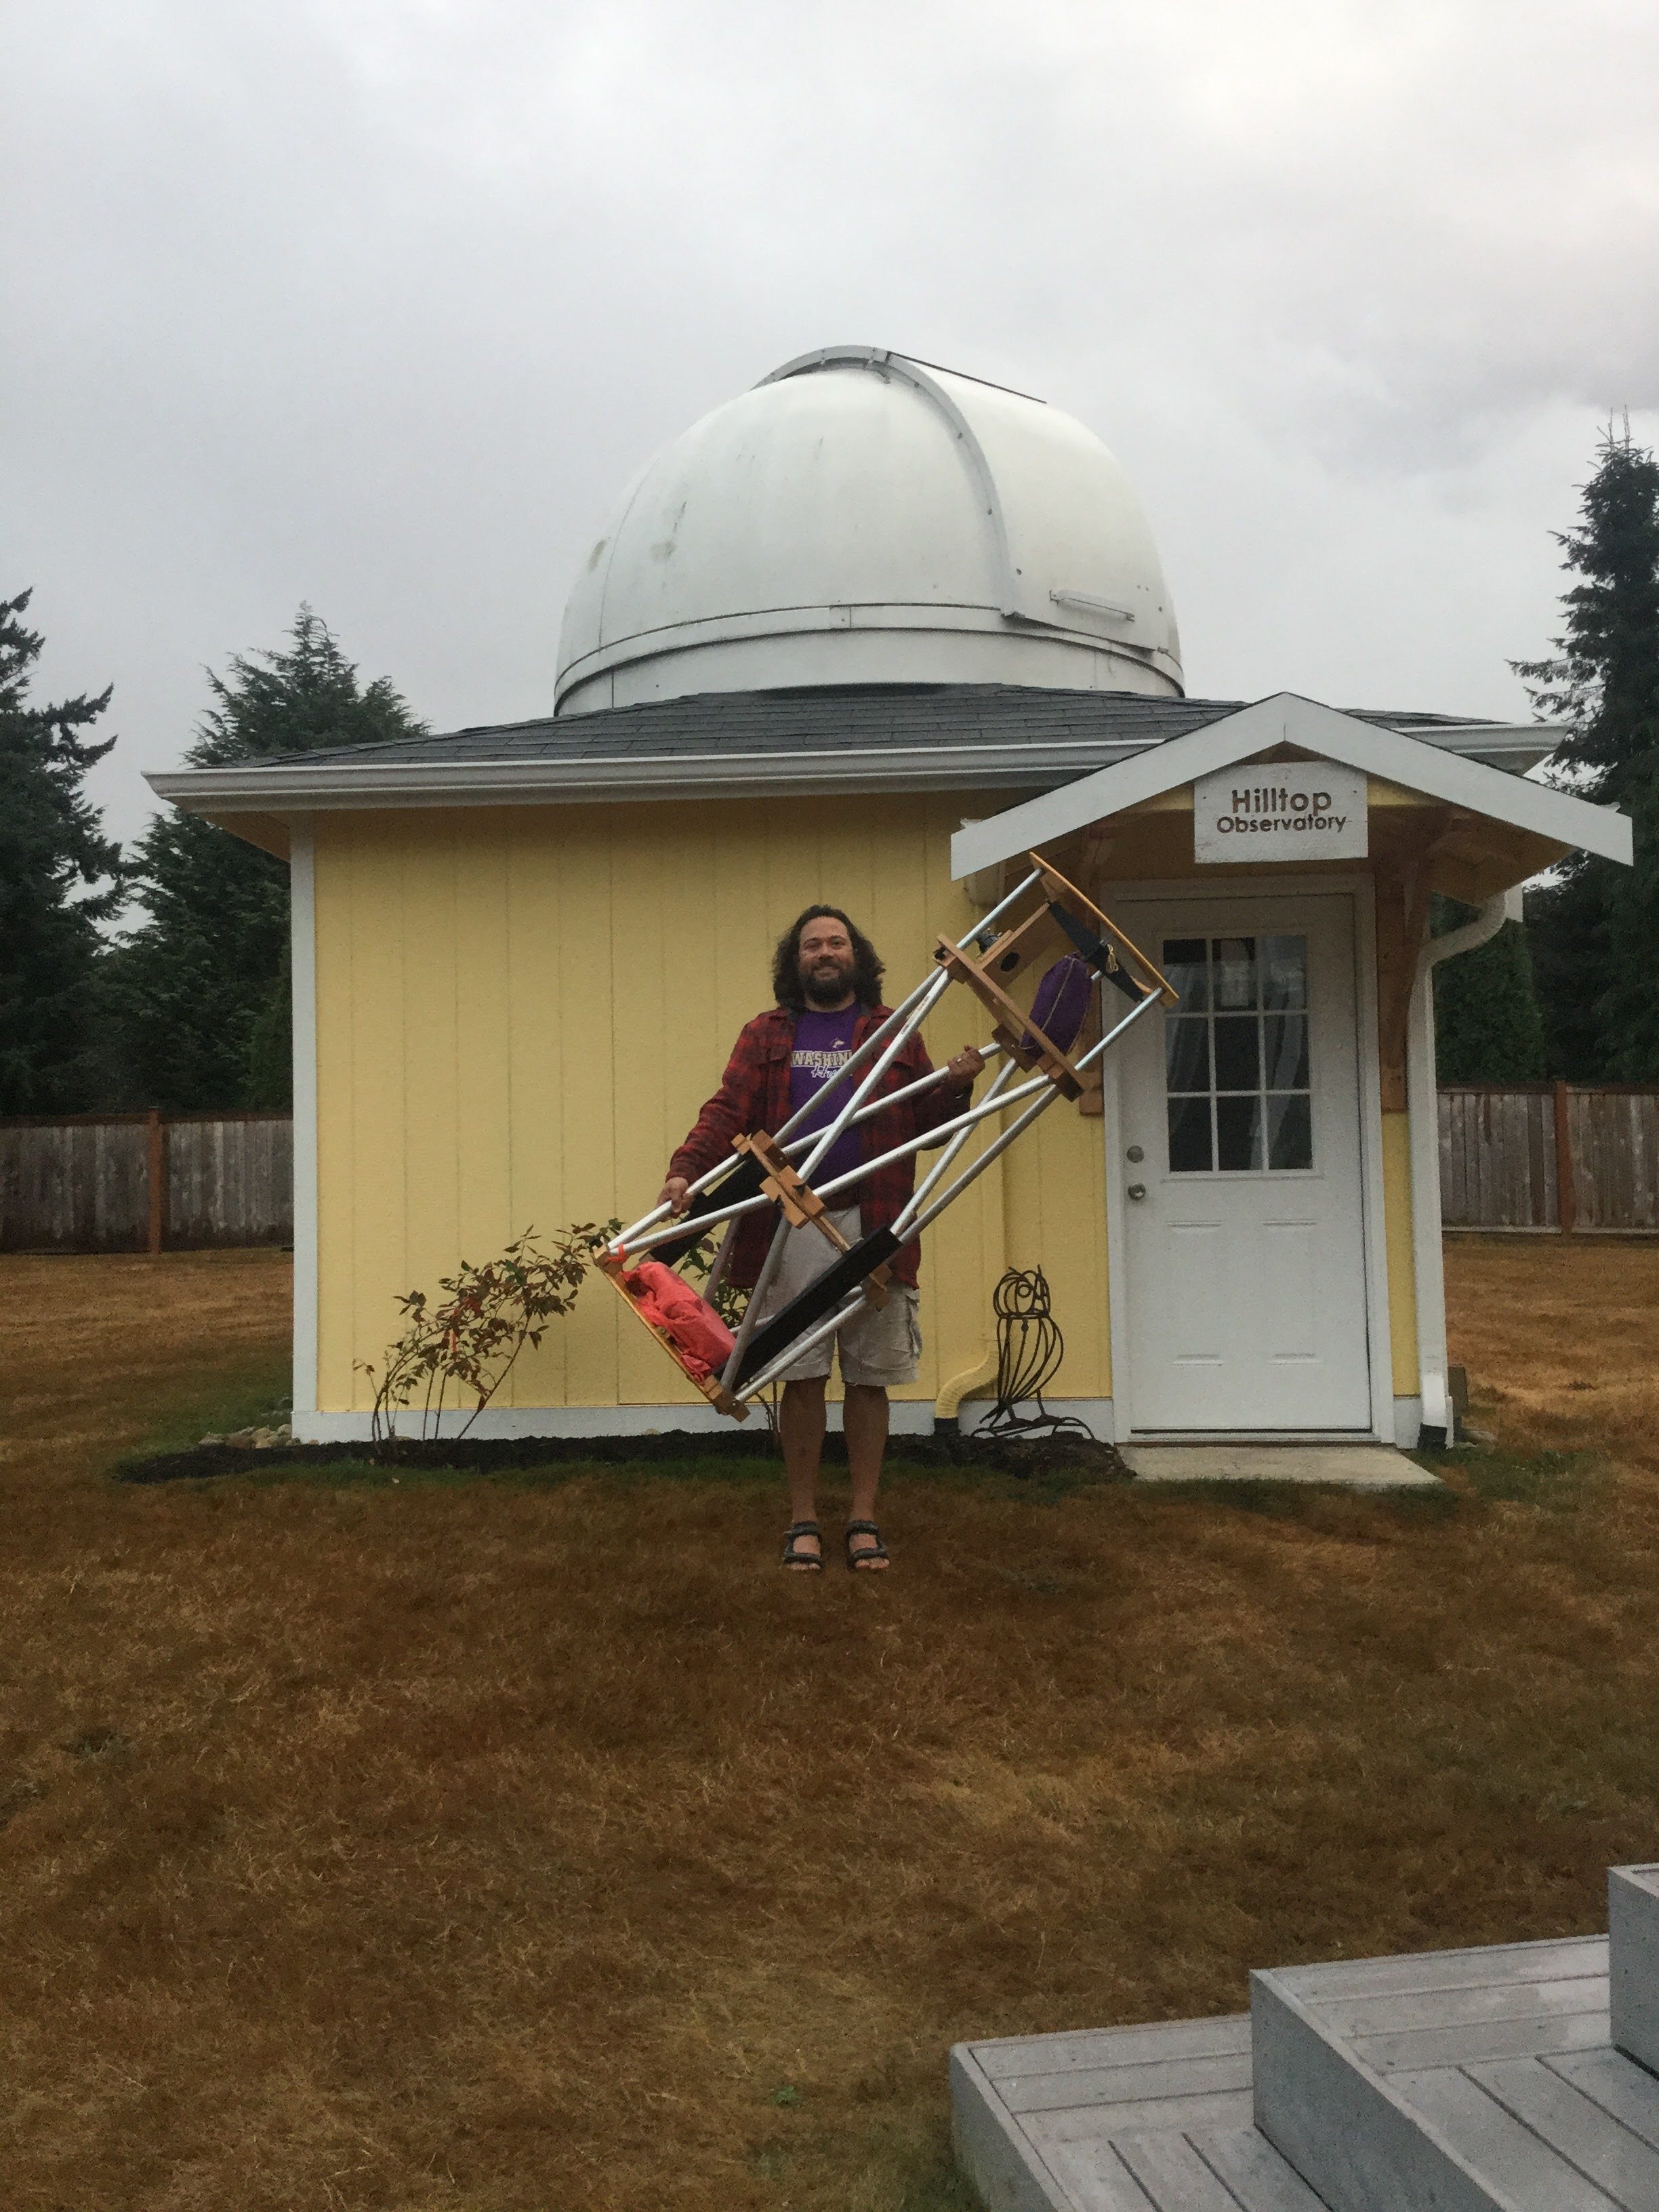

I was again assisted by K, getting Trixie up to the observing deck. Some of the original plans for the observatory had a huge hatch somewhere in the upper deck, for bringing up large pieces of equipment. That didn’t materialize in the final design (and would be difficult to implement), but it would be nice. Trixie makes it up the ladder with 2 people, you have to twist her twice to get the rings to go through. 😐
Luckily, the astronomy gods gave me a soft landing, with a rainy day (the first good, hard rain in about a month), so I can leave for tomorrow all the mounting and balancing and wire velcroing and collimating… aw yeah.
Have a good run, Trixie 2017. I hope I fixed a problem and didn’t cause any more.
MOST COMMENTED
Observatory
Observatory 2.0 – Time has come today!
General / Maintenance
First Light, a deeper look
Mount / Observatory / Telescope
Observatory 2.0 – Result!
Observatory
Observatory 2.0 – The Pier goes in
Gear / General / Maintenance
Martin Farmer Wormblock installation notes
Deep Sky / Long Exposure Photography
NGC2244, The Rosette Nebula
Deep Sky / Long Exposure Photography
Another beautiful night.