
Well, I had to let a beautiful, moonless night go by, because the dome has no way to open. Grumble.
I have had a very productive Christmas vacation this year, but getting the motor control box up and running hasn’t gotten done yet.
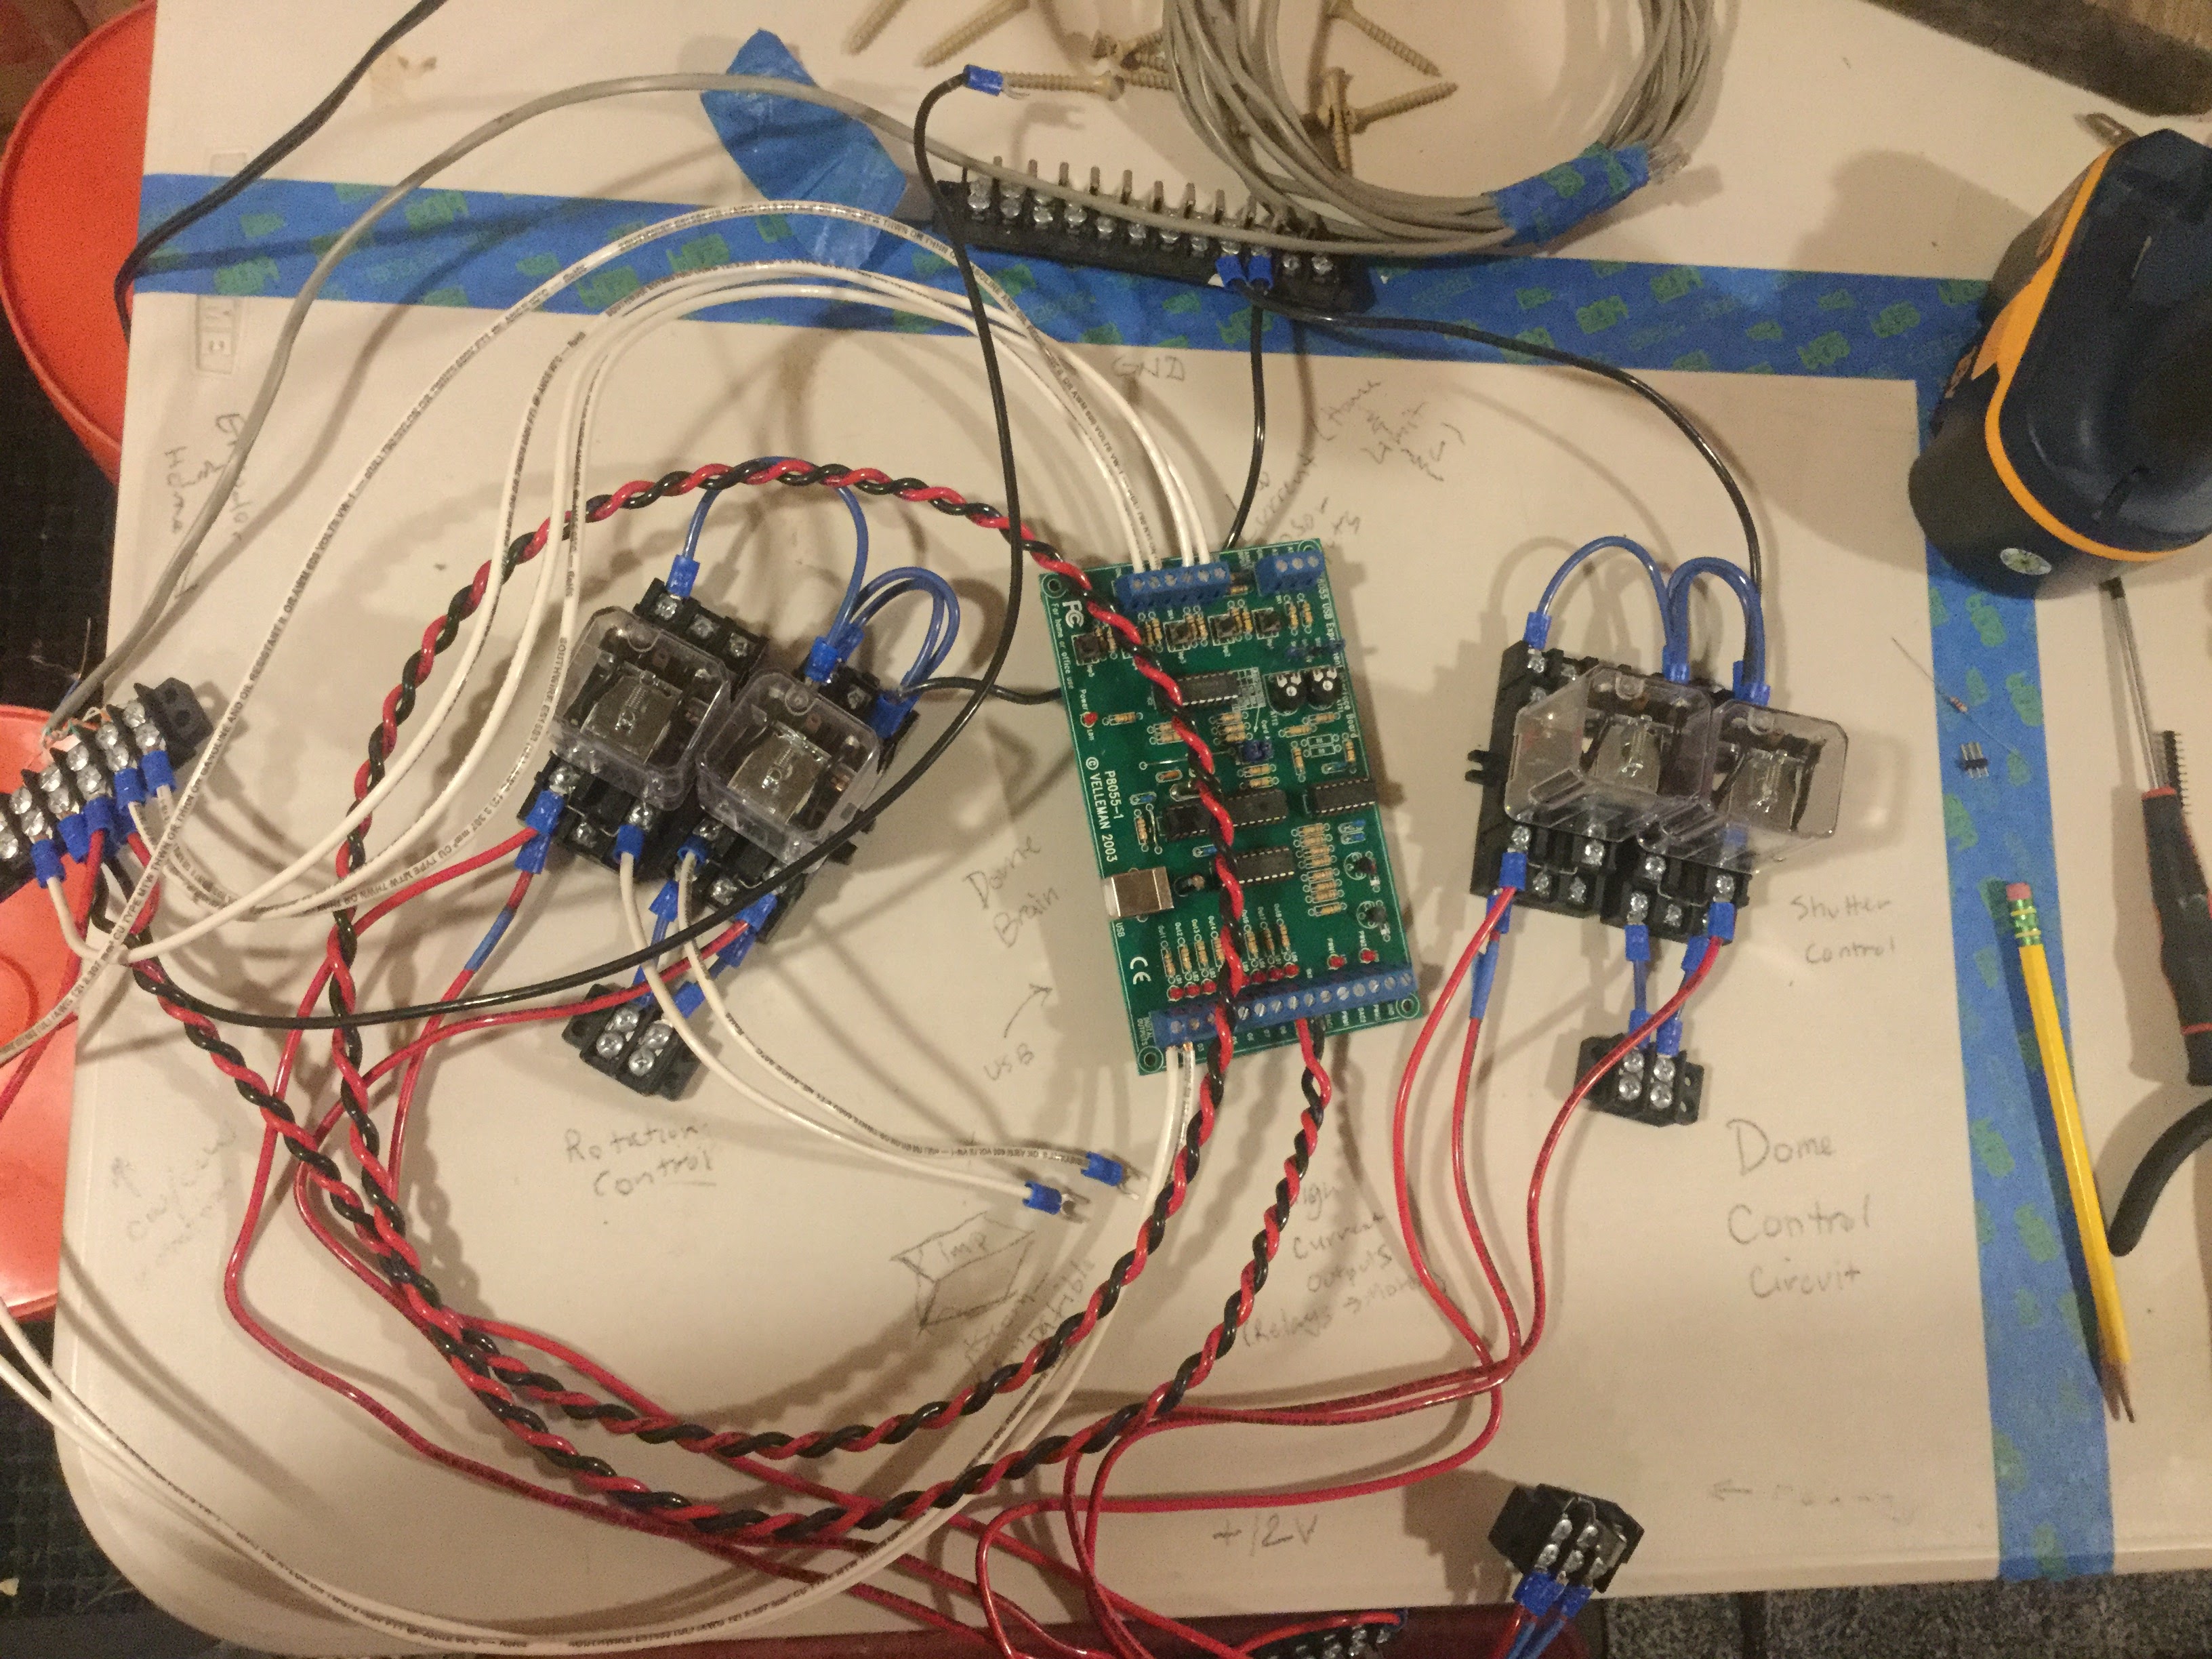
I pulled the whole circuit off its temporary home, a chunk of 2×6 I had lying around, and started trying to figure out how it would fit into the area I need it to get installed.
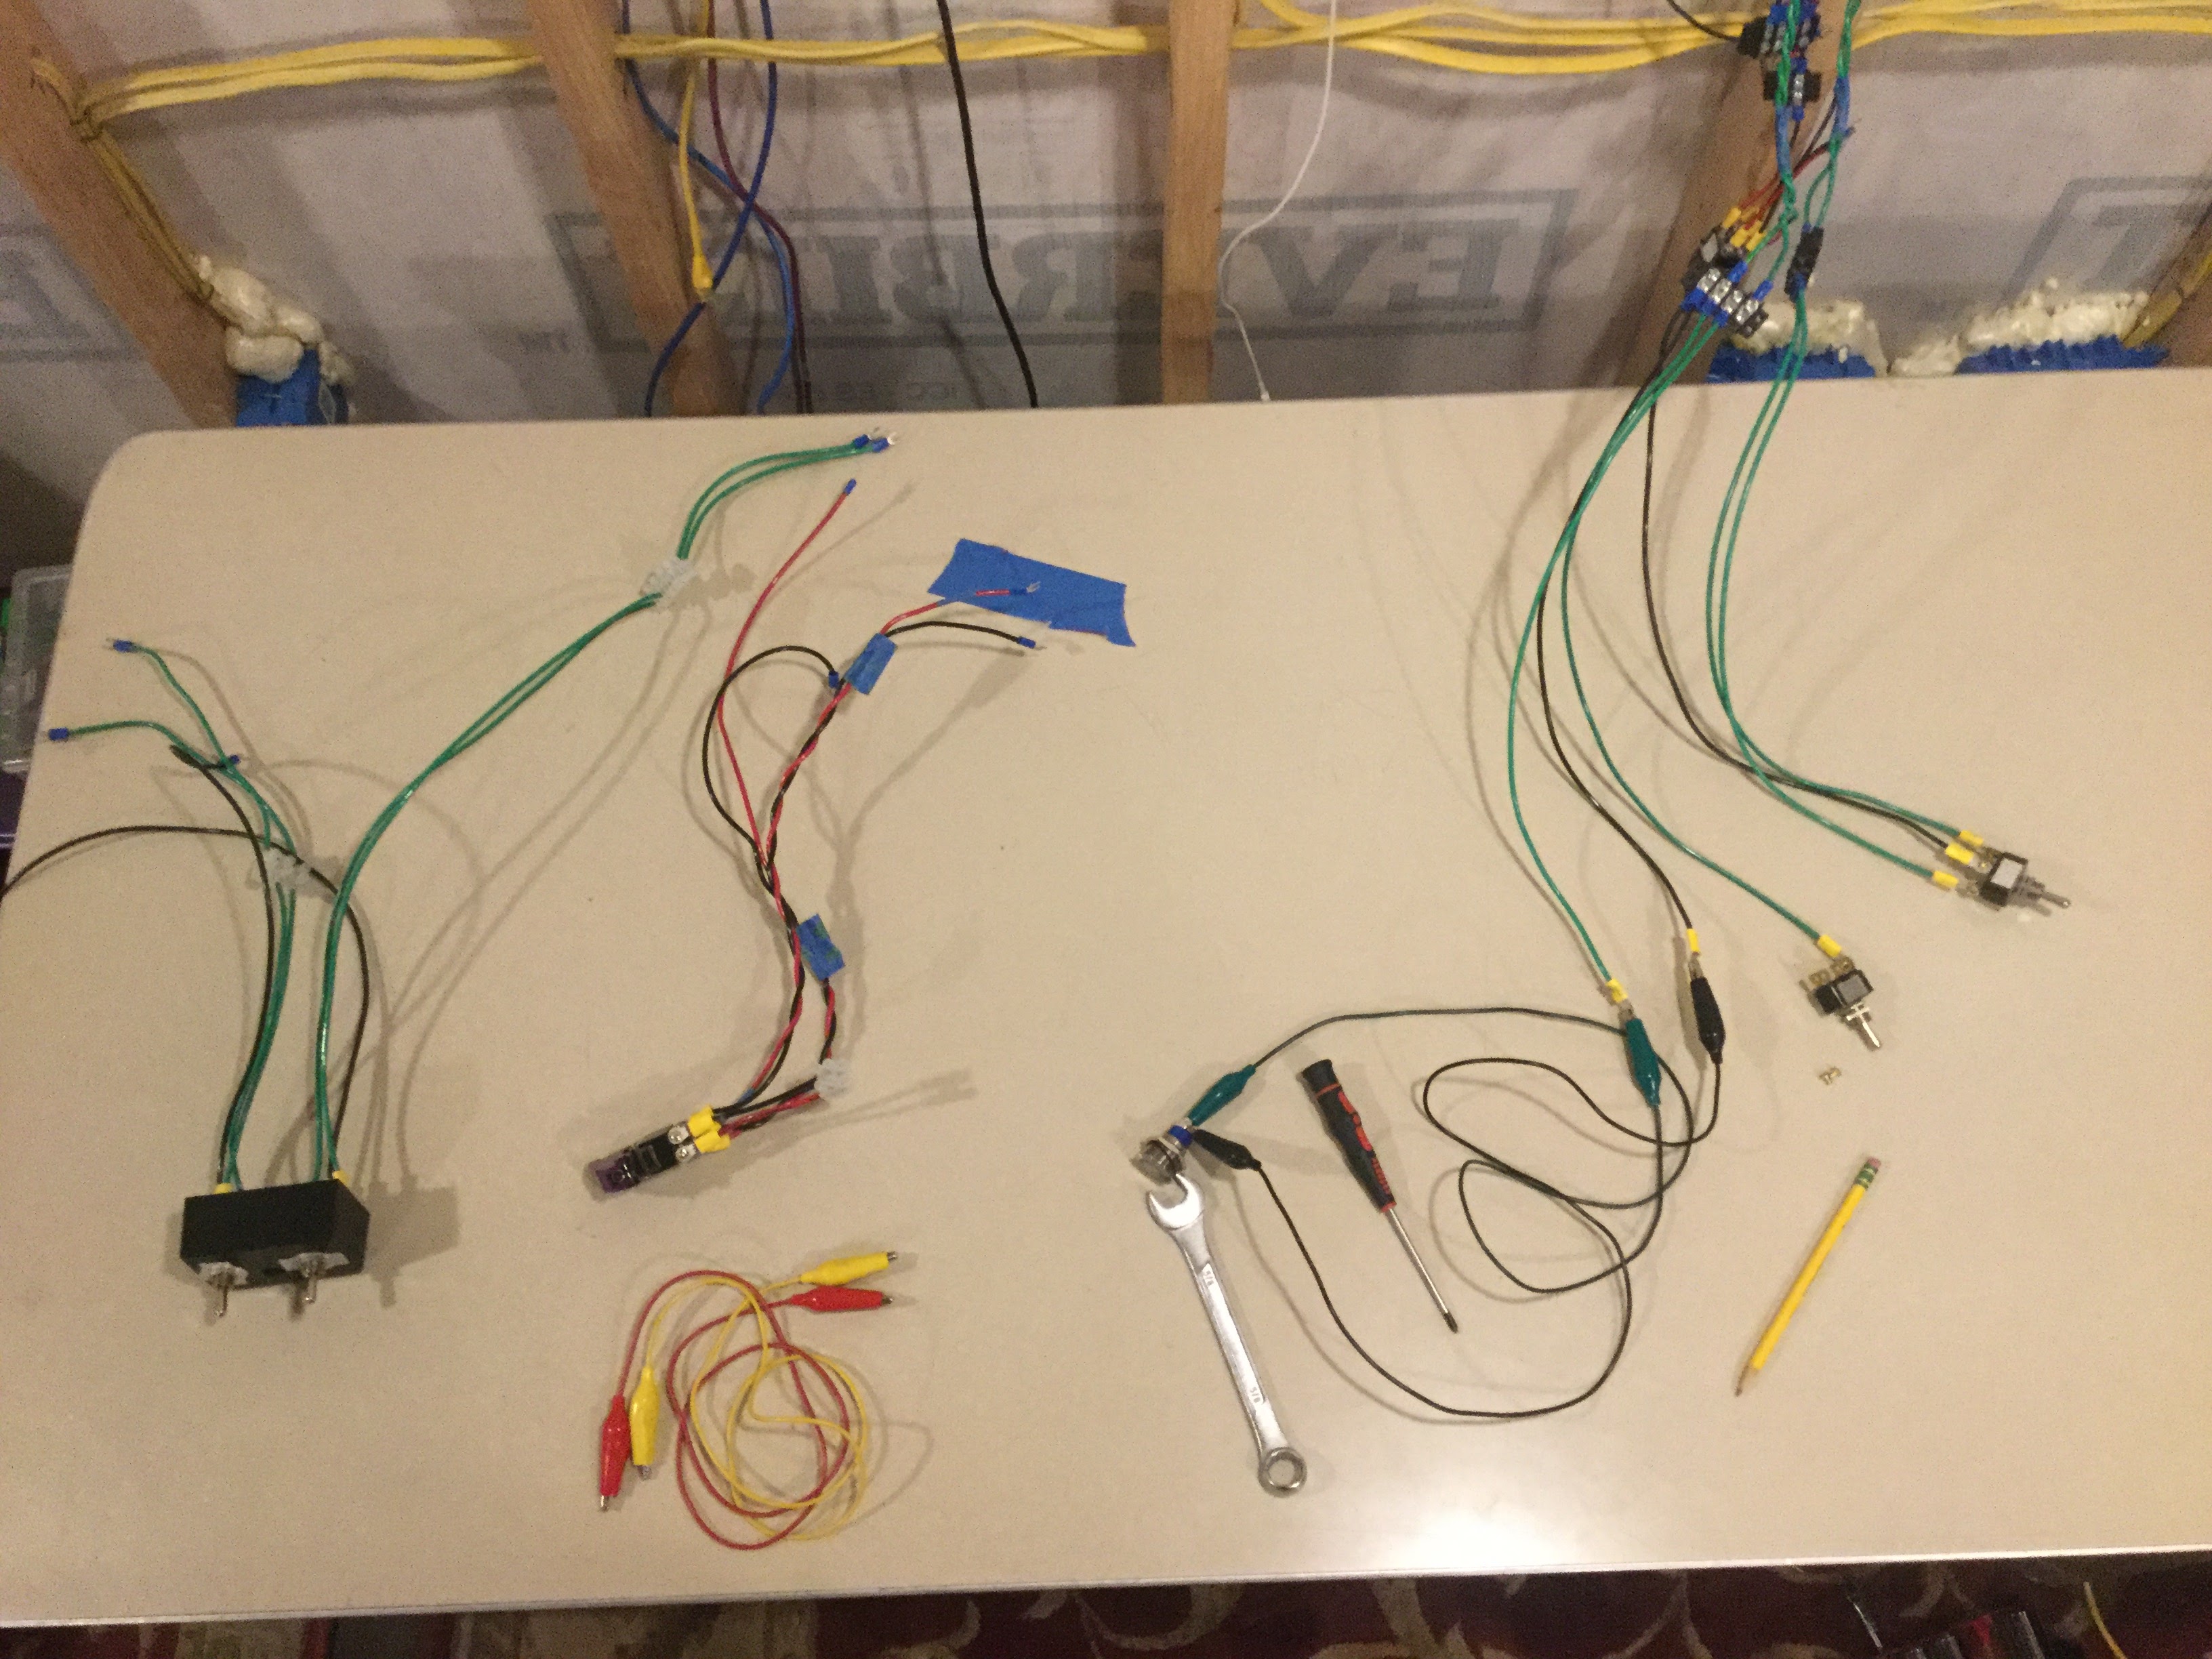
I also looked at the switches to see what needed updating there
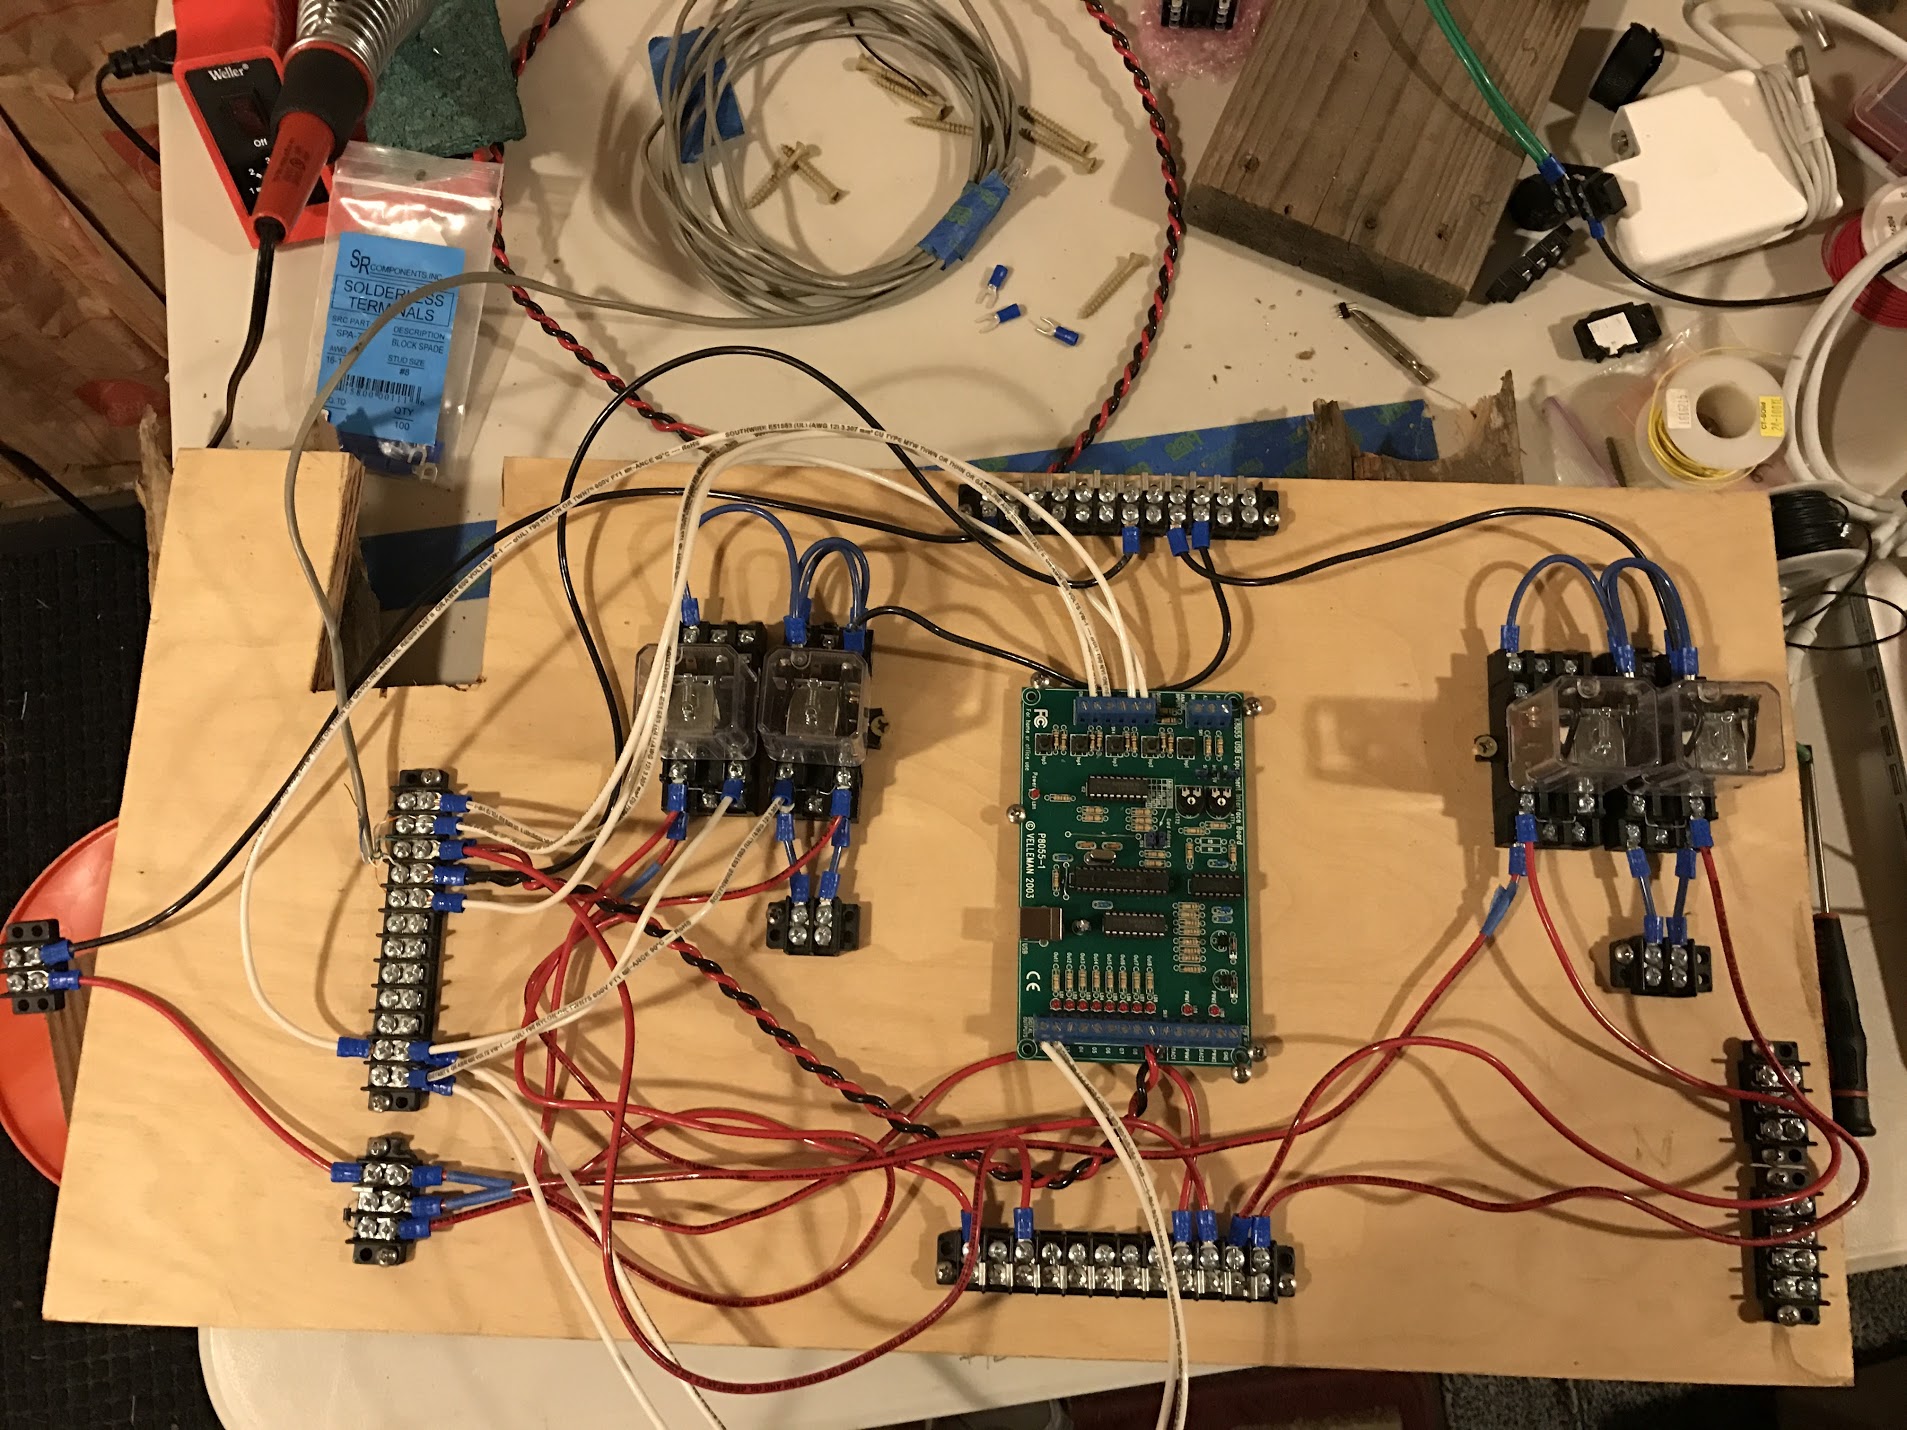
Then it was just a matter of getting a backing board cut out, and then getting all the parts re-mounted. The backing board was pretty straightforward; I had an idea of how big the area I had to work in (that’s the taped-off area of the desk, above), so a quick trip through my scrap pile produced a very pretty piece of 3/4″ ply that looked like it’d do the job.
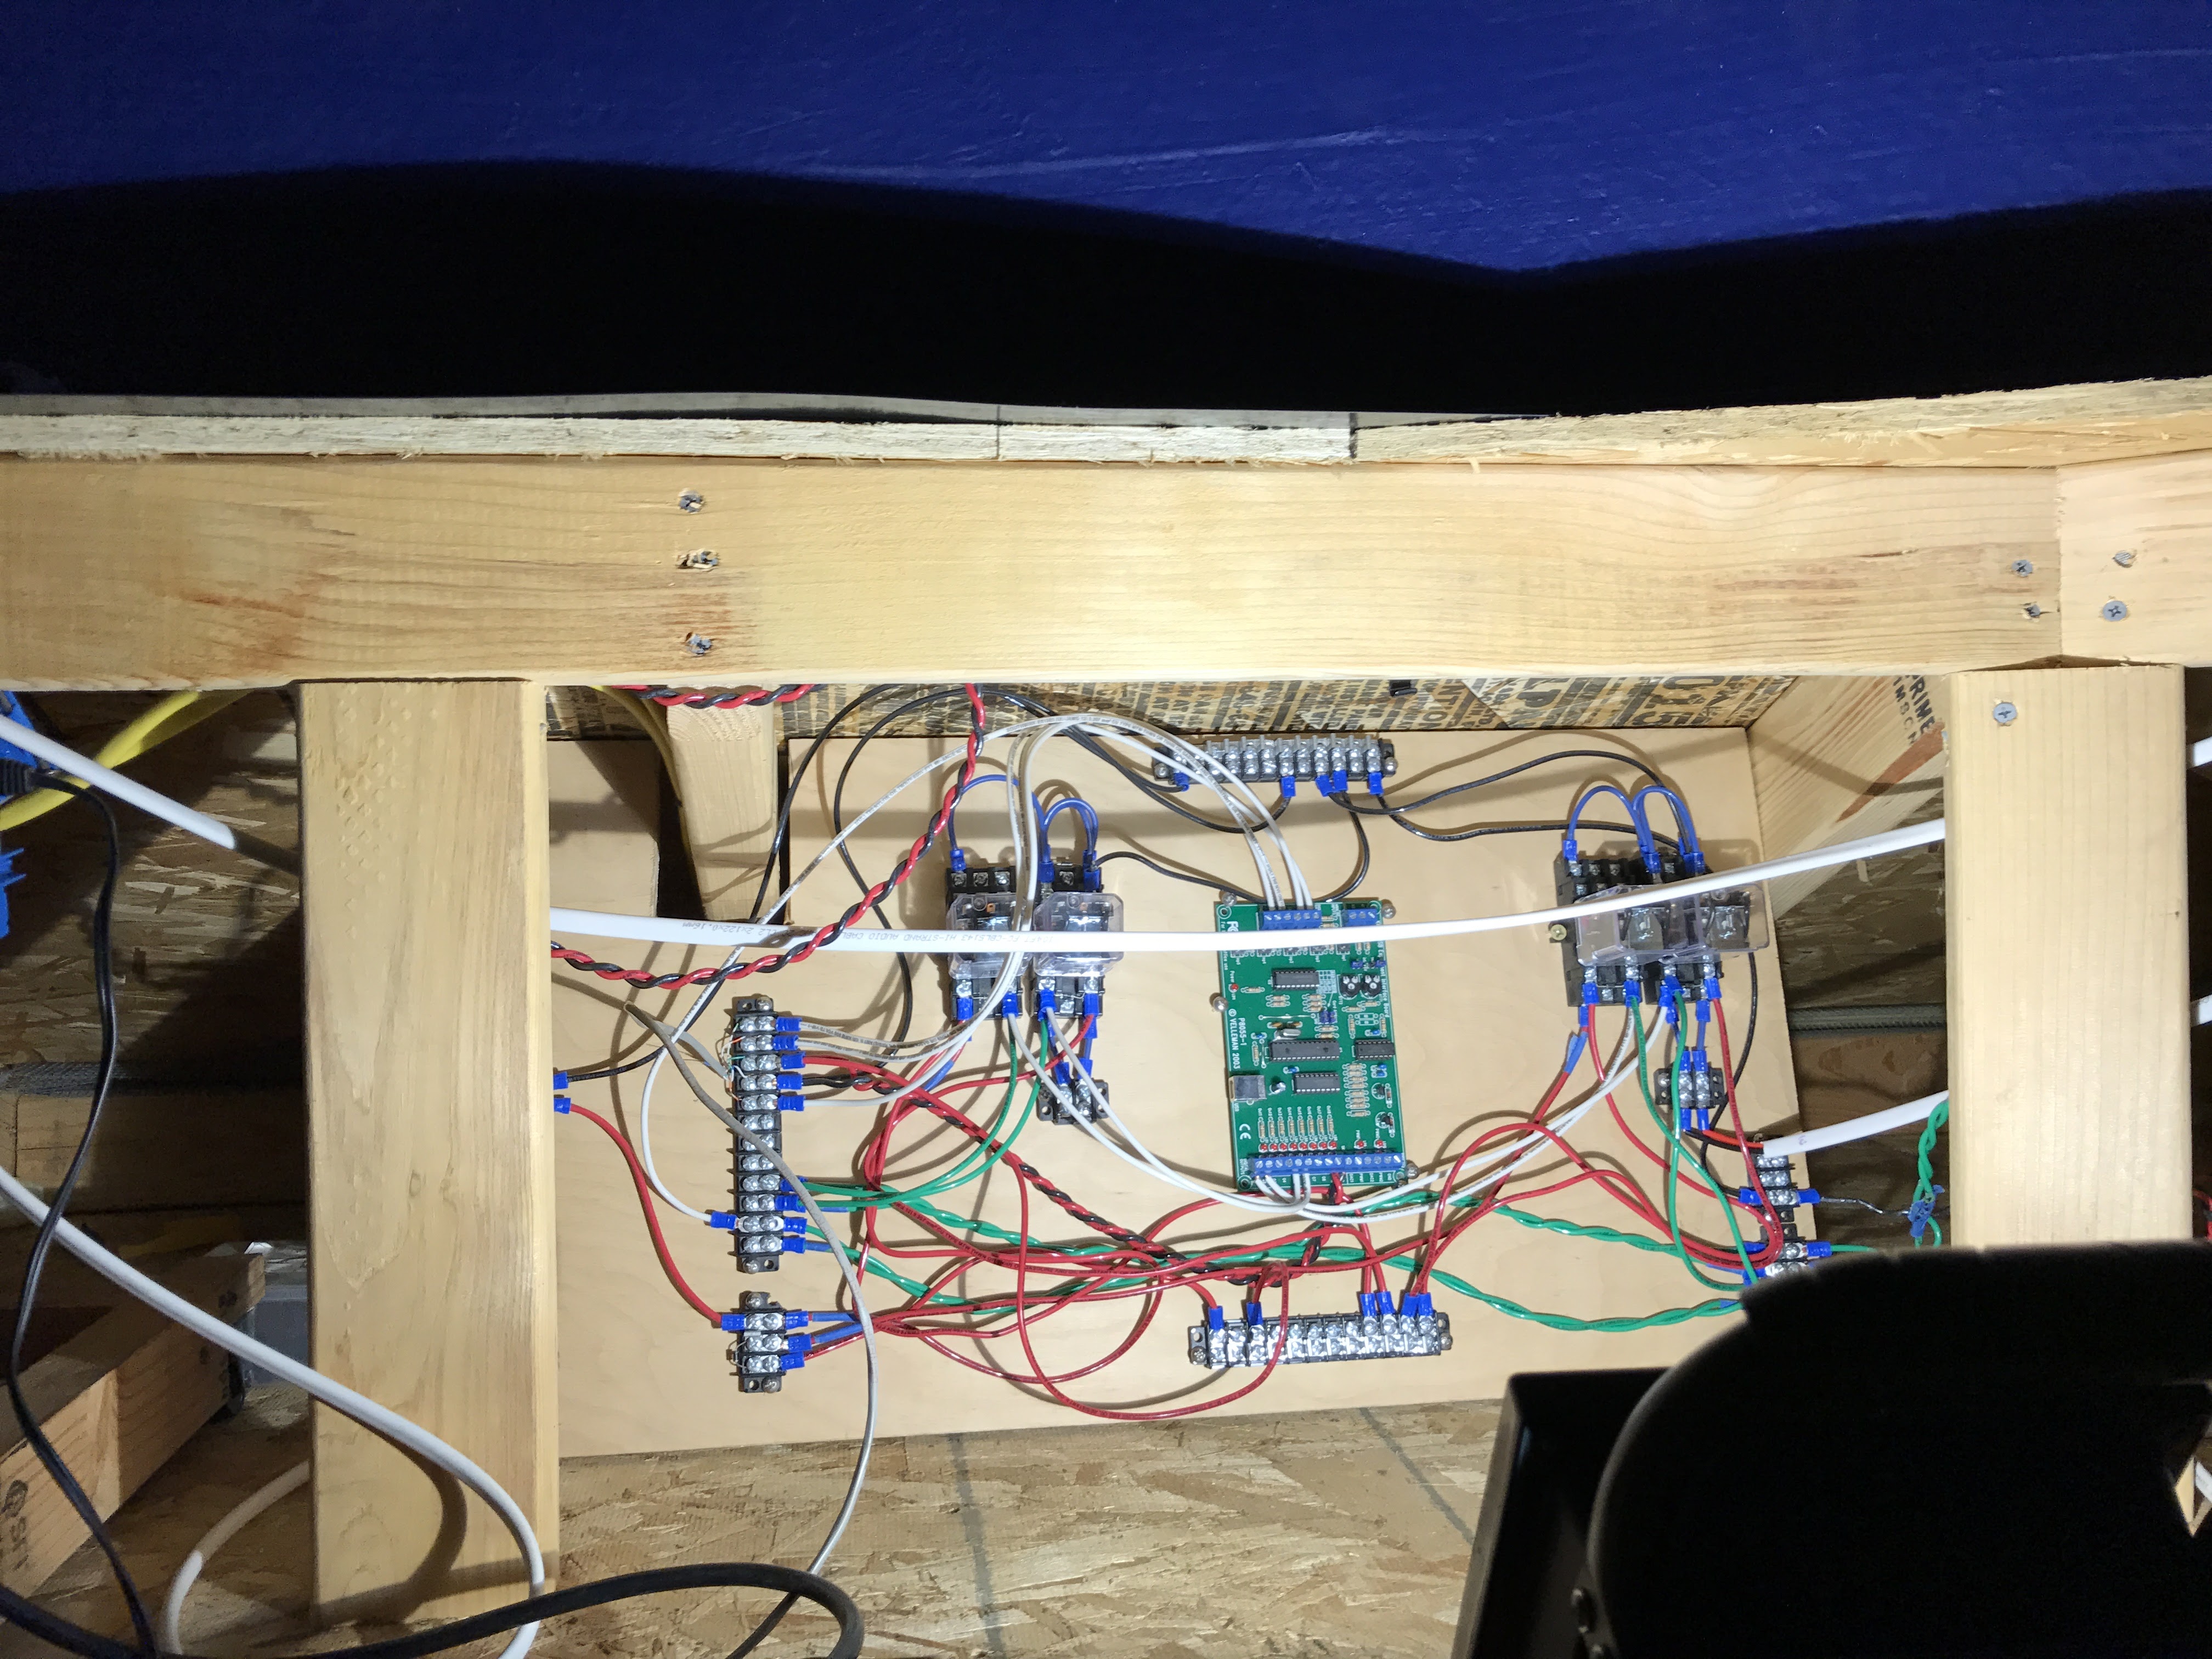
I had to cut a little notch because of a strangely-placed rafter, and then widen it a couple of times, because that’s the rafter that brings 110VAC up from below, but I got it test-fit in place pretty easily, all things considered. I was so pleased that I didn’t even take time to shoot a photo; you’ll just have to believe me.
If connectors are my #1 pet peeve, fasteners are a close #2. All I had on-hand were some 1-1/4″ wood screws, which are decidedly too long for 3/4″ plywood, but in the spirit of “just get it done already”, I put a couple of 2×4 spacers behind the workpiece, and used them anyway. Someday, I will give myself a nice puncture wound while trying to modify the dome control circuit, and I’ll remember, 5 seconds too late, that I never quite got around to replacing those screws with 3/4″ ones. Note to future self: sorry about that.
I didn’t do a whole lot of changes to the wiring harness — I’d given myself lots of slack when I first built the rig, thanks previous self! — I was able to stretch things to make them work, but the whole thing could use a once-over to tighten all the wire runs. It looks pretty messy right now.
To make a long story short, I got everything nailed back down, and I even found my crimp ends to fix up a couple of places that needed a replacement cable.
I added the battery cutoff switch and the directional controls back to the circuit, so that in theory I could hook it back to the battery and it would fire right up. New Year’s Eve.
A “workman-like” snow met Hilltop O, a crisp, cloudy, January day. I heard a chickadee in the area. Man, they are loud.
I started the day pondering control cables. I couldn’t decide how the color scheme was going to work out, so I diverted to the Park button for awhile; I have resolved to do it in hardware, switches and relays. Stay tuned.
But, I digress.
When you’re dealing with car batteries, those amps can do some damage if you send them the wrong way, so following a wire-color pattern in your circuit is critical to success. I had been using green to indicate a human UI (a button, for instance. Stay tuned. I digress.), but the inside of the dome is blue, so I was thinking about it a little. Nothing like confusion at 1am to remind you to keep it simple.
The dome “directional” controls come in pairs, one wire for each direction (the location I’ll be installing the switches already has +12v/GND available, bonus), so I measured the run and cut 4 equal chunks of blue 12ga. stranded, and…
I built myself a cable-winding jig a few years ago. Block of wood with a couple of bolts and washers and a hole between. Add a wrench and a cordless drill, and we’re off to the races.
Wires held to jig with bolts. Jig goes between the leaves of the back gate, put a little backpressure on it, like waterskiing or windsurfing, but not a ton, just enough to keep the jig from falling out of place. Chuck the two cables into the drill. You could do it with 3 cables, but this build called for two. Chuck the thing down pretty good. Then let ‘er rip. You get some wound up cables, really pretty, and very durable, in seconds.
And it’s fun. 🙂
You have to be very careful of the cables when you release the tension. They can spring around, hard, wear gloves and safety glasses, and keep your face away, totally. worth. it.
(Behold, new dome control cable)
I needed another power cable, too.
(aw, yeah.)
I did a bunch of cleanup on the control board, shortened a bunch of cables and tried to tidy things up a bit. (Yes, to anyone else, it still looks like a mess. It’s a process.) I also ran a control wire bus, as I’ll need to have a control port on each side. So far, the south side only needs GND. I like that.
(That control bus is a little over 2nanoseconds long. This is not a speed contest at this point.)
I need to remount the battery cutoff switch, but for now, it has a functional, if not particularly glamourous, temporary housing.
(Cone of Shame)
One cable to the battery, harvested from the previous battery connector cable.
New cable, from switch mount point to main DC bus.
(Alas, already installed, but still cool)
Test the new cables for continuity, and ready to install the board. It’s awkward, but goes right in. Connect up existing wiring, found that I needed to swap relay banks to make the azimuth motor cables fit, no problem, but let’s not do that again, shall we?
Flip the main switch, no smoke (bonus), head downstairs, push the button…
Nothing.
At this point, I should have heard a relay click. They’re pretty loud, circuit-off-and-check-the-… Ah, there it is. On try 2, there was a click. Woot!
Upstairs, connect the rotation motor. Circuit on, downstairs, push the button, and?
Step 1 of desk controlling the dome: get a desk button to move the dome.
Check. 🙂
No photo, it’s a sound gag.
Connecting to the other direction of the same axis, not successful. Only one relay fires. The last time this happened, it was a blown diode in the switch wiring.
And that was it for New Year’s Day.
January 2, final day of Christmas vacation, and I was starting to feel a little urgency. The dome needs control in 4 directions, and I ended the previous evening with a total of 1 working.
It turned out that I did, in fact, have a blown diode on the rotation side — there’s something weird about the way I have things set up, that every so often, a diode “just blows”. This was the second one I’d found. Hmm. Table that for later thought.
With the diode fixed, I now have full rotation control restored! Woot!
On to shutter control. One of the things you have to be careful about when moving the shutter is that moving past either end of the travel is a Bad Thing. Part of getting a “park” button working (mentioned without further digression) is to get the upper and lower limit switches functional, so that this turns into a non-issue. However, with the way the control box has been going together, I’m sure you can guess what happened next.
Yep, the shutter control was only working in one direction, and that’s “closing”, but of course the dome was already closed, so I scared myself pretty badly while trying to figure out how to de-tension the shutter cables, and finally resorted to connecting the motor cable directly to the battery. By the way, for future reference, it turns out that when you hook up the motor cable “normally” (red to red, black to black), that’s the “closing” direction, so I made it temporarily worse, yikes. I got the cables moving in the right direction, and left the dome open about 12″, so that I would have some breathing room.
One of the reasons that I haven’t brought dome control down to the desk to this point, is because it’s really difficult to see what the dome is doing, while sitting at the desk. Part of this whole build is to really finish off the dome UI, so that you don’t have to be crammed into a corner to get the thing to work. But, I had cables mostly done to the desk, whereas the cables to the new-and-improved spot don’t even have connectors on them, yet, so I went with the shortest path to “done”.
All this is to say that as I was testing the controls, I needed a second pair of eyes to help me. I got some of it working by starting a video chat with myself, and leaving the iPad pointing at the shutter; that was how I knew that I had only one direction of control. But figuring out exactly what was wrong needed some close scrutiny of the relays, and for that I needed a second human. I nominated the Jr. Maker (the Jr. Astronomer is less able to hang in there for this type of stuff), and after explaining the problem, I let him drive the control switches (which is the part he wanted to do anyway 🙂 ). A few to-and-fro movements later, and I’d figured out that the control wires for the shutter were flopped, so instead of being A / AB, it was wired B / AB. The “A” relay is “on/off”, and the “B” relay is “direction”, so just tripping the B relay is.. not helpful. I also had him hang around long enough for me to figure out which direction is “default” (with the B relay off), so that I could set those to “Closing” and “Clockwise”, as those are the most likely directions I would need in a pinch, so might as well save some wear and tear on the directional relays.
Anyway, if you’ve been paying attention, you know that, at this point, I have all 4 directional controls working in the dome again! Dome control box upgrade complete.
The dome’s power switch (aka battery cutoff switch, the We’re Too Close for Missiles, Switching to Guns On Switch) is wired into its final location (although it still needs installing into the actual switch box), and the directional switches are all working again, now sitting on the desk. So, there’s still work to be done; the dome controls need to be moved to the built-in desk buttons. The dome UI needs to be extended so it works from the observing deck again. And then there’s limit switches and more automation functionality to create.
But for now, Hilltop Observatory is back online. The astronomy gods even cut me a little break, and gave me a clear night, to celebrate! I’m shooting some footage of The Rosette Nebula, as I type. Really pretty conjunction tonight, too. 3-day crescent moon sitting between Venus (west) and Mars (east).
What a great Christmas vacation.
MOST COMMENTED
Observatory
Observatory 2.0 – Time has come today!
General / Maintenance
First Light, a deeper look
Mount / Observatory / Telescope
Observatory 2.0 – Result!
Observatory
Observatory 2.0 – The Pier goes in
Gear / General / Maintenance
Martin Farmer Wormblock installation notes
Deep Sky / Long Exposure Photography
NGC2244, The Rosette Nebula
Deep Sky / Long Exposure Photography
Another beautiful night.