

The ol’ shed is getting close enough to being built that I needed to make sure that the dome is ready to install. In particular, I needed to patch some dings in the gelcoat of the dome, and I needed to uninstall the motors so that the dome can be disassembled for installation.
K and L helped out a lot on getting the gelcoat fixed up. We cleaned the dome up a bit with wipes and acetone, and then K and I got down to mixing and applying gelcoat. As I suspected, the color is basic white gelcoat. It took a couple of passes, but I think that the dome is weather-worthy. I will be able to continue some of the repairs even once it’s up, if needed.
When we were closing the dome shutter to check for areas needing patching, the motor started making an awful noise, but we needed to move on, so I made a mental note to check on it later. When it came time to reopen the shutter, to remove motors, the shutter opened smoothly. As I was carefully removing the shutter cables (hint: use cable clamps to keep tension on the windings!), I noticed that one of the bearings in the shutter windlass mechanism had jumped its track, and was chewing itself up on the chain drive. Sigh. So I let a bit of the tension out of the cable, and like a big steel shoelace, it both opened up enough to let the bearing reseat, and fouled itself on the windlass, so I had to carefully rewind it. Bother steel cables and all their ilk.
Everything in the shutter motor assembly went back together fine; I neatly coiled the cables, and the shutter came off the dome perfectly. I took all the power cables off the three motors, and we took the dome apart and it’s almost ready to be siliconed and installed.
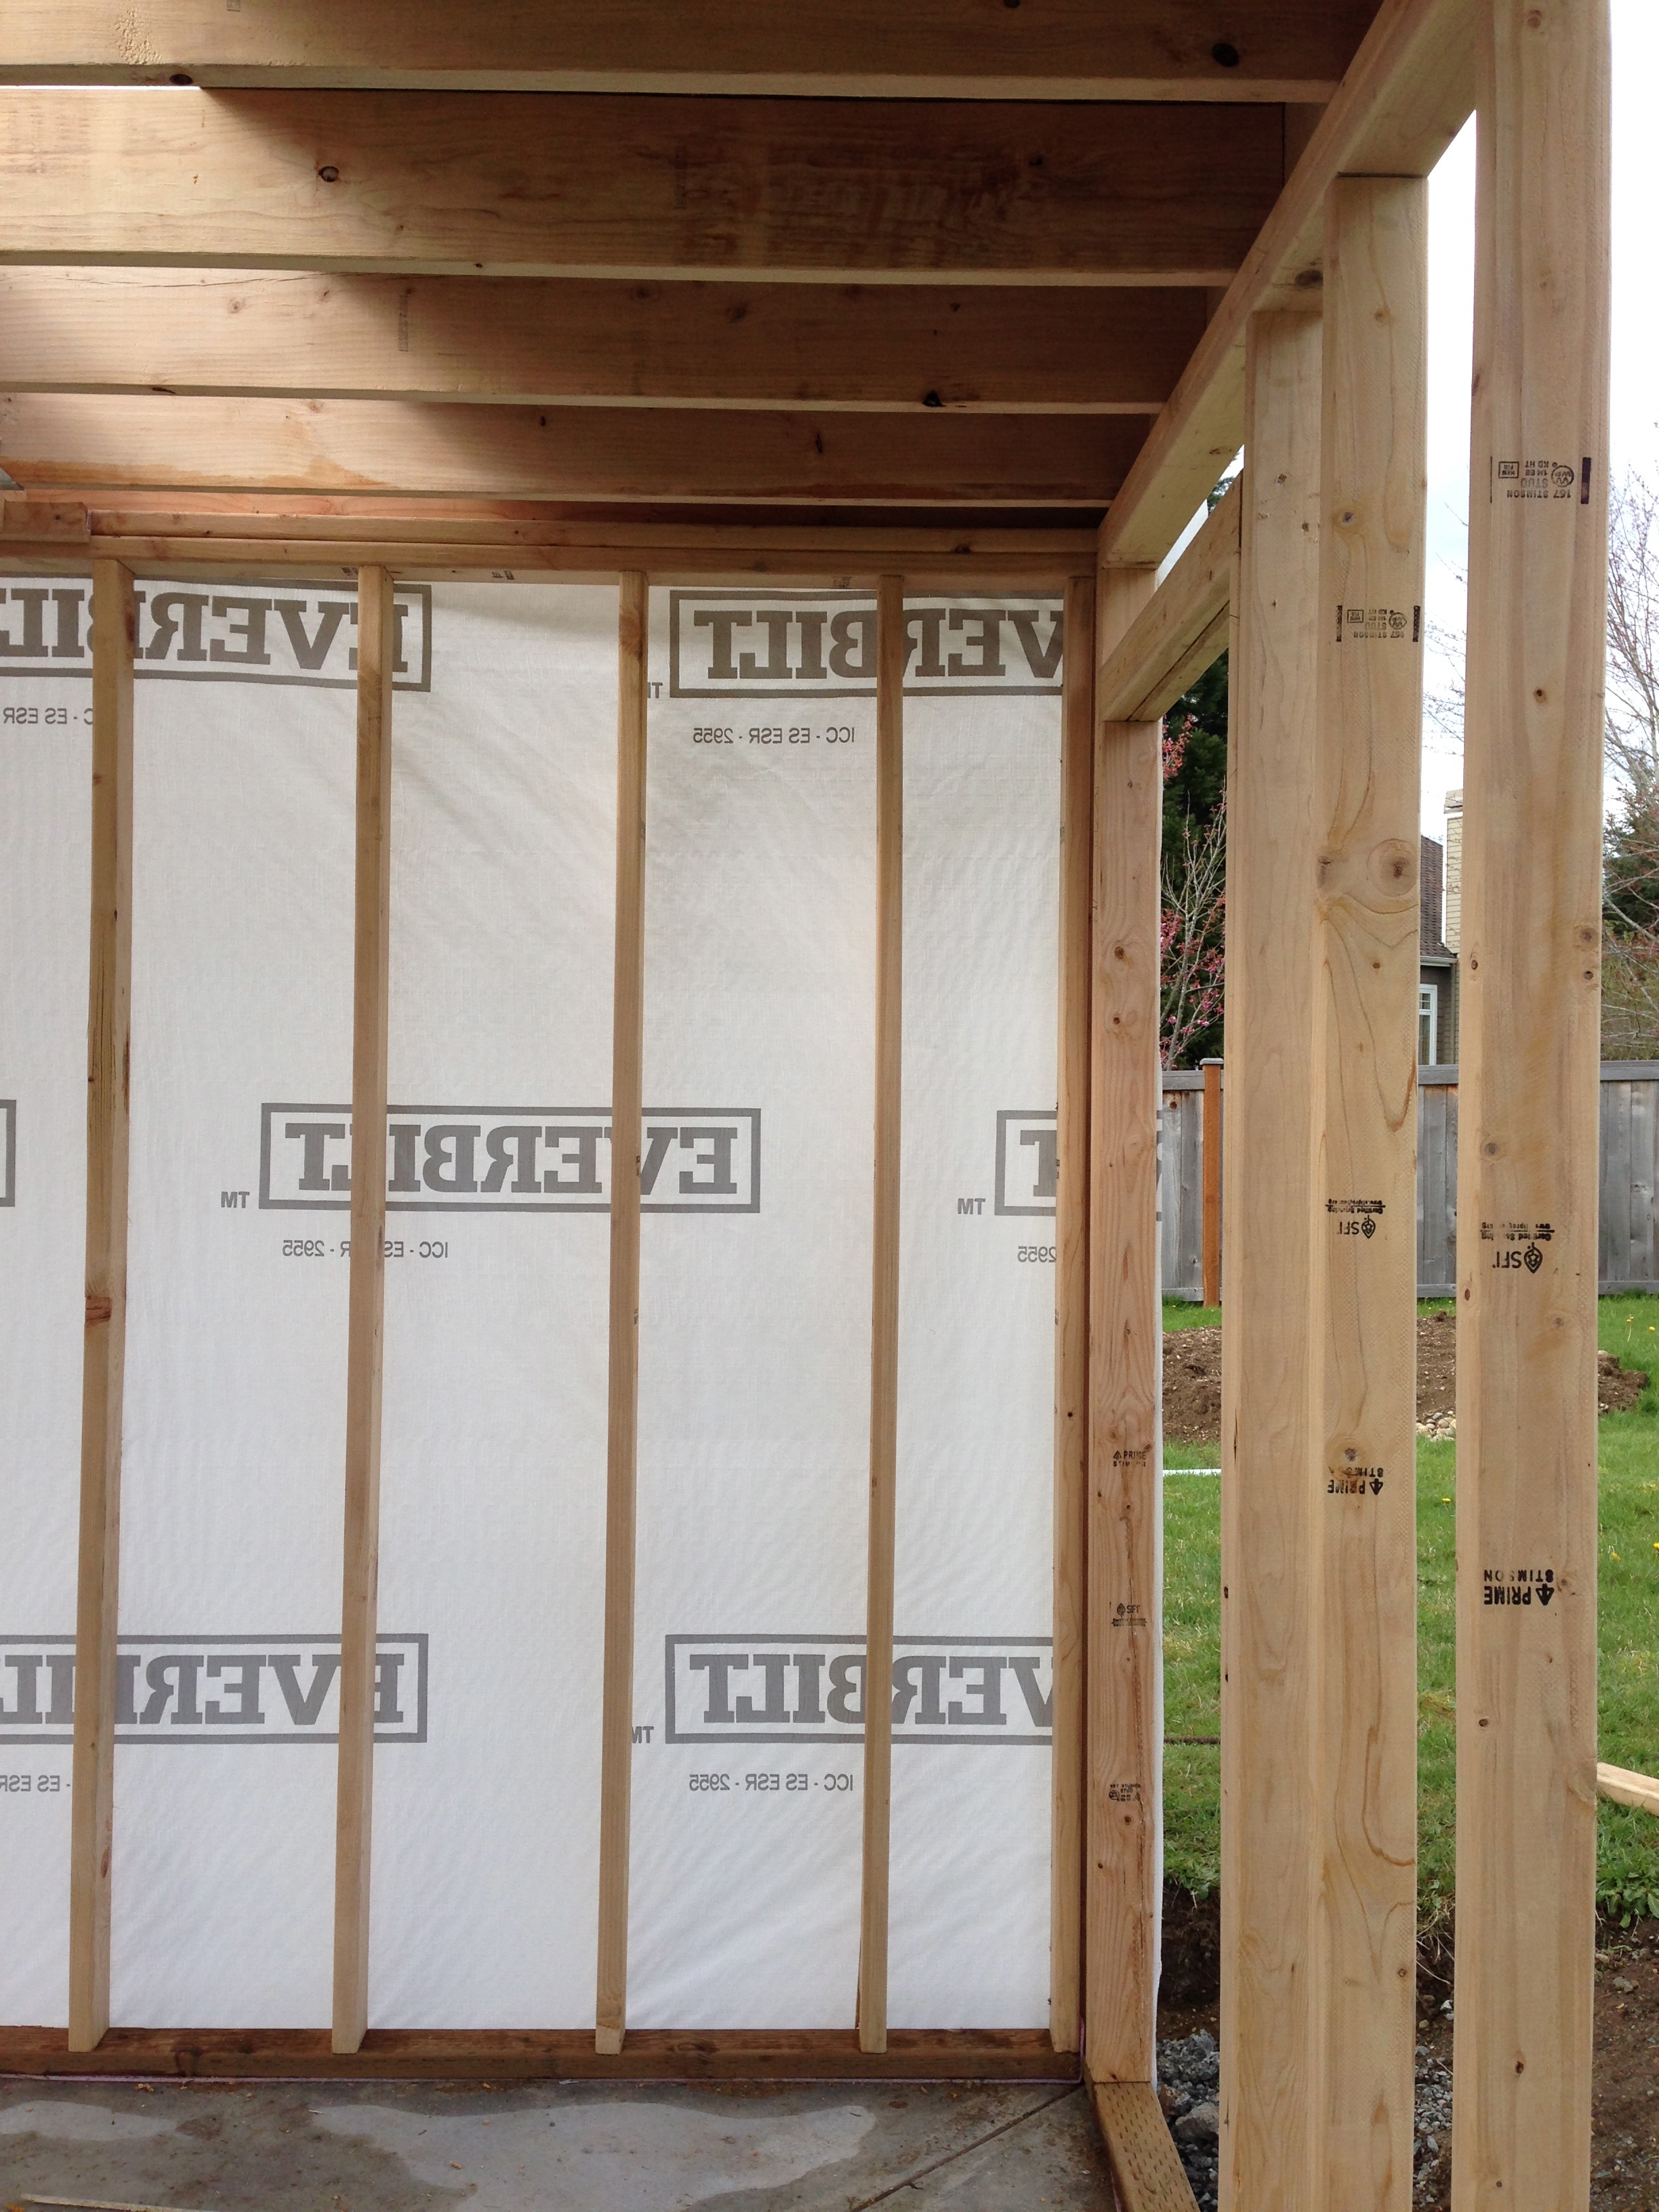
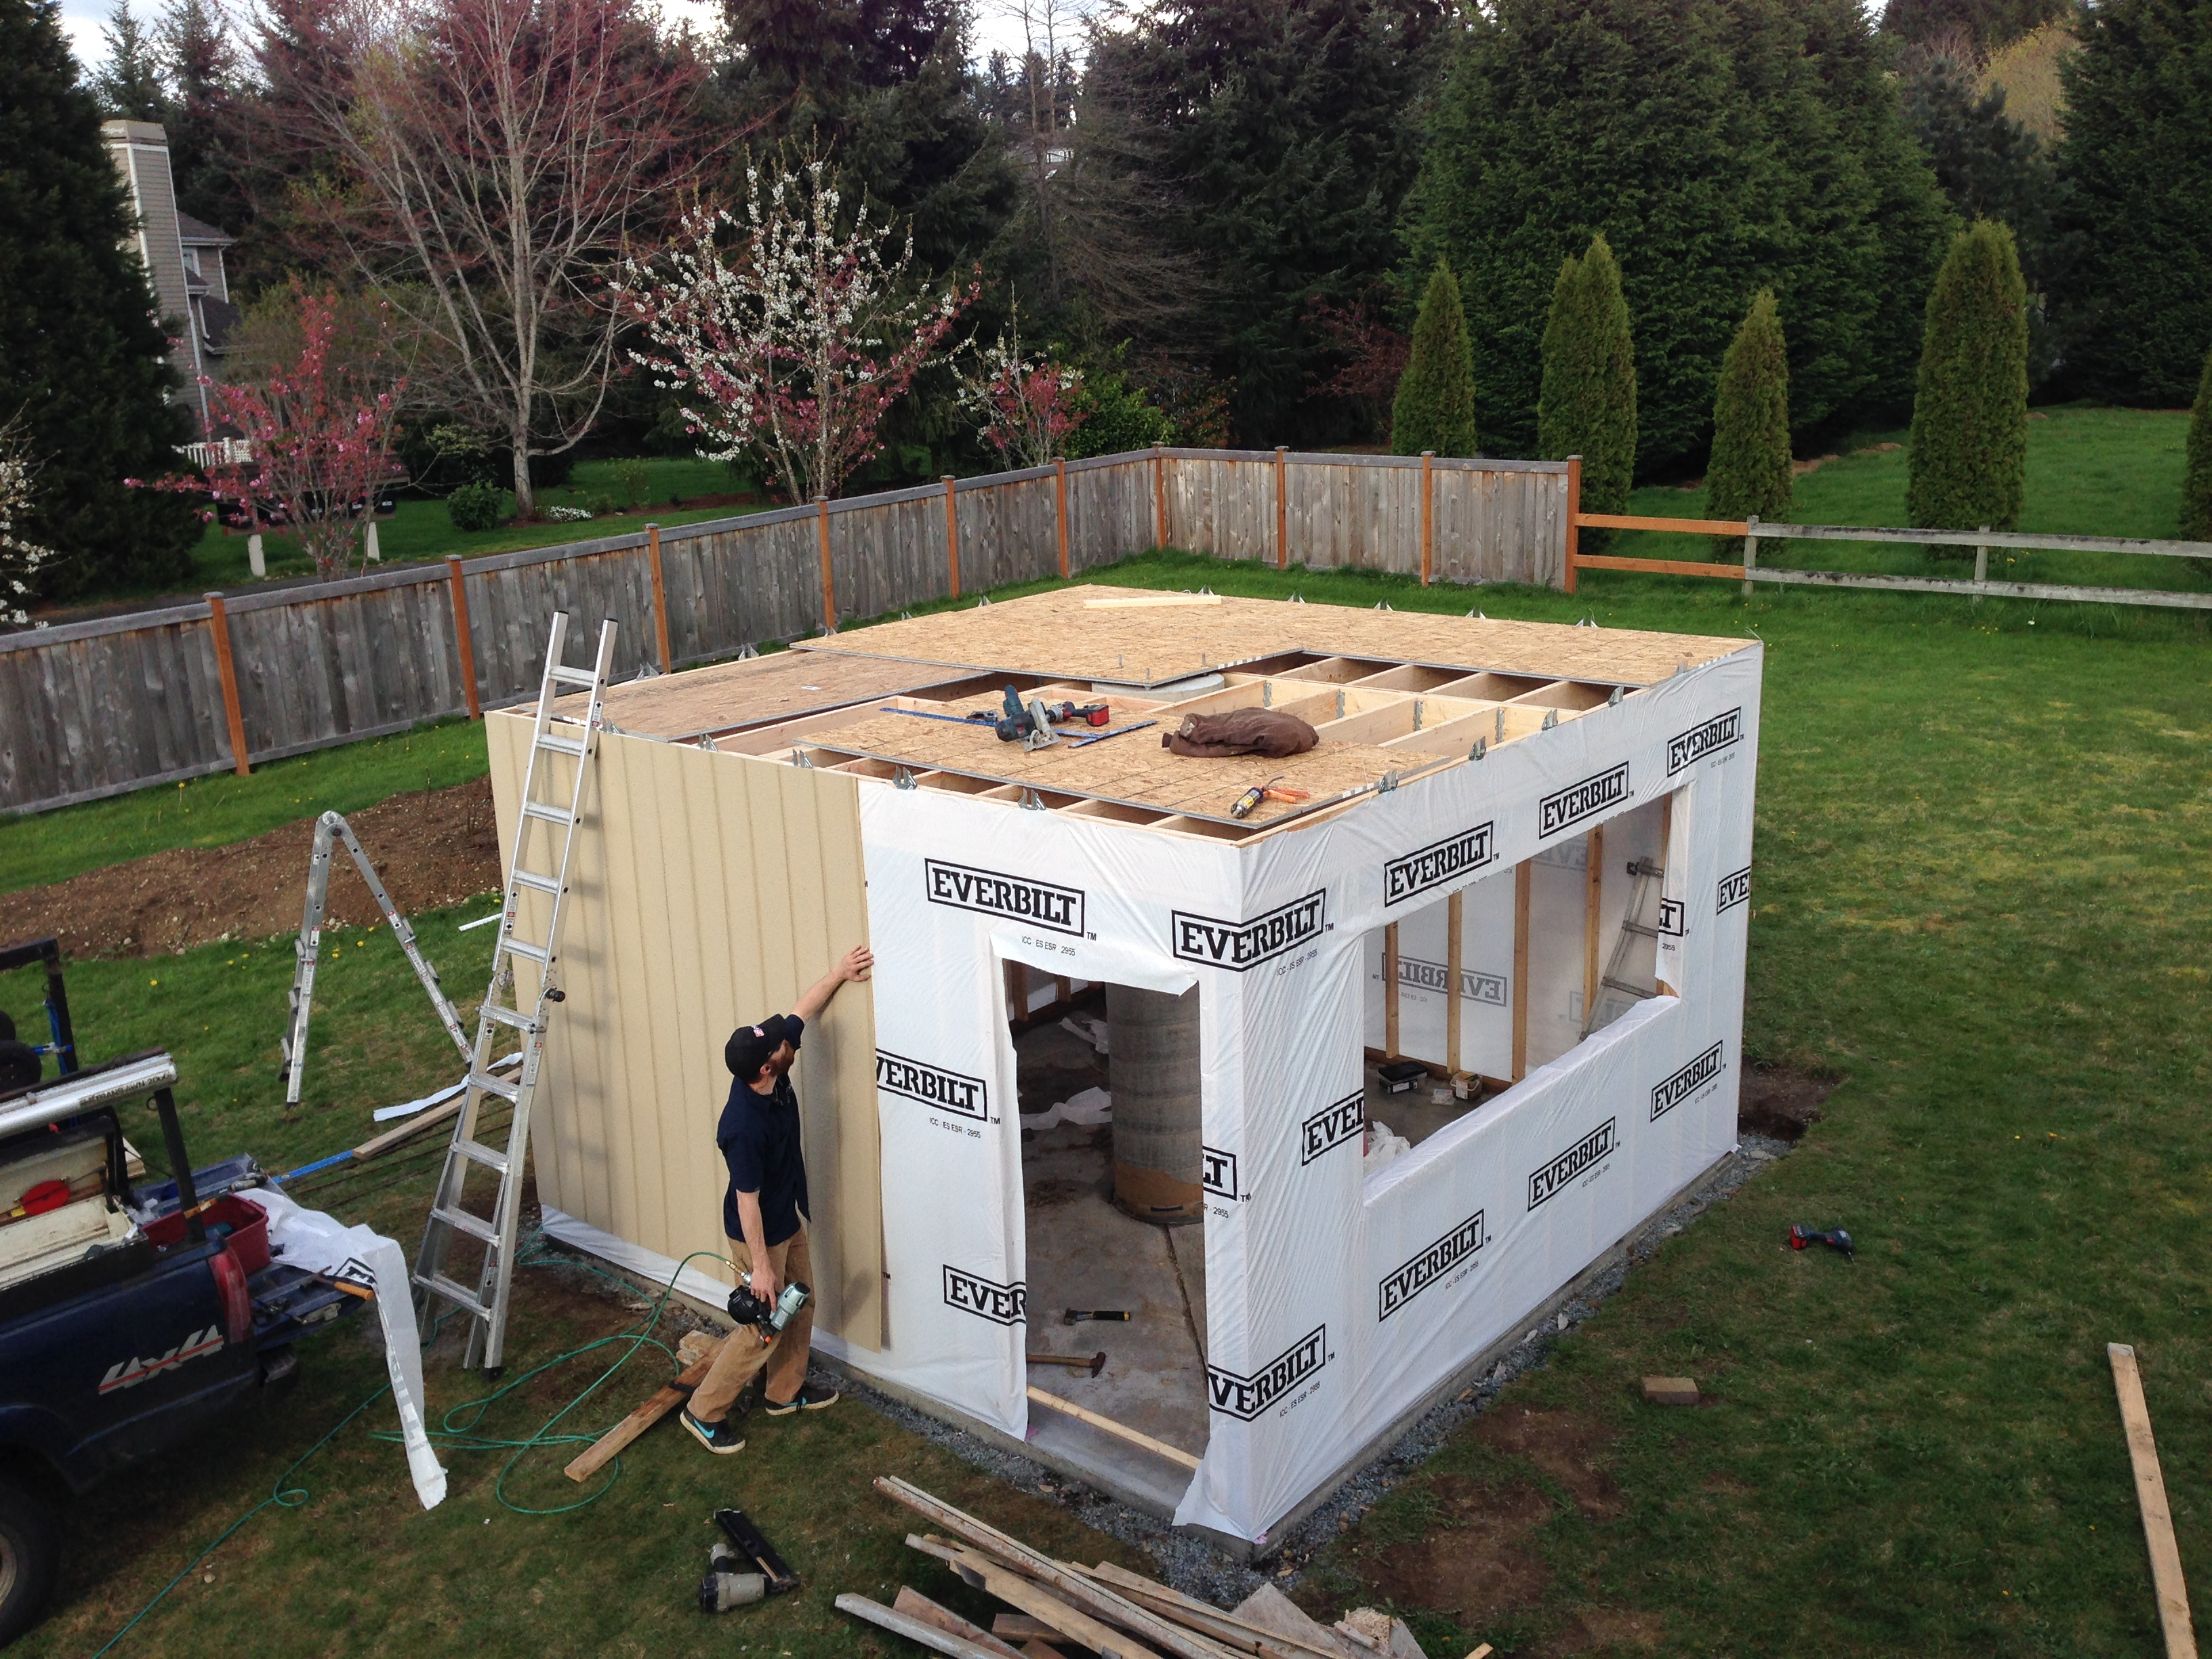
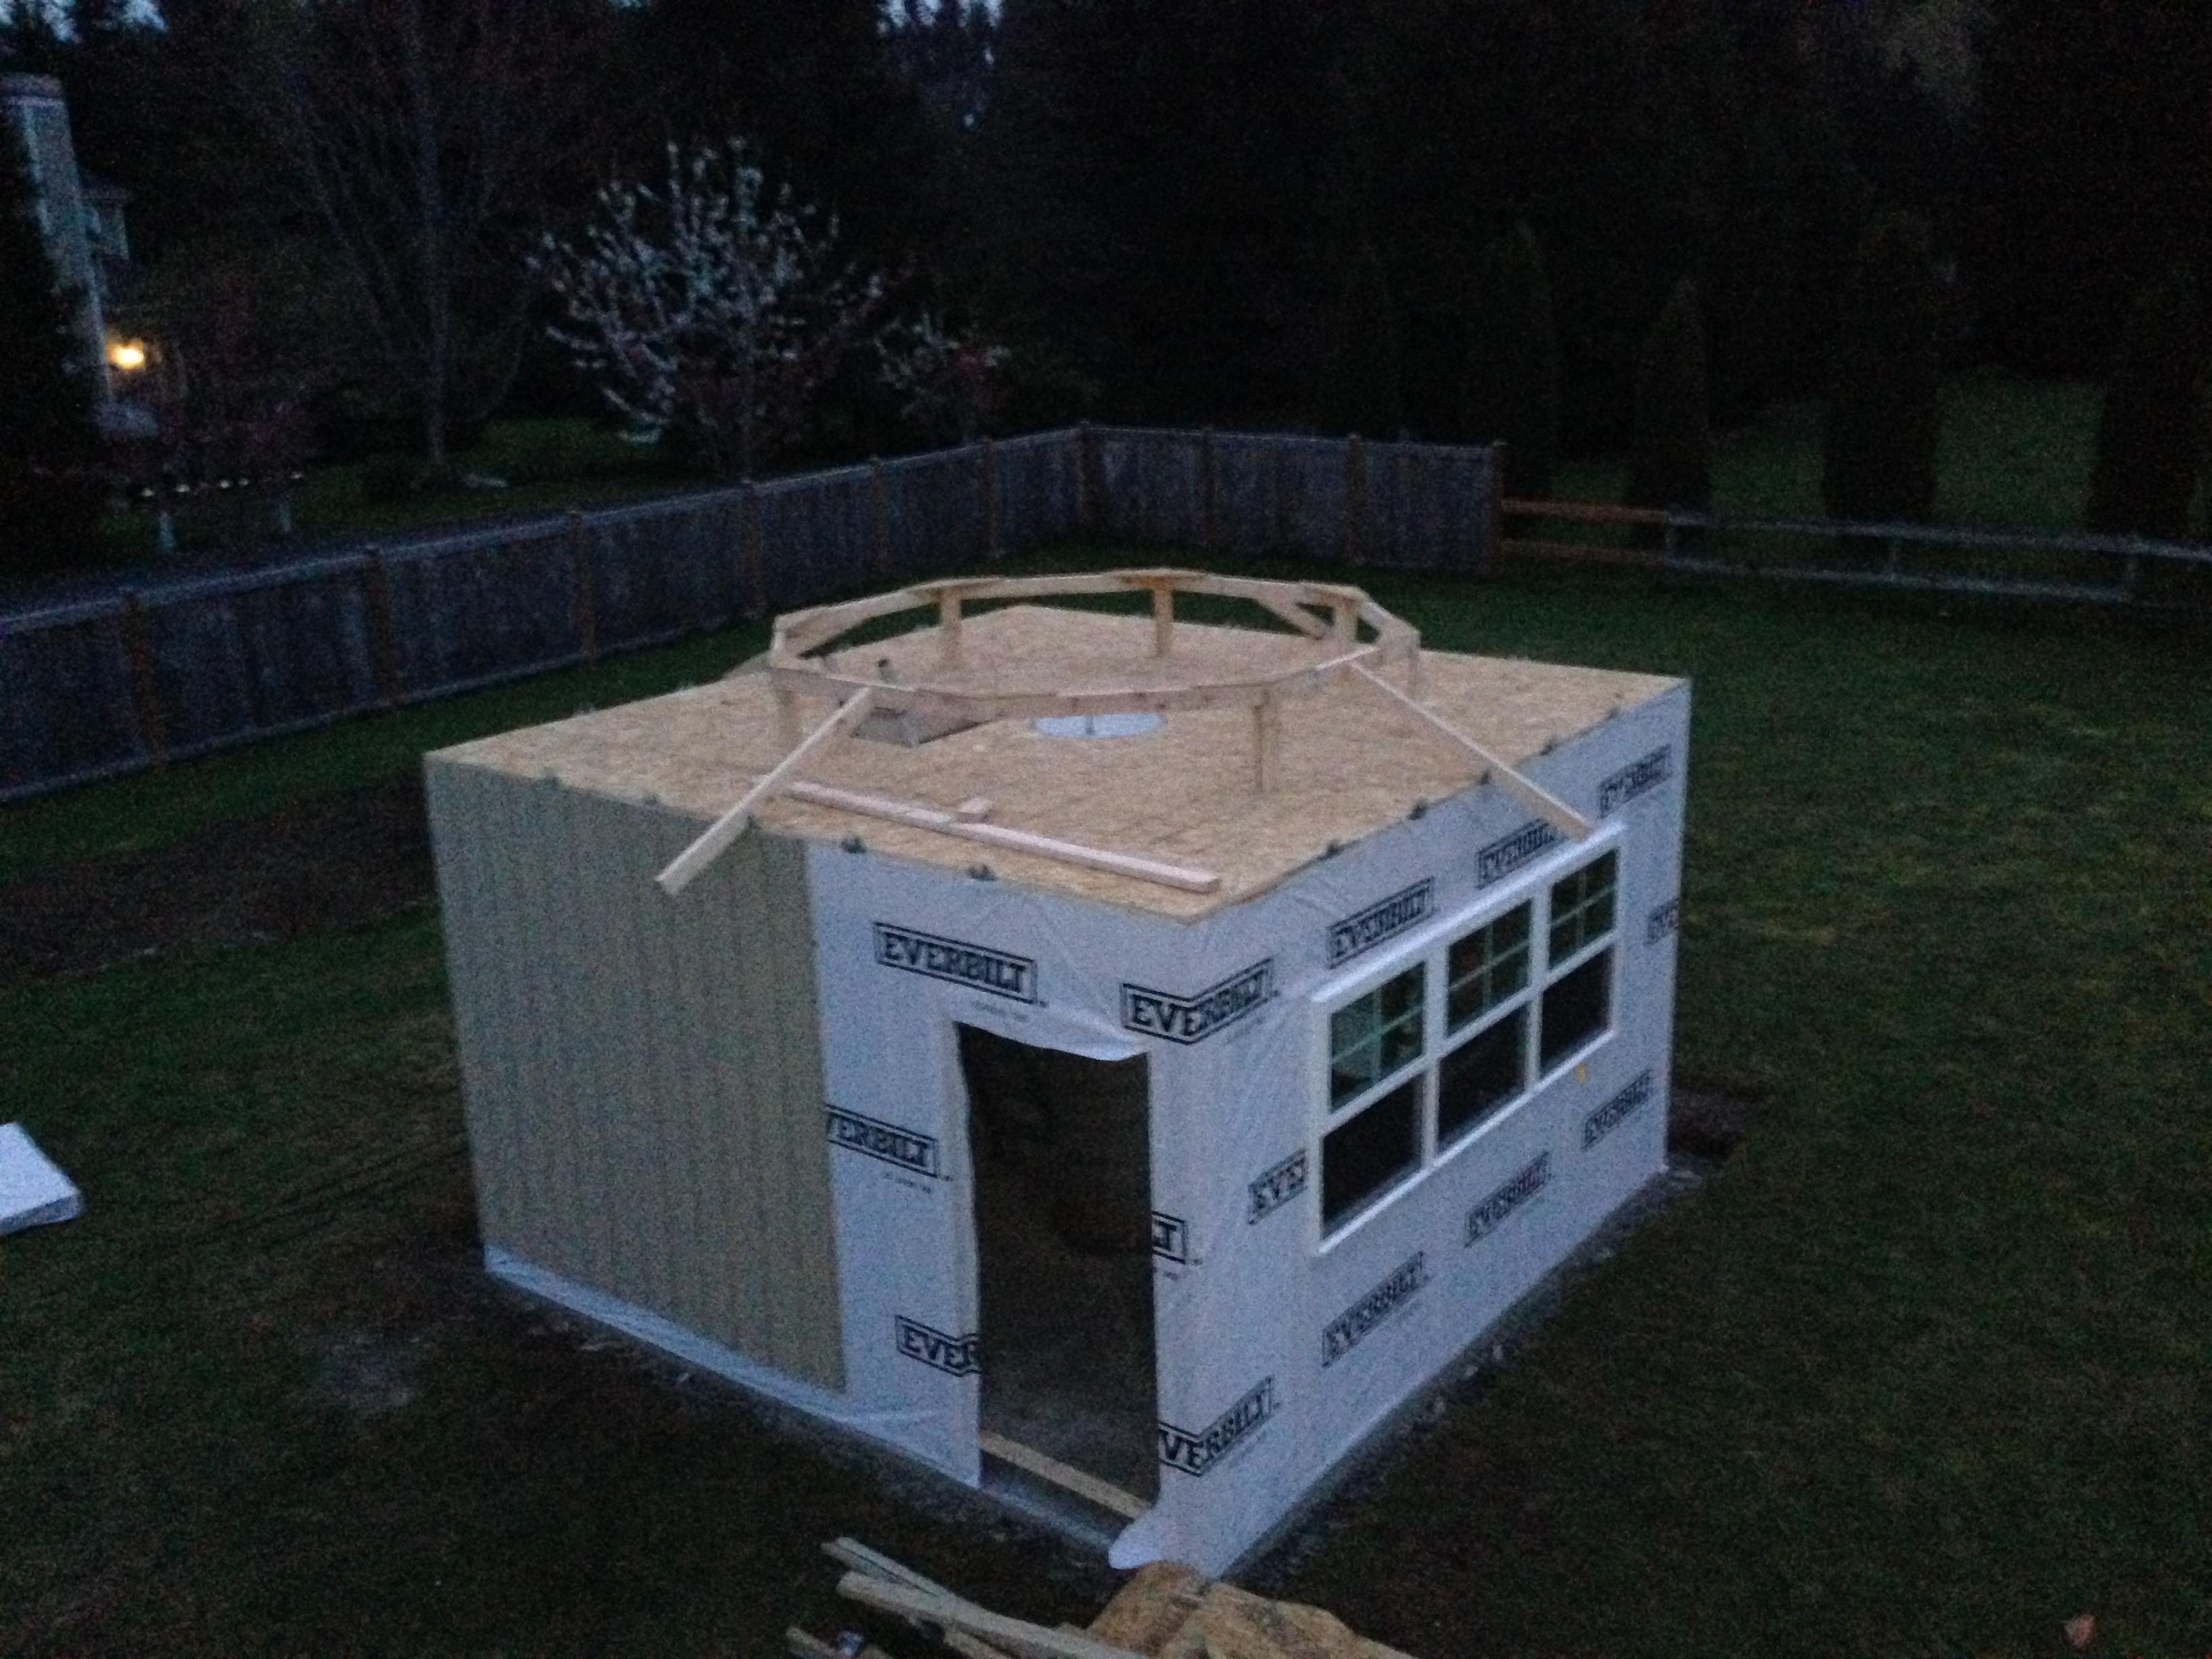
Jared finished installing the ceiling joists, and the attic floor, and Tyvek’d and put up some of the siding to hold things in place.
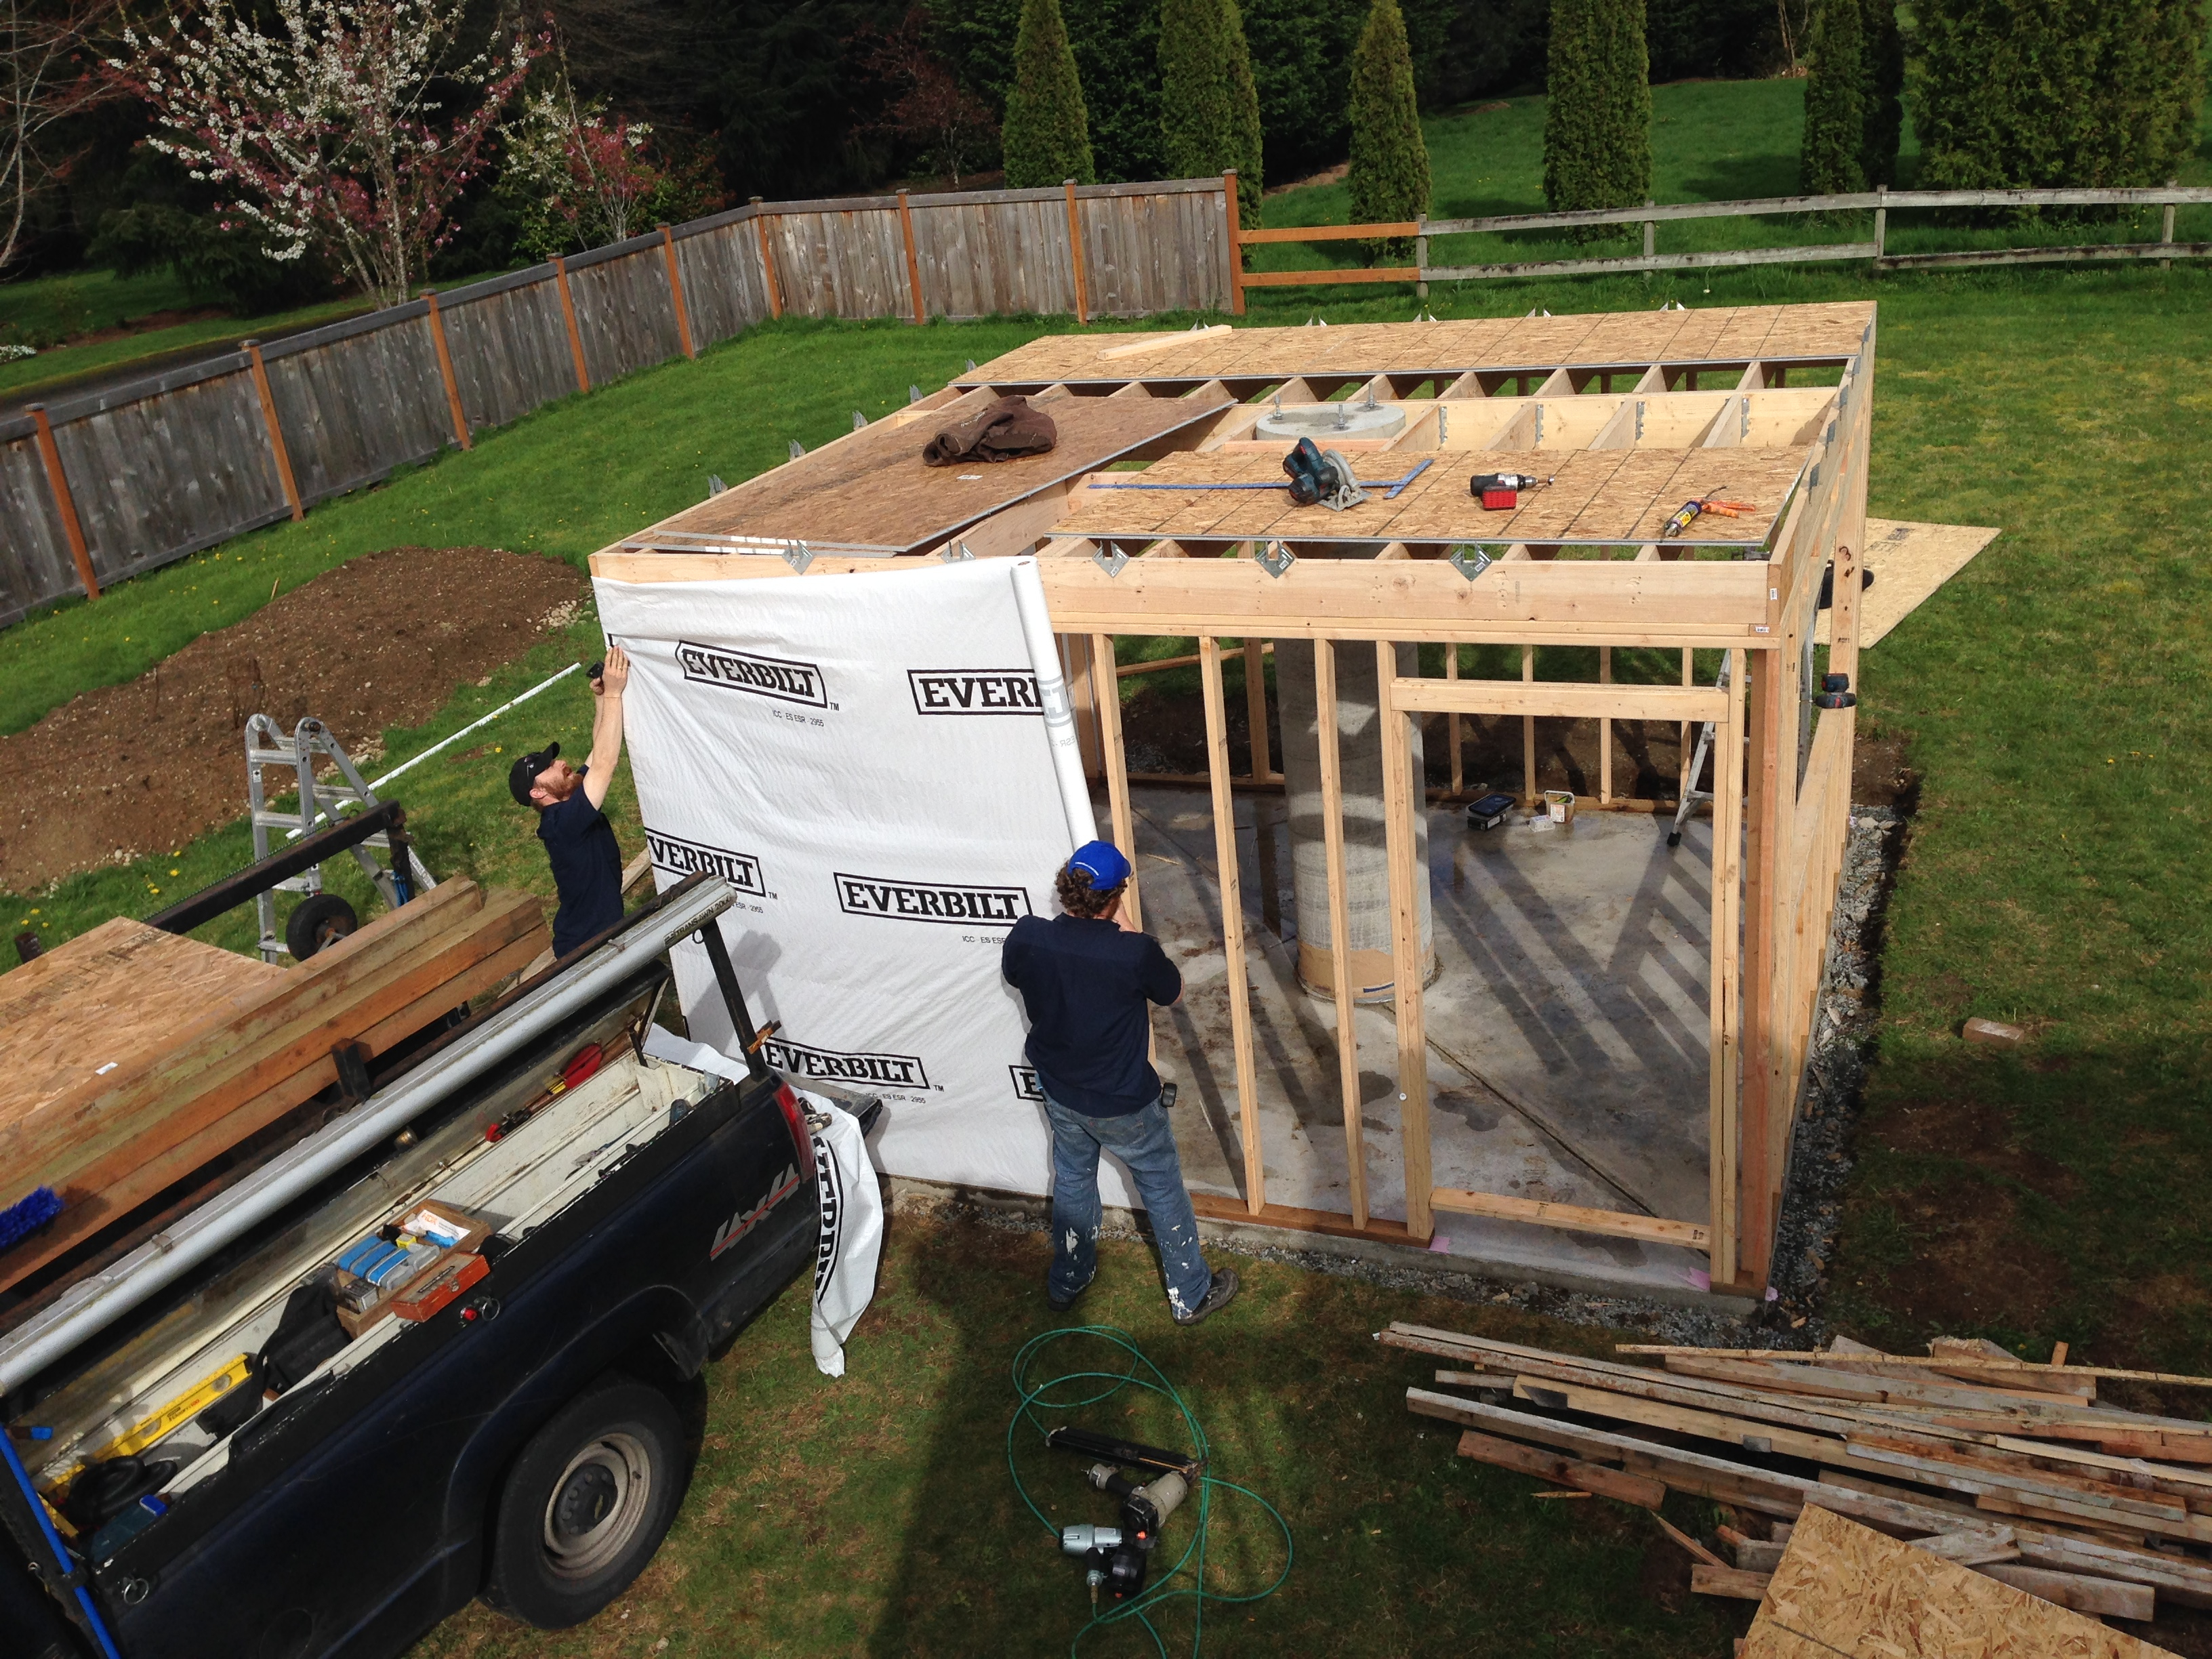
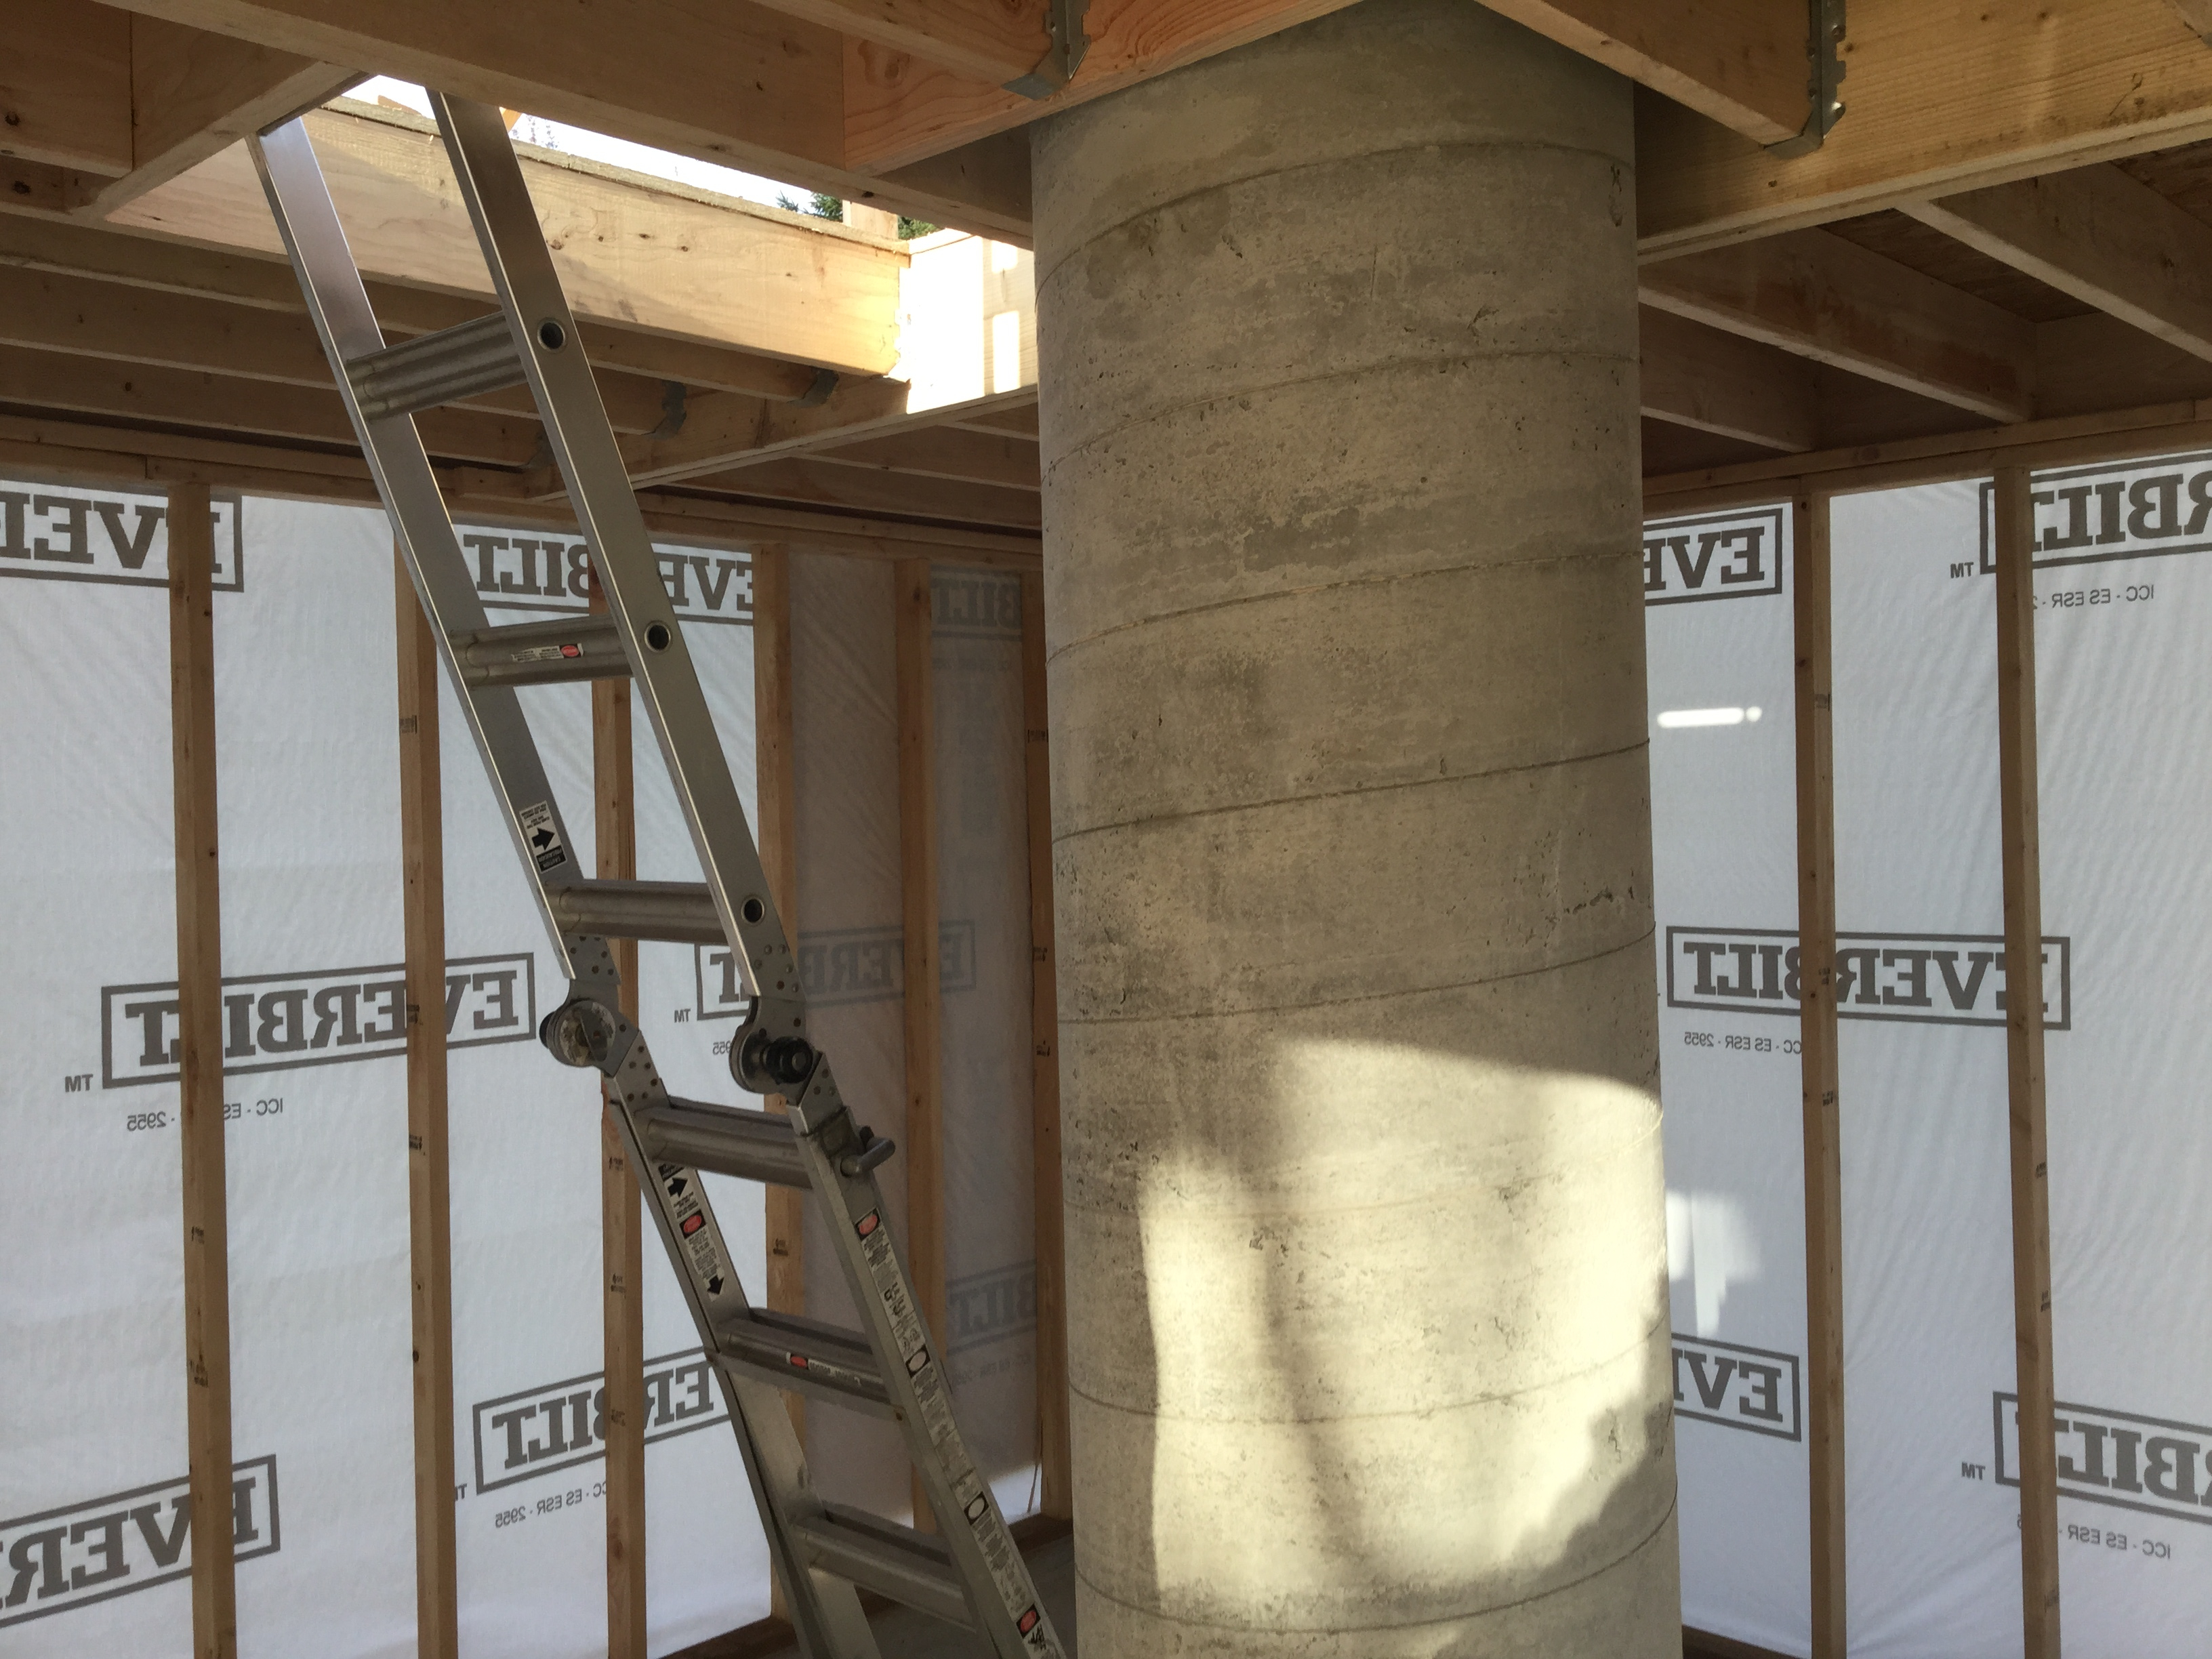
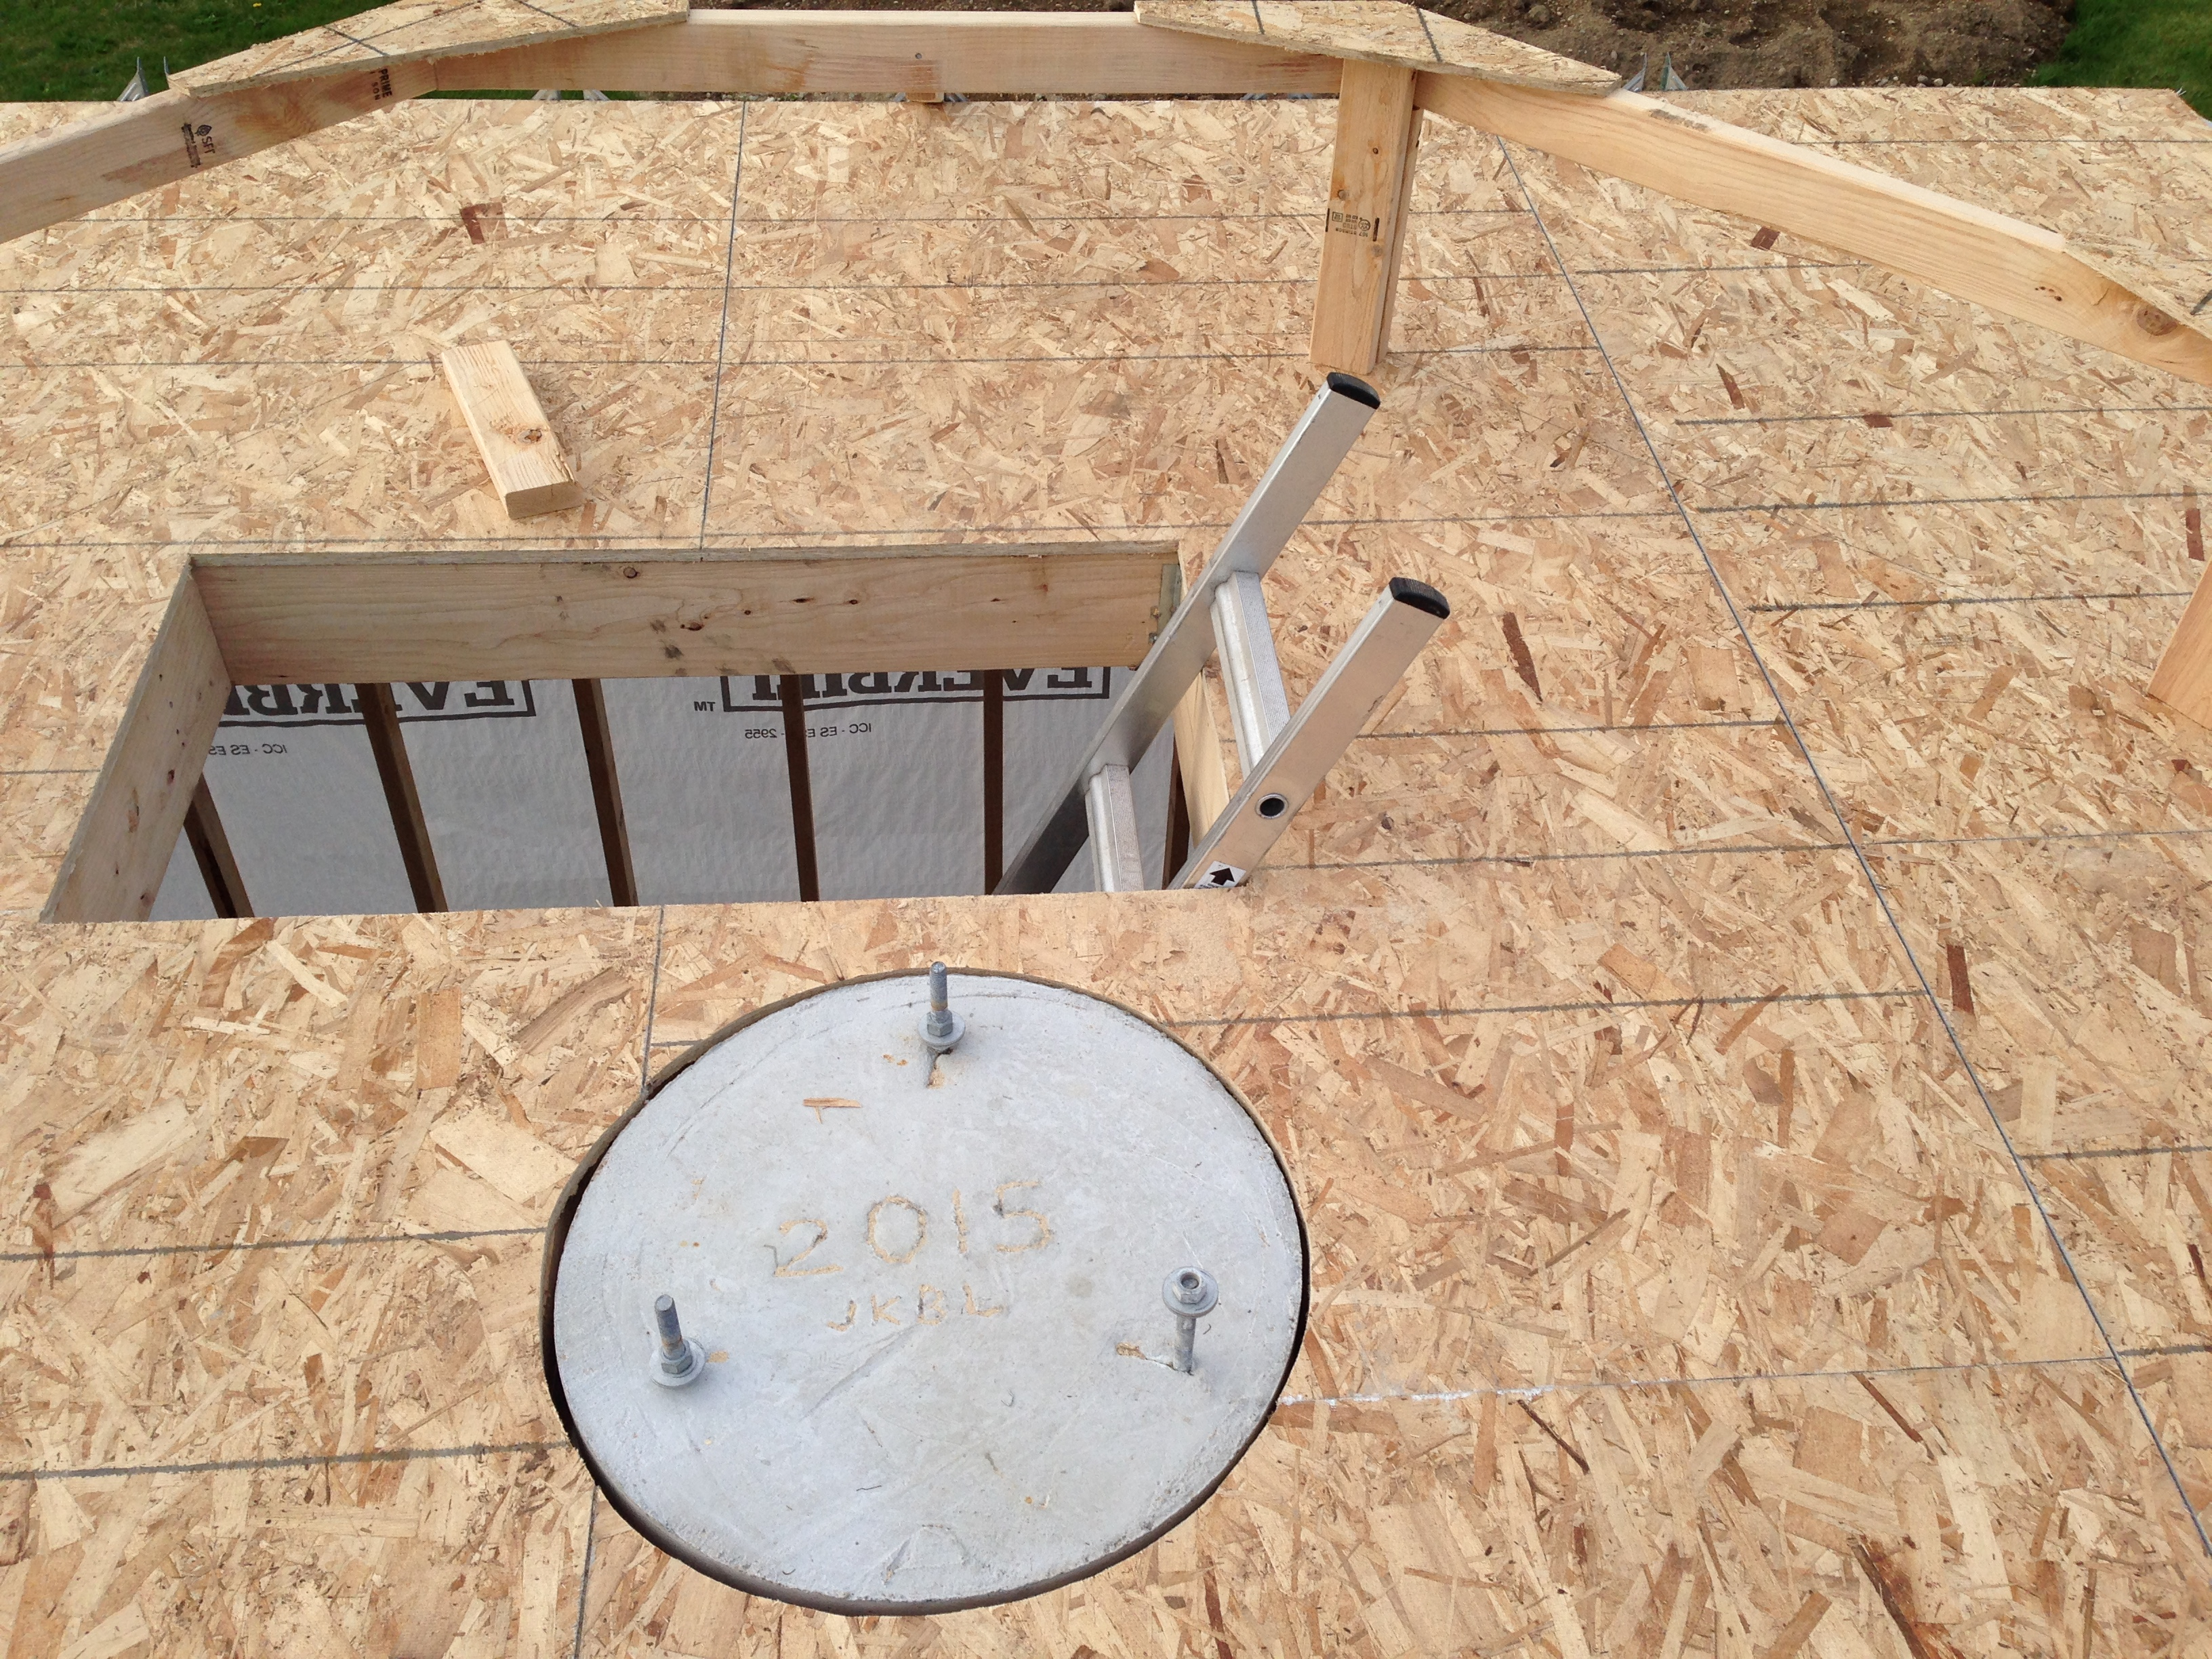
The building is now stiff enough that it cannot rock into the pier, despite the very tight tolerance between the floor and the pier, which are flush with each other to within 1/8″ or so, and have a gap of less than 1/2″. Who can ask for more out of wood?
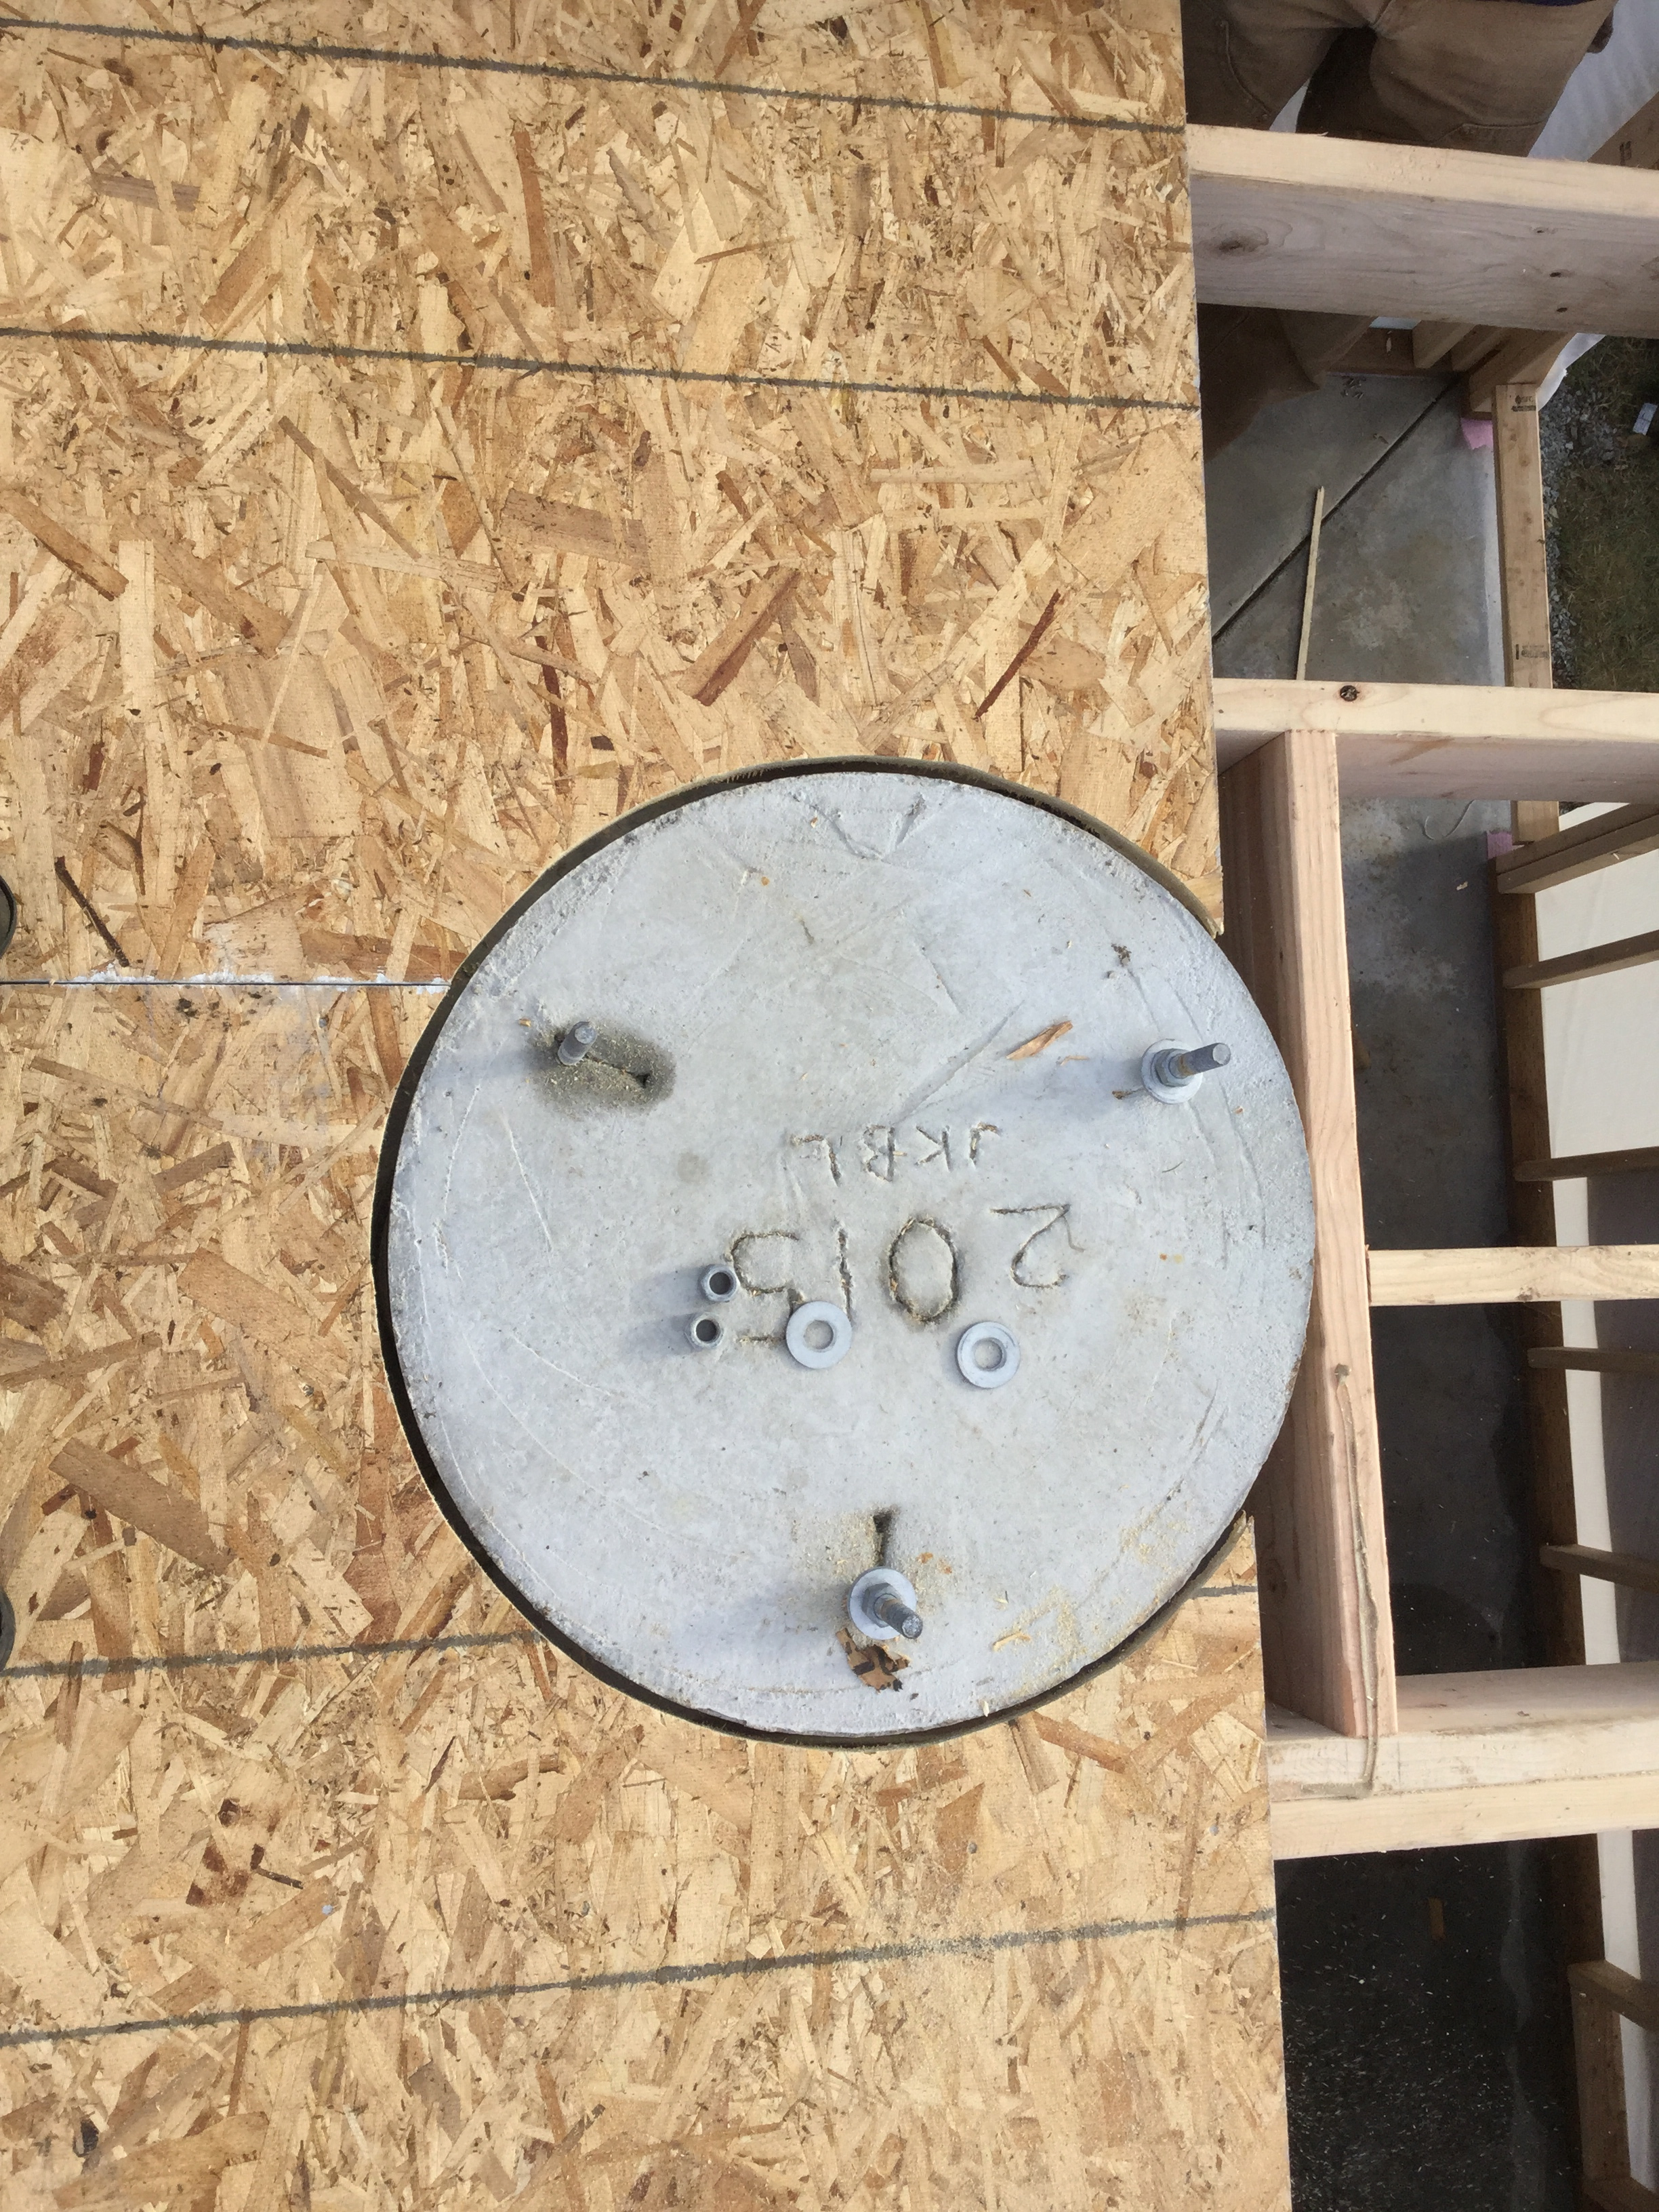
These guys are really spending the time to get stuff right; they Forstner’d three holes in one of the floor panels, so that they could lay it over the J-bolts and get a more accurate placement for the pier hole in the floorboard. That’s quality right there.
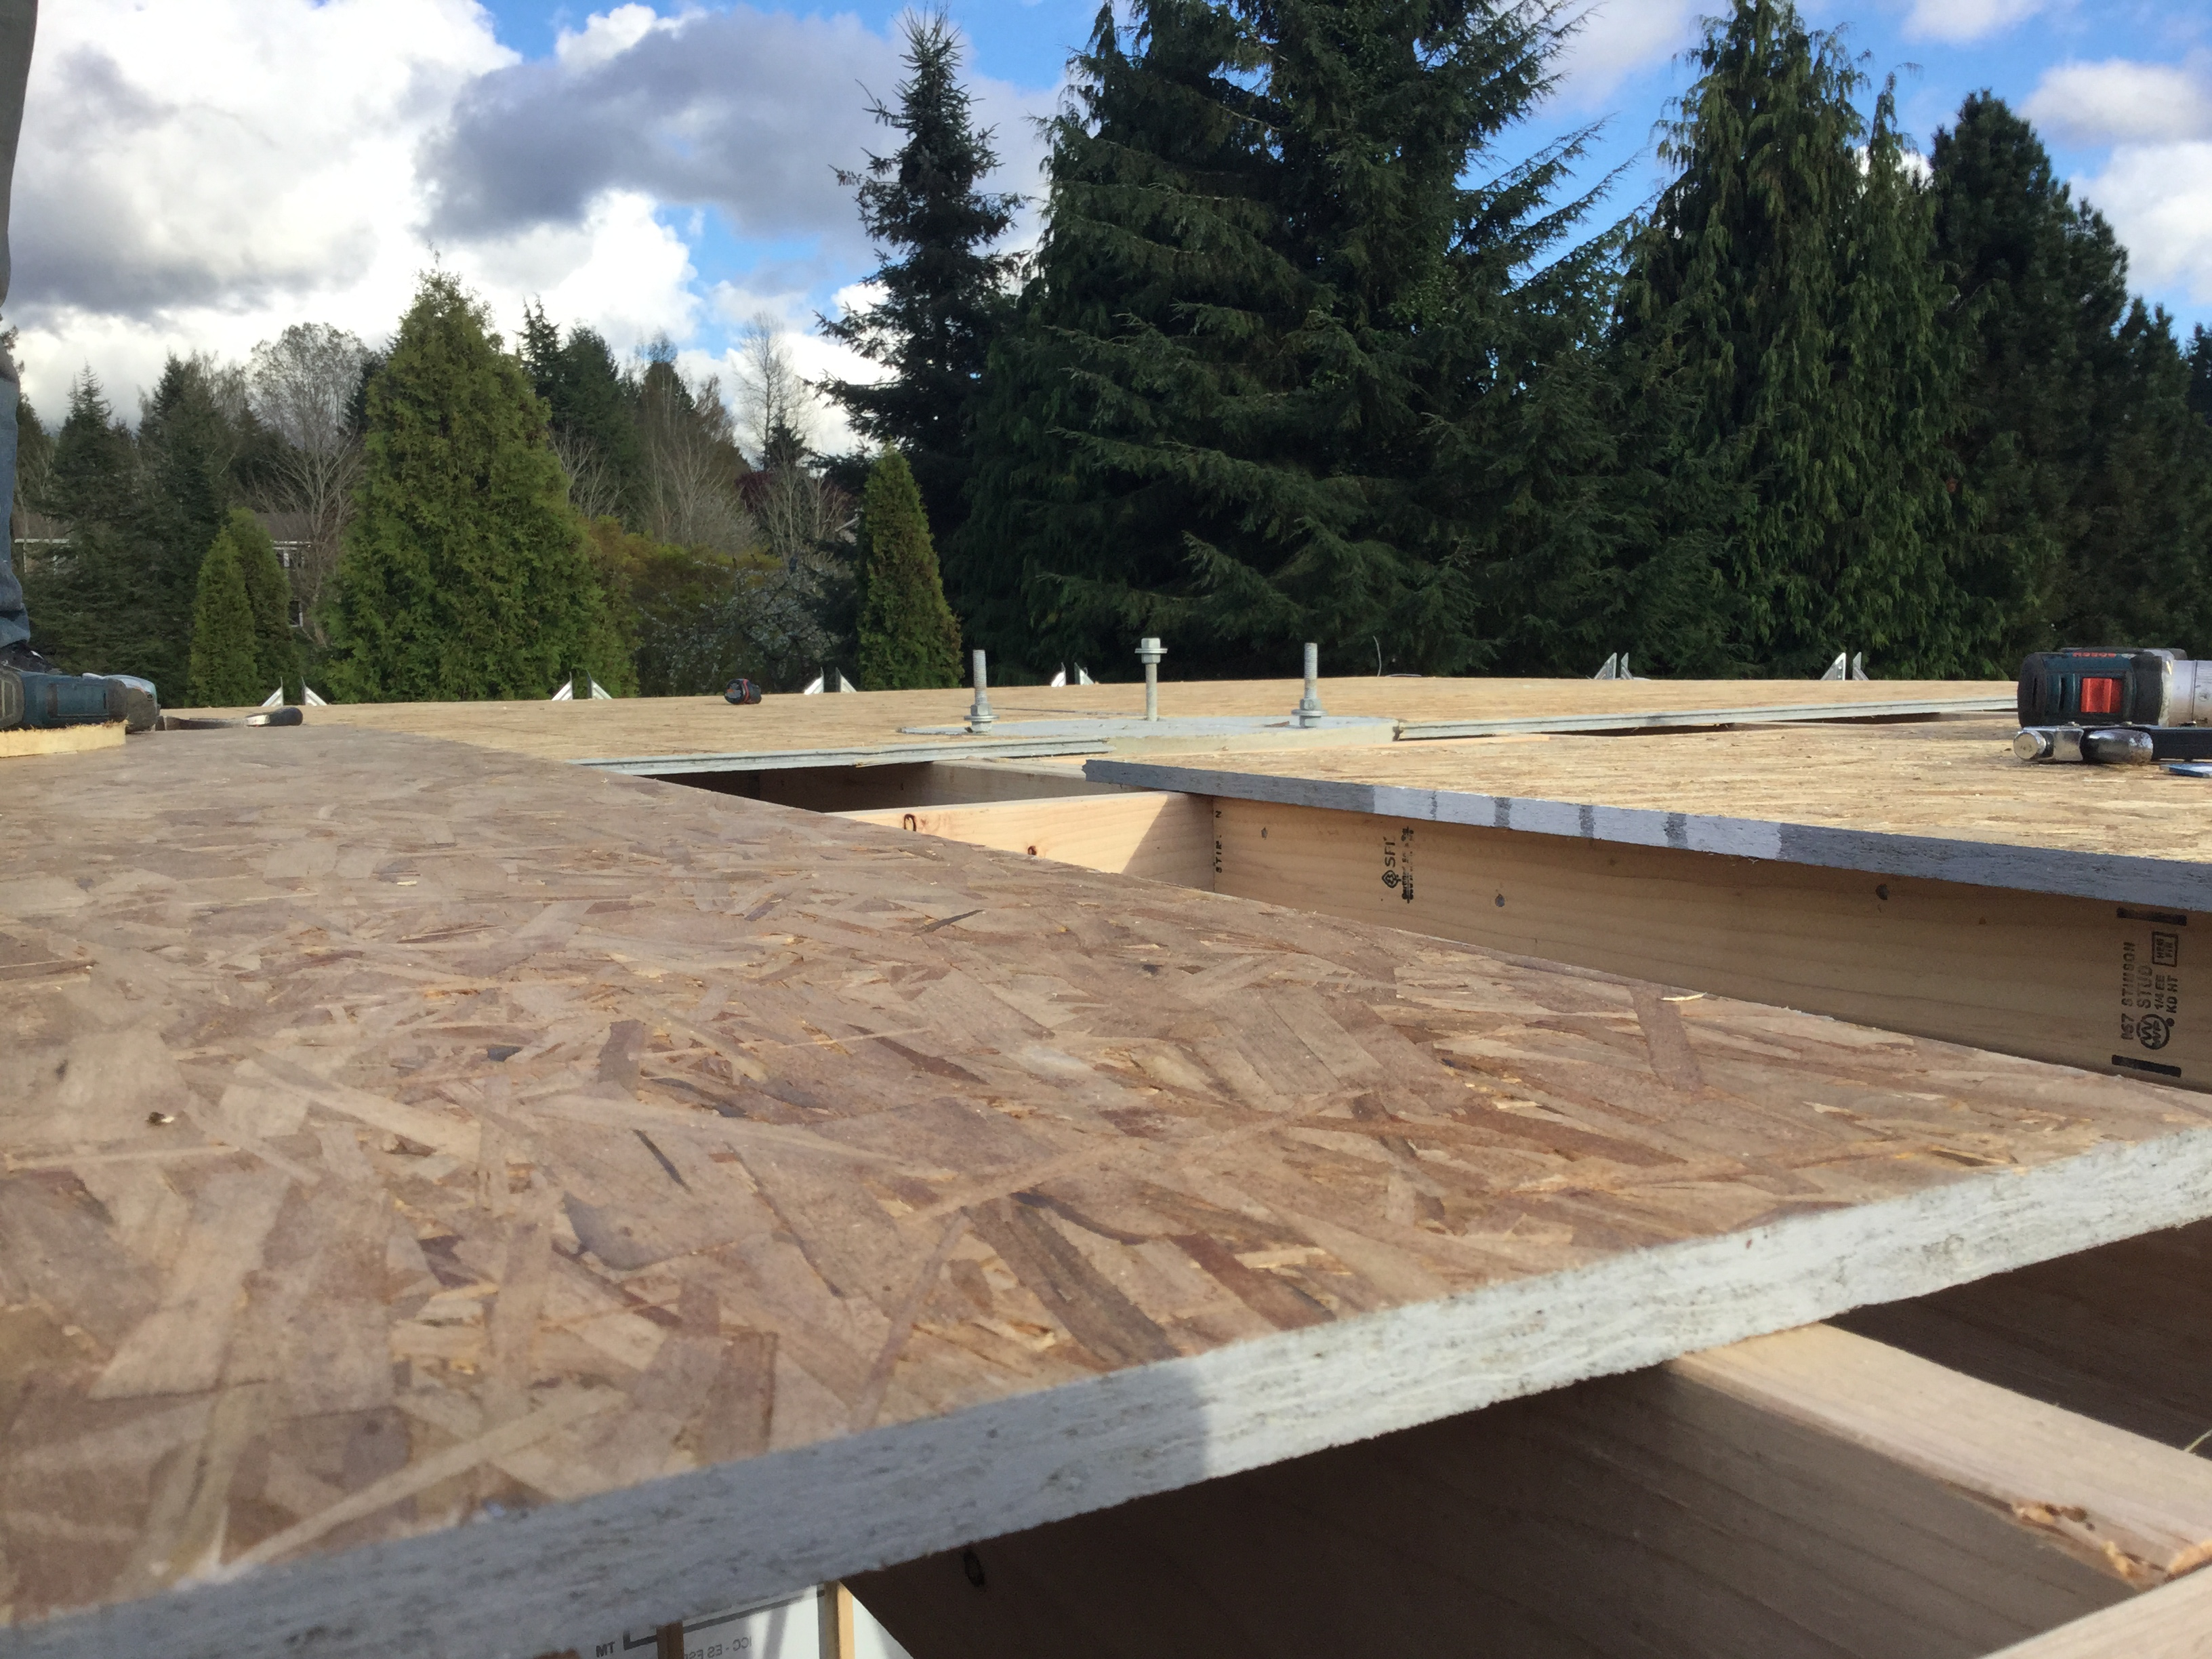
This was yet another place where Observatory 1.0 helped me to understand the stuff that’s important — it was such a pain, dealing with a pier that was below the level of the floor, that I wanted it to be flush this time.
That let him install a few key rafters, and the dome foundation, an octagon onto which we will install the dome base ring. All of a sudden, there is an observing platform! Nice.
I put some tape marks on the ground, so that I can think about walkway widths and things. One thing I discovered as I was playing with the building regards the ladder orientation; there is going to be a close relationship between the telescope’s “parked” position and the direction you want to ascend the ladder.
Ladder ascending to the west (my original plan) means that the telescope can park in either “counterweight down” position, or “counterweight west” position.
Ladder ascending to the east (which, now that I see it, has a nicer “straight ahead” landing zone) requires that the telescope is parked in the “counterweight east” position, or else you bean yourself on the counterweight, or walk straight into the telescope.
I’m also spending some time making sure that the ladder lets me ascend without hitting my head on the ceiling joists, thank you again Observatory 1.0, for teaching me about headroom tolerances. 🙂
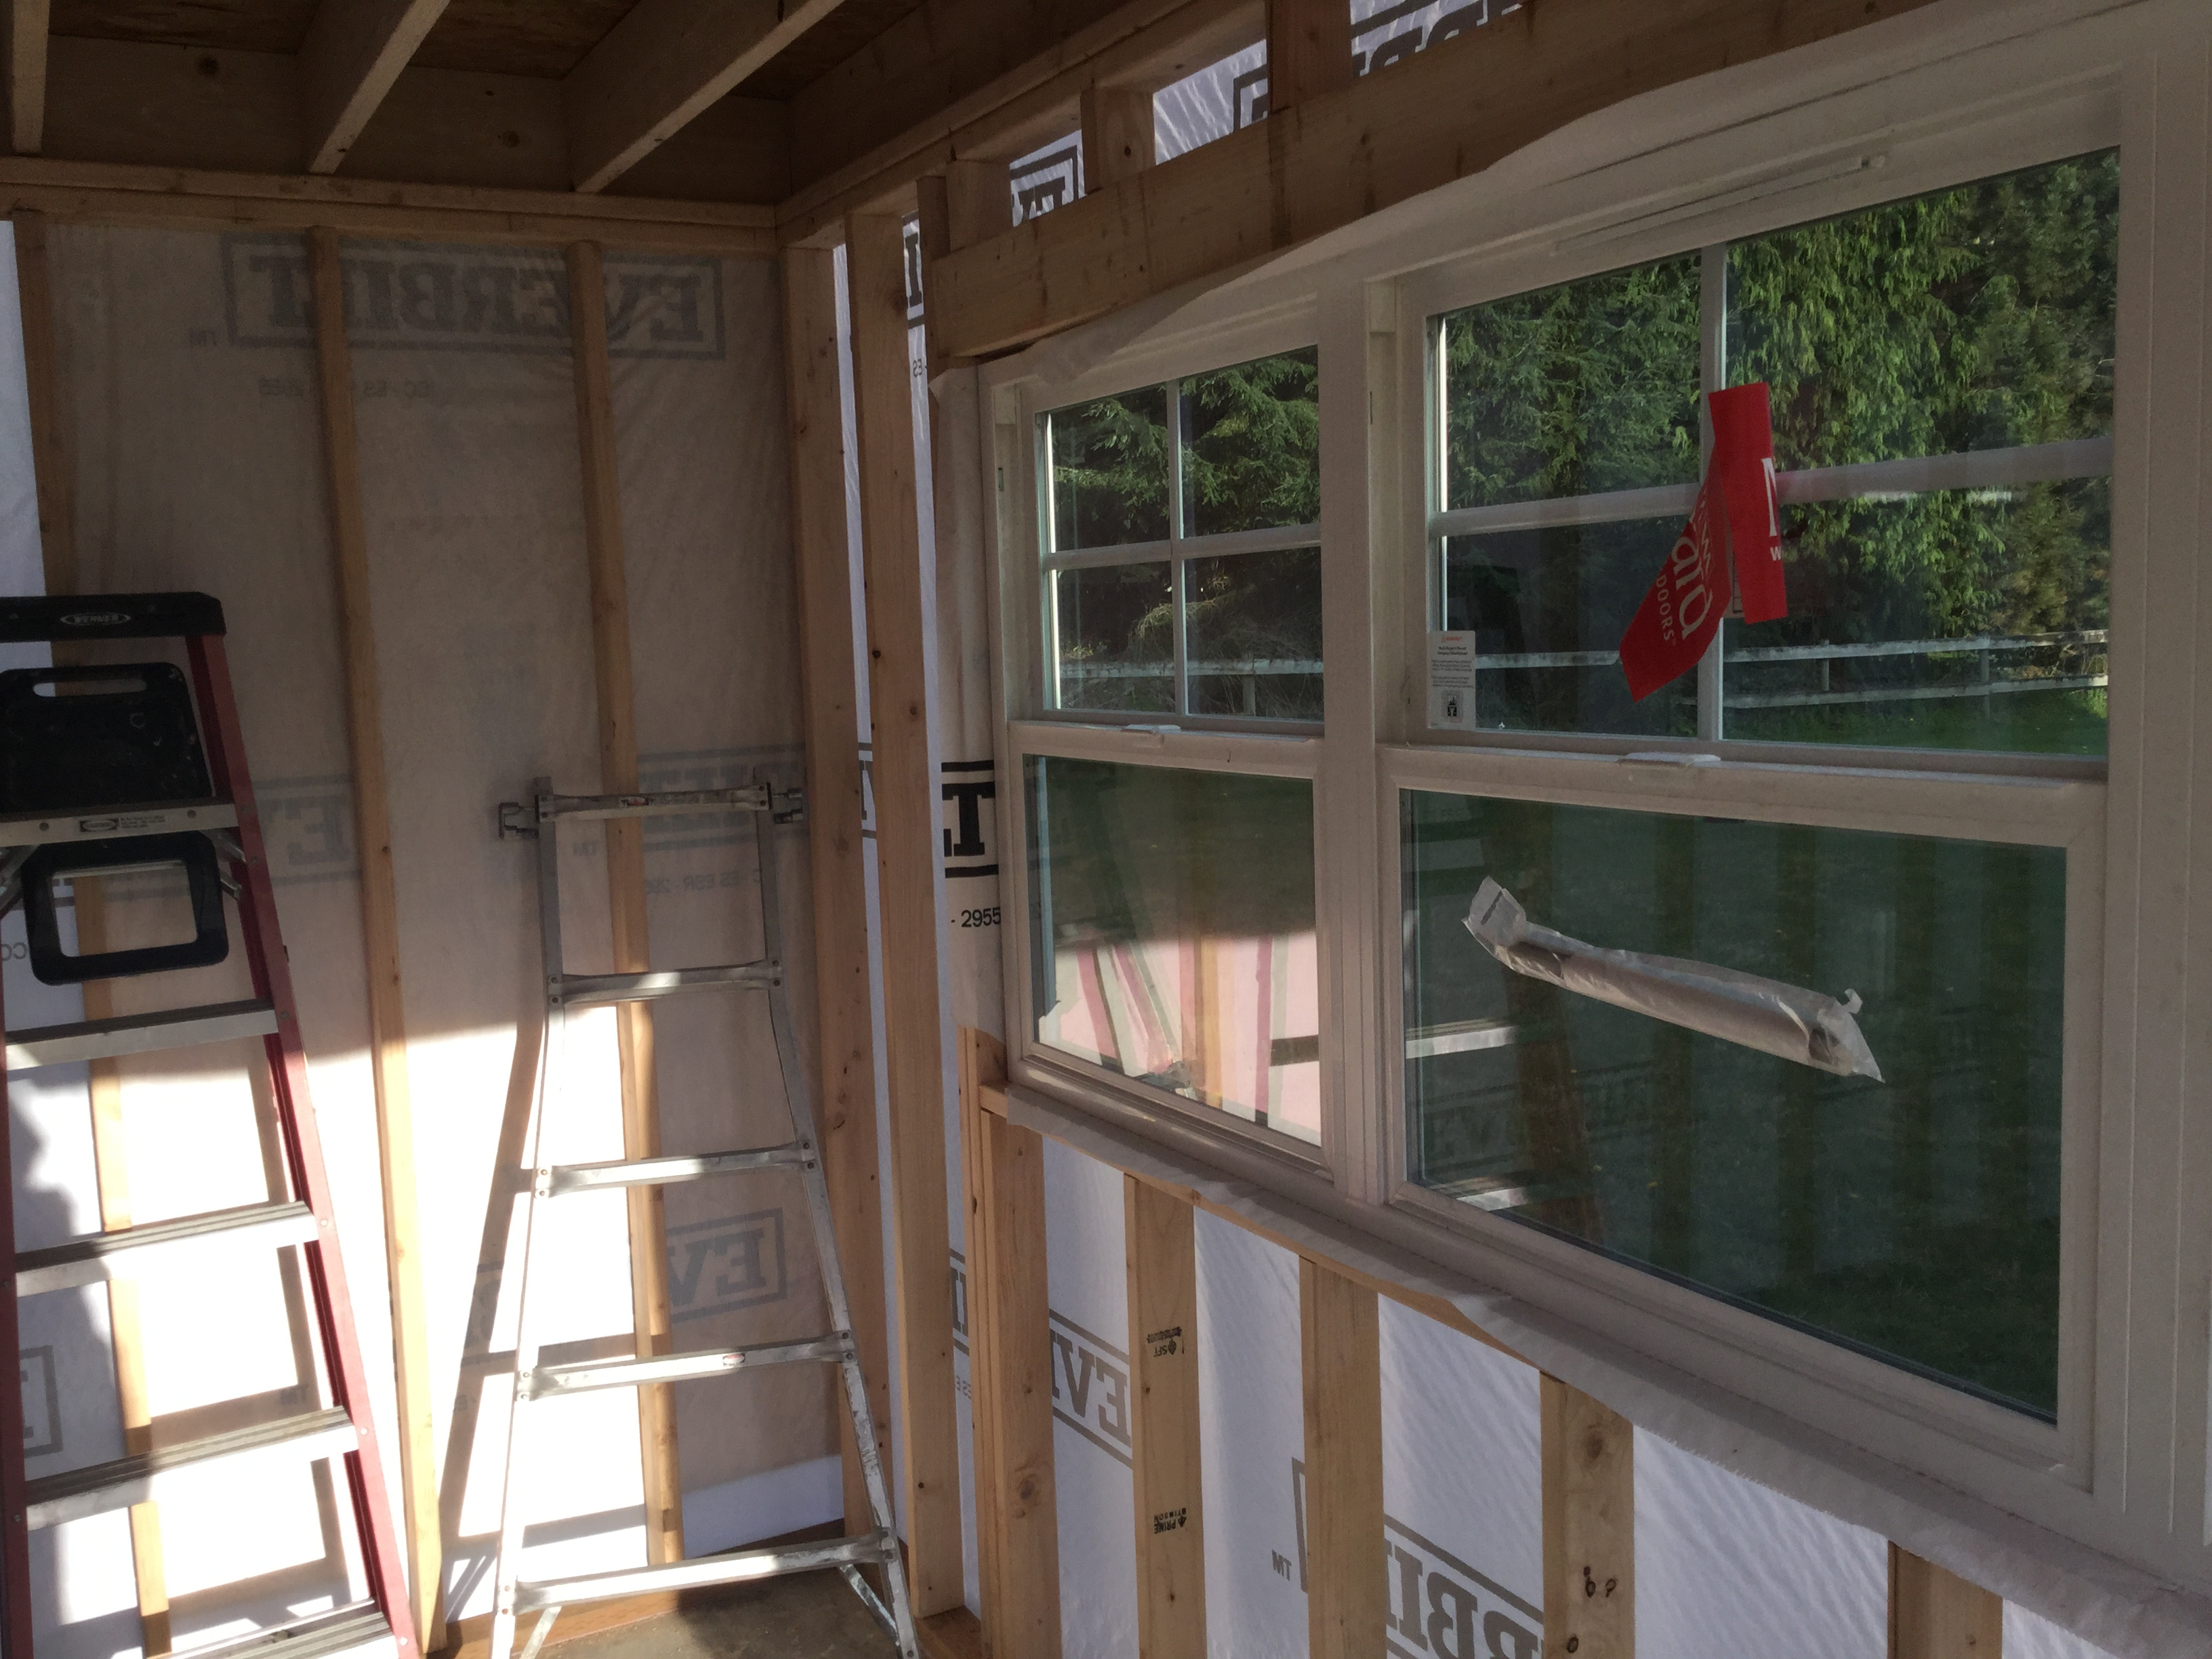
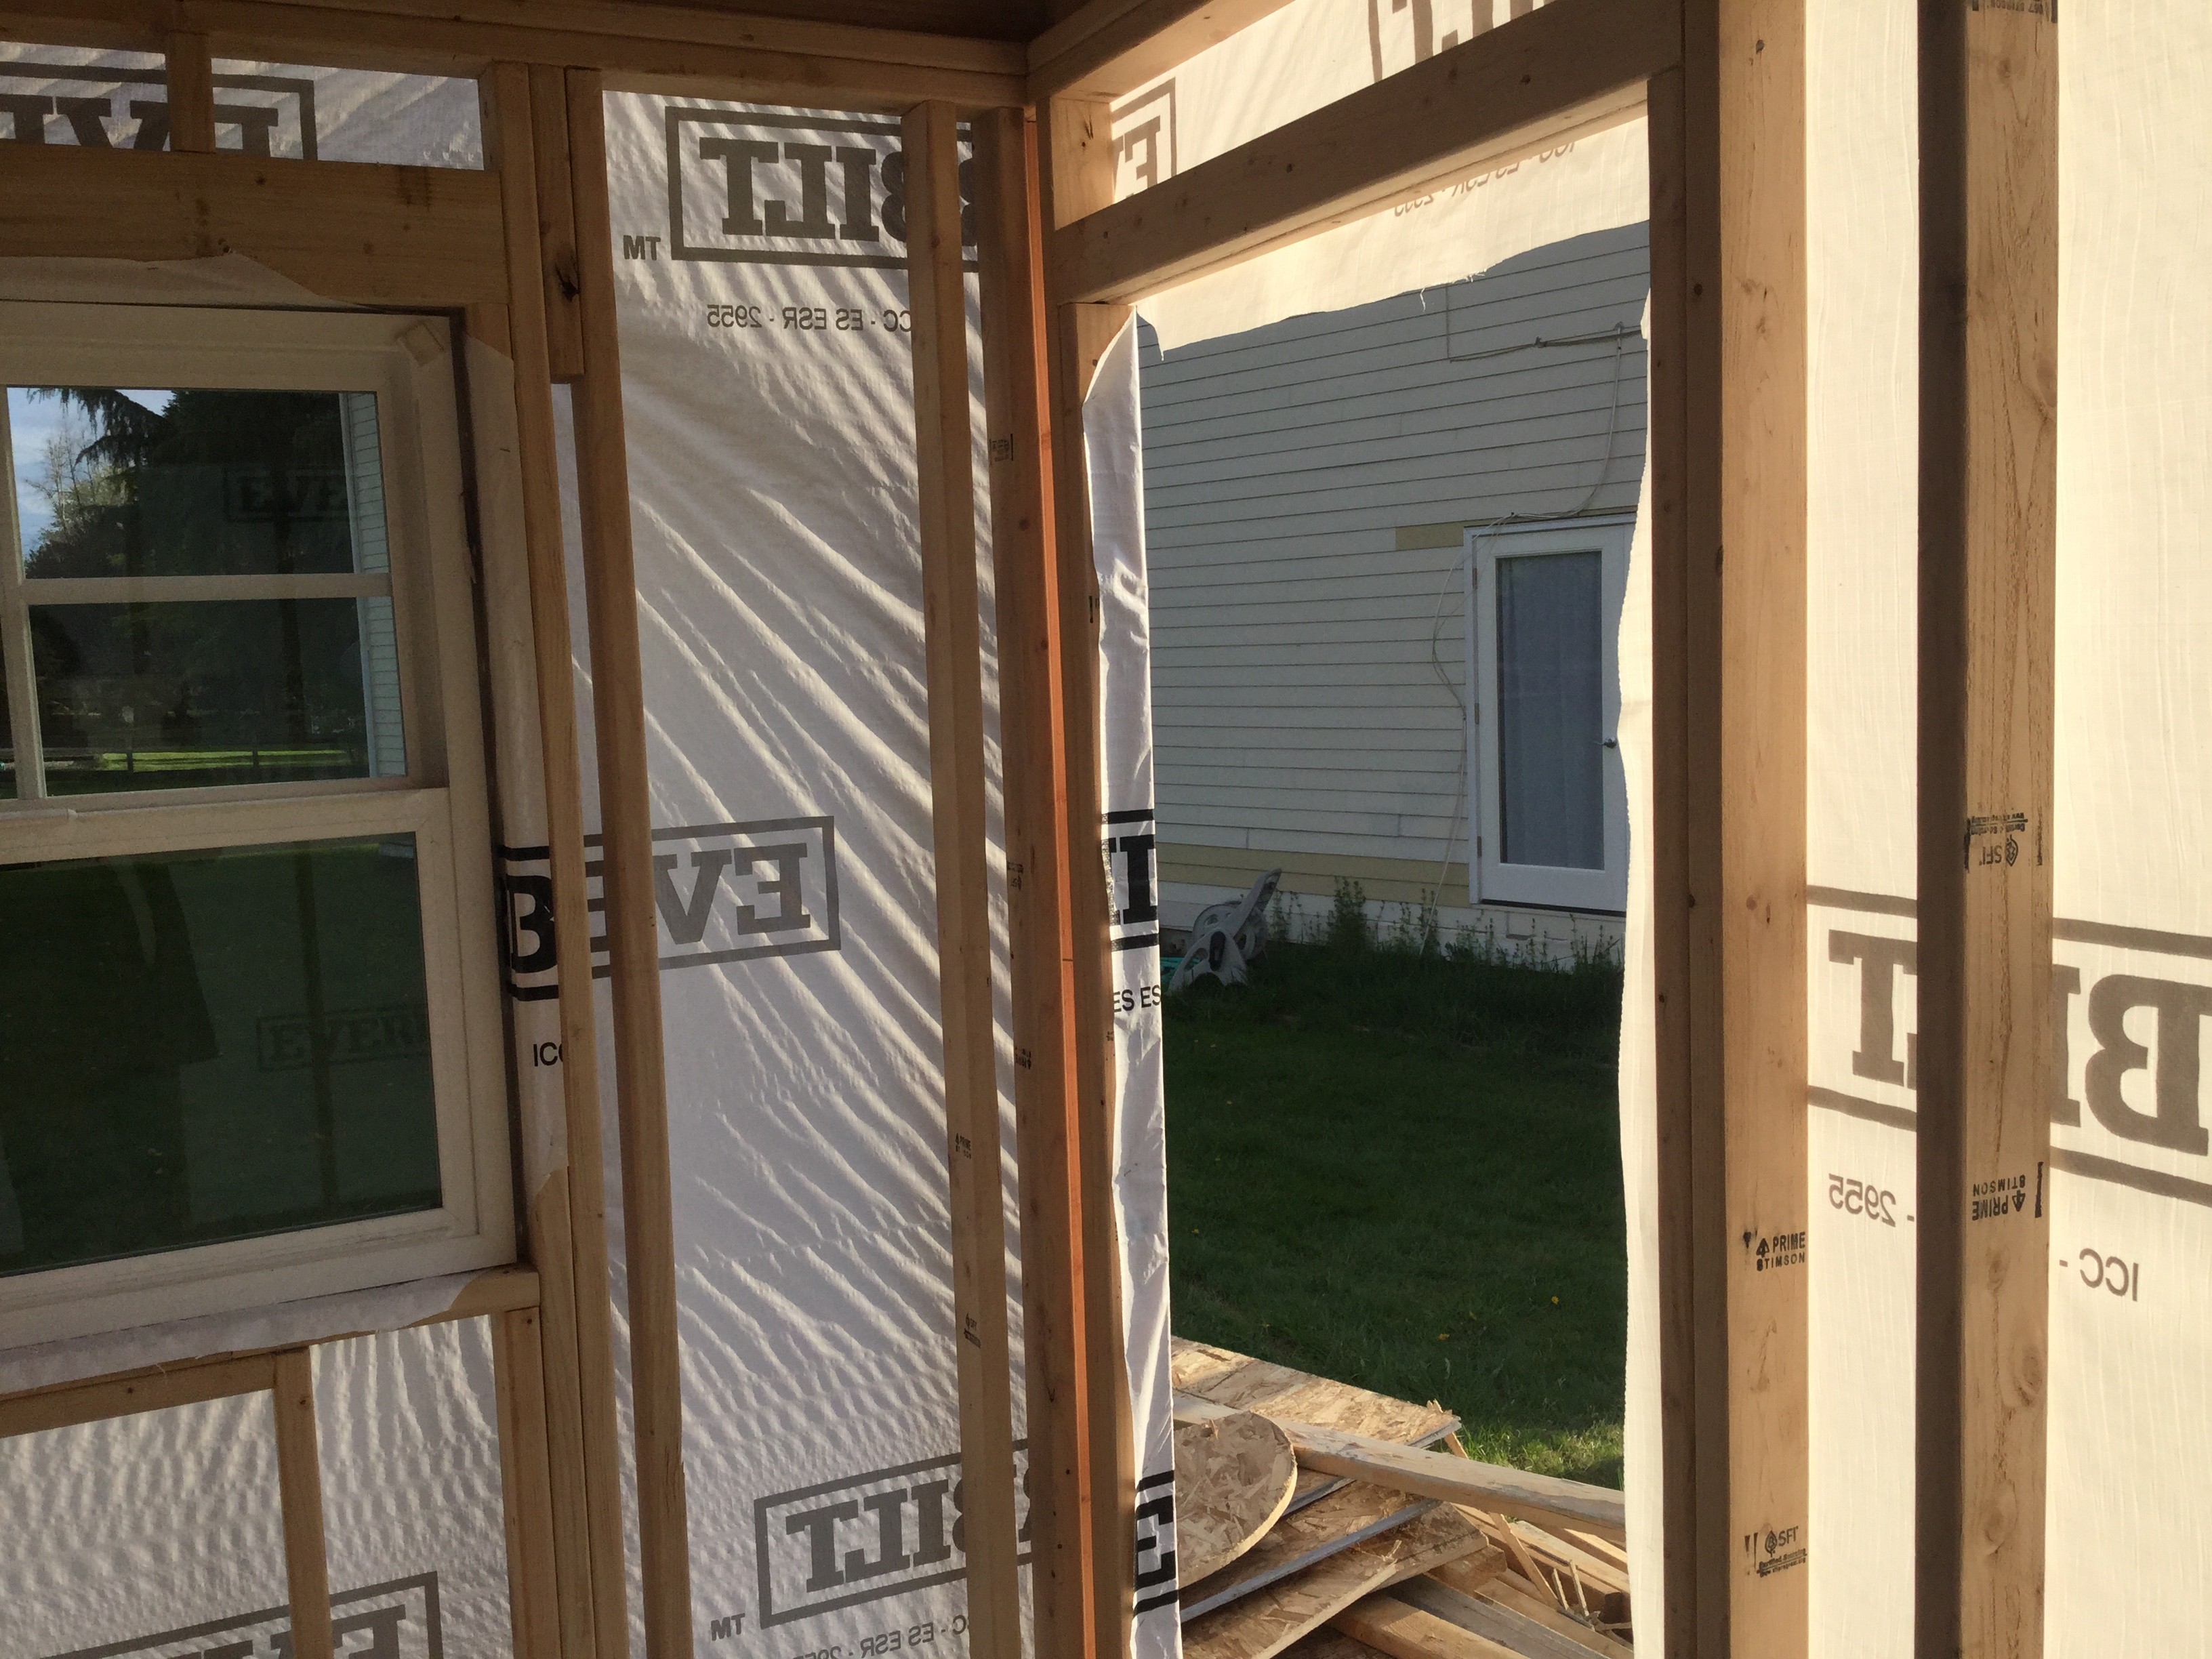
I did a little noodling with paper and pencil, too, and of course I can figure out how to make it work, either way. It’s still a small space, and every inch counts, but there is plenty of room for everything that needs to be there. Here are a couple more photos from inside The Headless Observatory.
It feels like we are in the home stretch, here. The dome should go up sometime in the next week.
All of this is just incredible! You must be so glad you had Observ.1.0 because you have taken Observ.2.0
to a whole new level!! No hitting da head! Great window, your workers must really be into it to let you
know about the window that had not been claimed. It’s all “way over my head” but it’s awesome and I’m
fascinated with your details.
Thanks for the “Easter Photo”….Minion
Sandra