

Next up was to cut the ring. I decided to use the CNC machine, because “why not?”, and also because I thought it would be pretty easy to set the cuts up.
I was right.
The toughest part was getting the ring all lined up, but once I figured out how to clamp it down straight, the rest of the project just fell right out.
Here’s the finished ring.

I cut a groove for the mirror shroud in case I want one, and the middle OTA ID is the same size as the upper ring’s ID.
I drilled holes in the corners. I probably won’t need them for the clamps, but it will help as I’m lining everything up to test the focal length, and again it was pretty easy to place them perfectly.
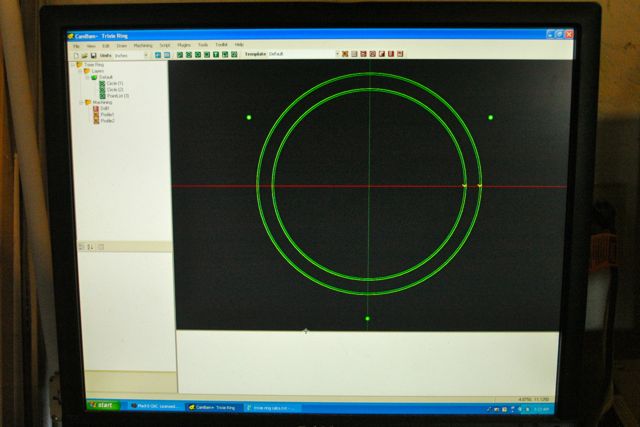
Here’s a shot of the CAD design.
The cut took about 6min. I grabbed an iPhone video, but I’m sure it’ll be gigantic, so I may or may not post it.
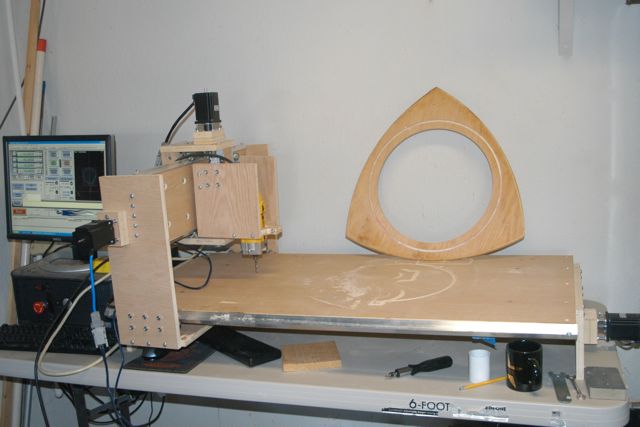
Here’s the CNC machine, cooling off after the workout.
The ring looks pretty good. Next up, attach the rings to the clamps. I hope to have the upper truss complete by tonight!
One thought on “Trixie rebuild 2011, day 5.2 – a ring emerges”