Well, the day has finally arrived. After 4 years of planning, and a year of big chunks of fiberglass sitting in the shop, and weeks (and weeks) of concrete and wood, today we installed the dome onto the observatory.
First things first, however. Yesterday, the contractors had gotten the roof ready for shingles, but they spent the morning finishing off shingling and putting up flashing.
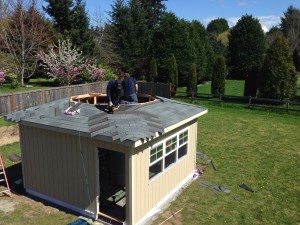
I think that the corner “ridge triangles” look pretty sharp, like epaulets on the building. Definitely a lot more “custom” looking than I was expecting.
The shingling and flashing went up pretty quickly, and by noon, we were ready to start putting up dome sections. After some consultation about how to get the dome base ring circular, level, and centered, we started putting silicone caulk in all the joints. This took a bit of caulk, on the order of 6 tubes (2 provided by the dome manufacturer, one that Jared had lying around, and 3 more from the hardware store mid-install).
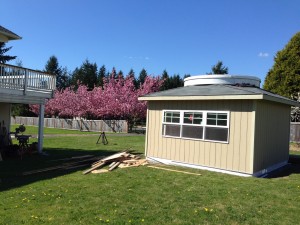
It was an absolutely gorgeous spring day, and even though I had to really concentrate on getting the dome together, I took some time to snap some photos of the cherry blossoms.
The Junior Astronomer (she won’t give this title up, and takes her job very seriously) grabbed the camera at one point, and started snapping photos of the install. She has a really good eye, and gathered several excellent shots of the build-in-progress.
I think that everyone has been enjoying having Athena the Owl as an observatory mascot.
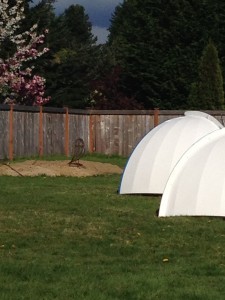
This is a shot that I would have skipped right by — it’s from a long way off, and I’m not doing anything particularly interesting (I think that I was moving silicone around from one set of holes to another), but the clouds in the background were spectacular.
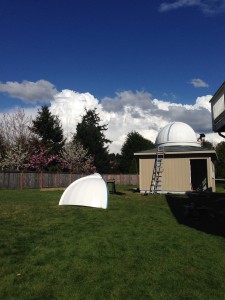
She does a lot of “zooming in”, which causes grainy photos, but she also gets the very “human” side of the build. I’m pleased that I decided to wear my “Ad Astra Observatory” t-shirt today (it was a kind gift after I built Observatory 1.0).
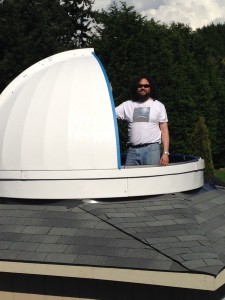
All the hard work paid off; the dome went together without a hitch, and it moves very well on both axes. I installed the azimuth motors, and did a full 360º rotation — very smooth. I even tried out my control circuit, and it works just fine, too (much easier to make everything work in the dark, too!).
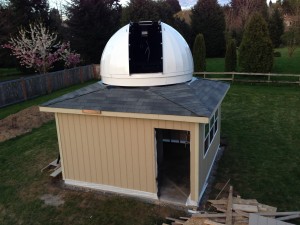
There are still things to be done; the door needs to be installed, the hatch and ladder need to be built, and a few other small bits and pieces. I also need to reinstall the shutter motor, and install the shutter touch plate. The steel pier is also still under construction. But I sat under the dome last night, as the sun set, and used the little “tabletop” telescope to look at Jupiter and Venus, and it was very, very satisfying.
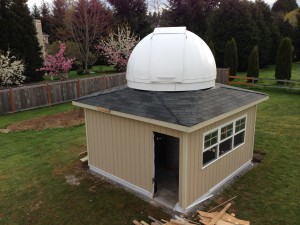
Until Trixie is mounted, the observatory is definitely incomplete, but there’s no longer any question what this building in the backyard is for.

MOST COMMENTED
Observatory
Observatory 2.0 – Time has come today!
General / Maintenance
First Light, a deeper look
Mount / Observatory / Telescope
Observatory 2.0 – Result!
Observatory
Observatory 2.0 – The Pier goes in
Gear / General / Maintenance
Martin Farmer Wormblock installation notes
Deep Sky / Long Exposure Photography
NGC2244, The Rosette Nebula
Deep Sky / Long Exposure Photography
Another beautiful night.