
The King County rules state that an external structure must be “single story on-ground”, so that means that I either have to build the observatory directly on the dirt (not the best long-term idea in the soggy PNW), or on a concrete pad. I opted for the latter.
Unlike the pier pour, which was completed in a nice rain shower, pad work requires a clear day; raindrops mess up the finish, and can actually alter the mixture of the concrete if it’s too wet out. So, after the pier went in and cured for a bit, we had to wait for some sunny weather to get the pad poured.
Today did not disappoint.
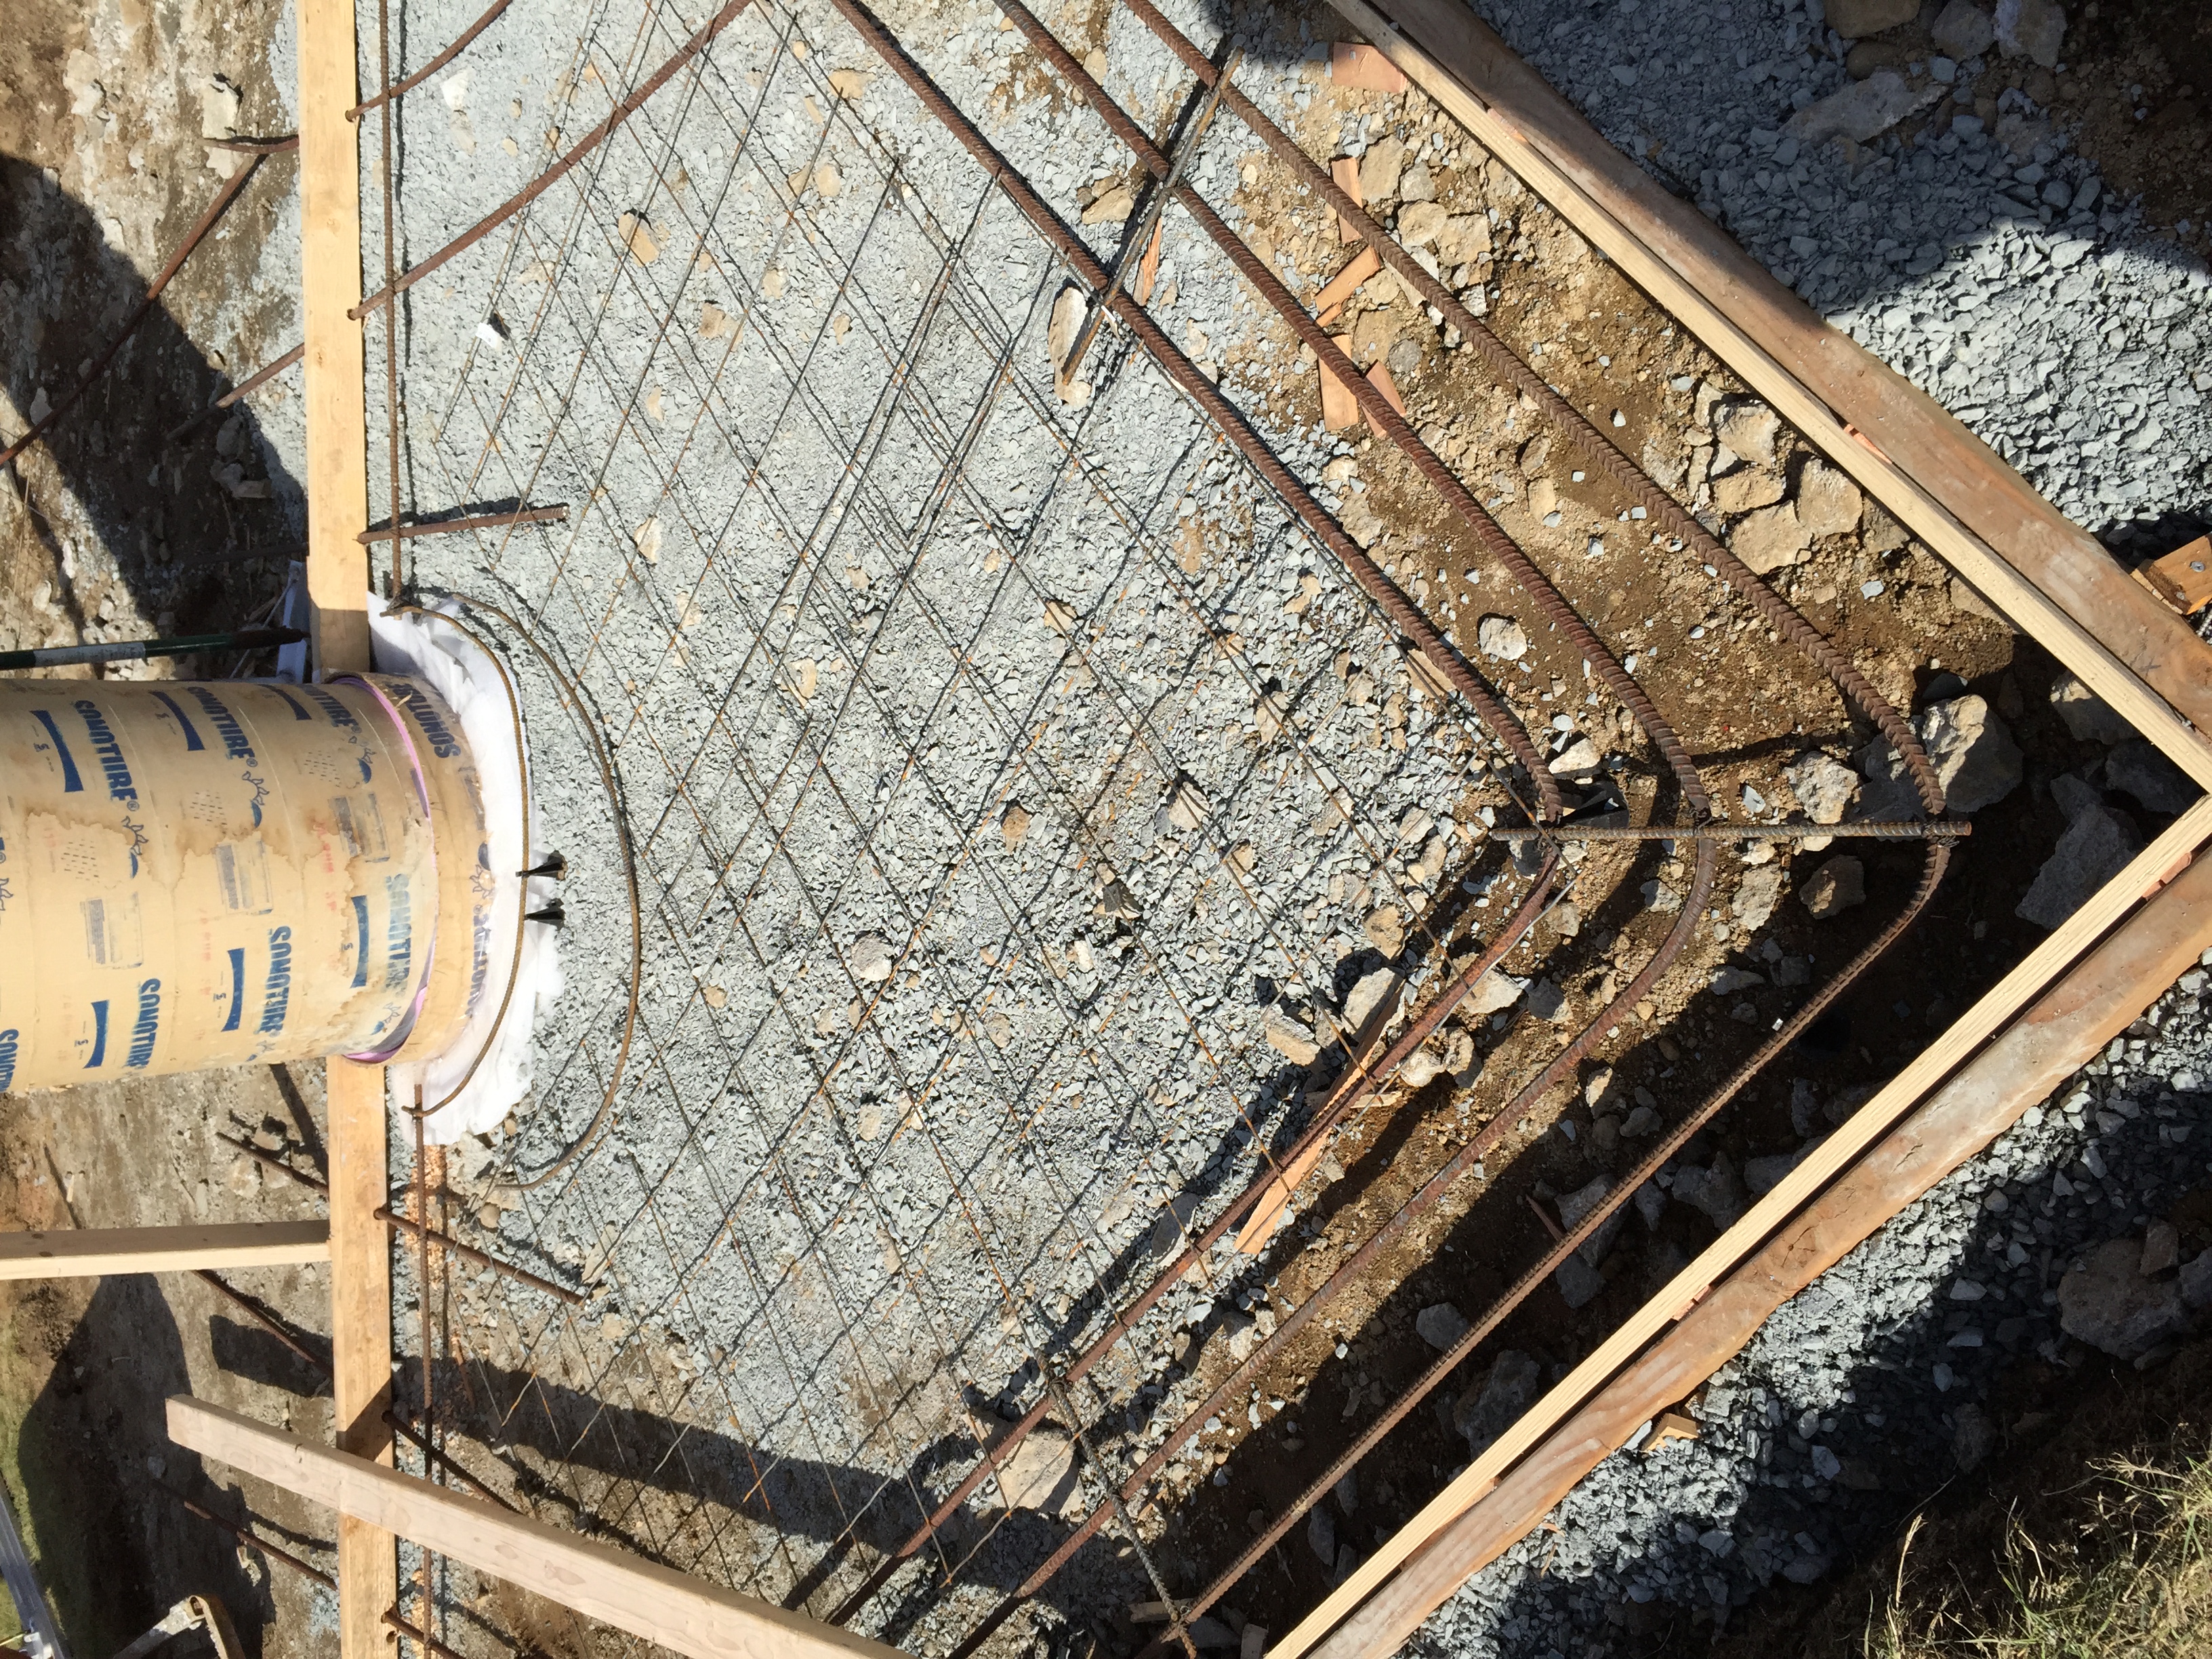
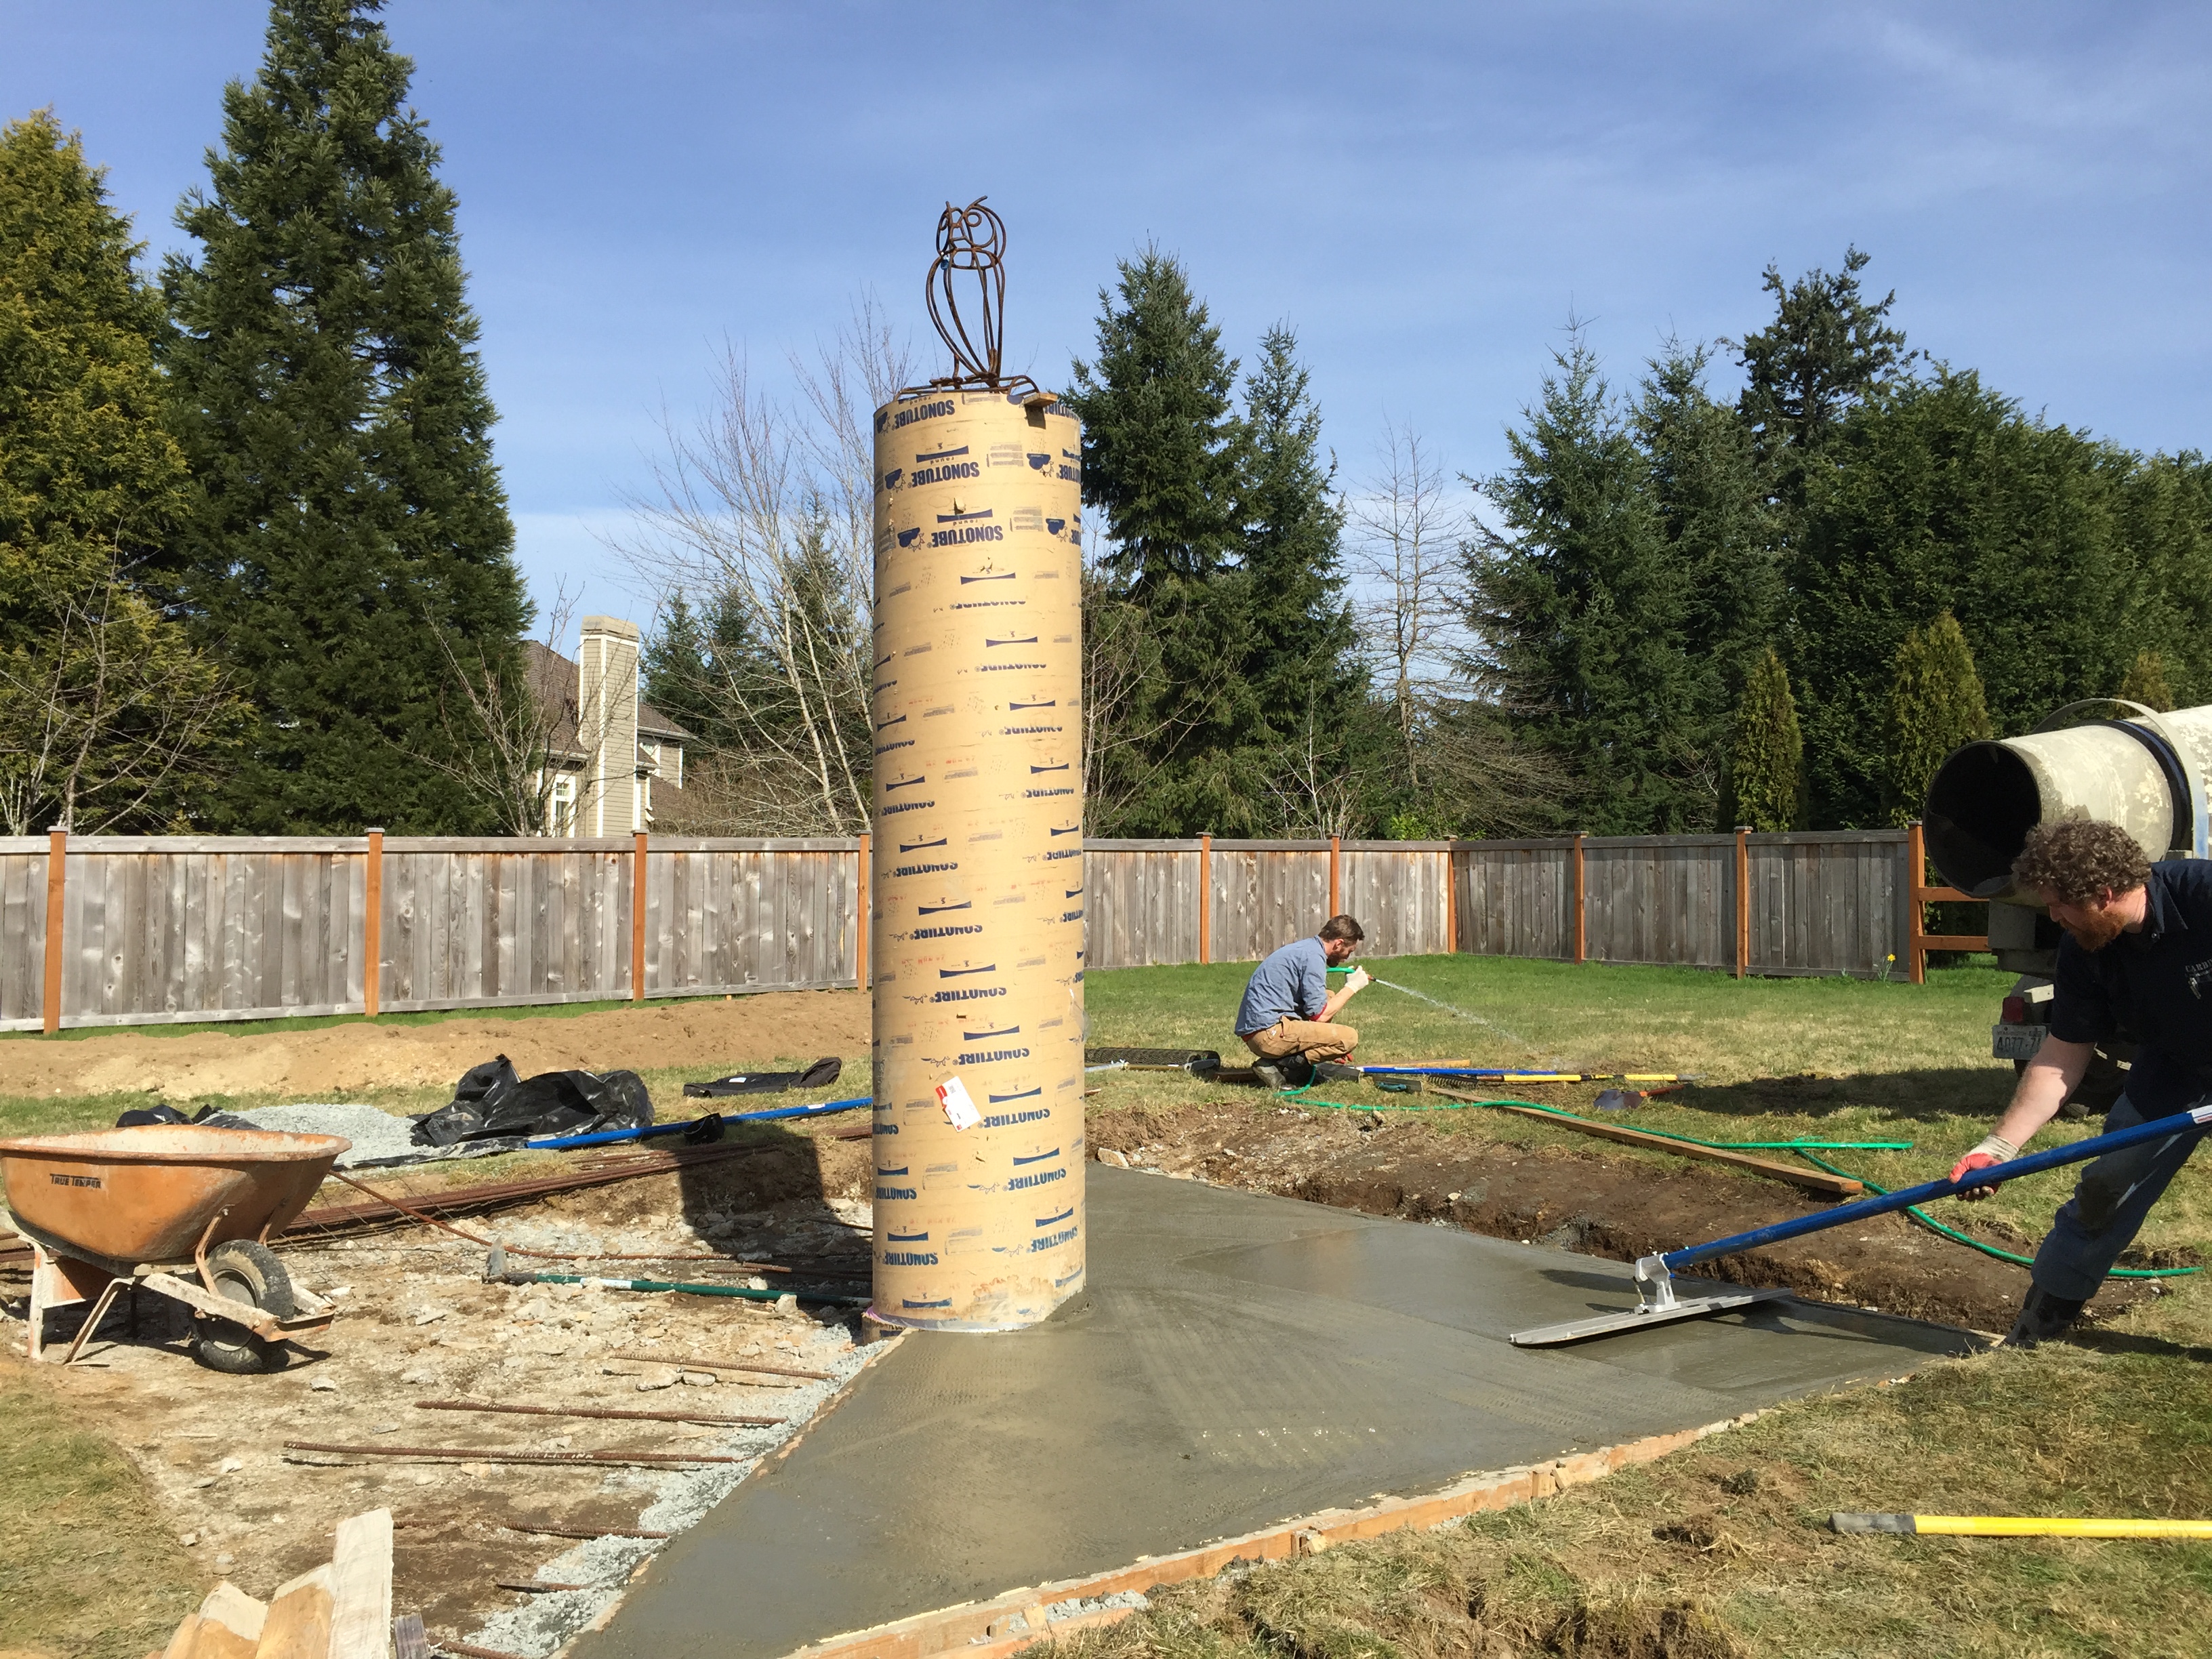
The Carbide CS crew were able to incorporate some of the spare rebar we had lying around; this pad will be super strong, and I really love that they took the time to make it look cool, even though it will soon be forever encased in concrete.
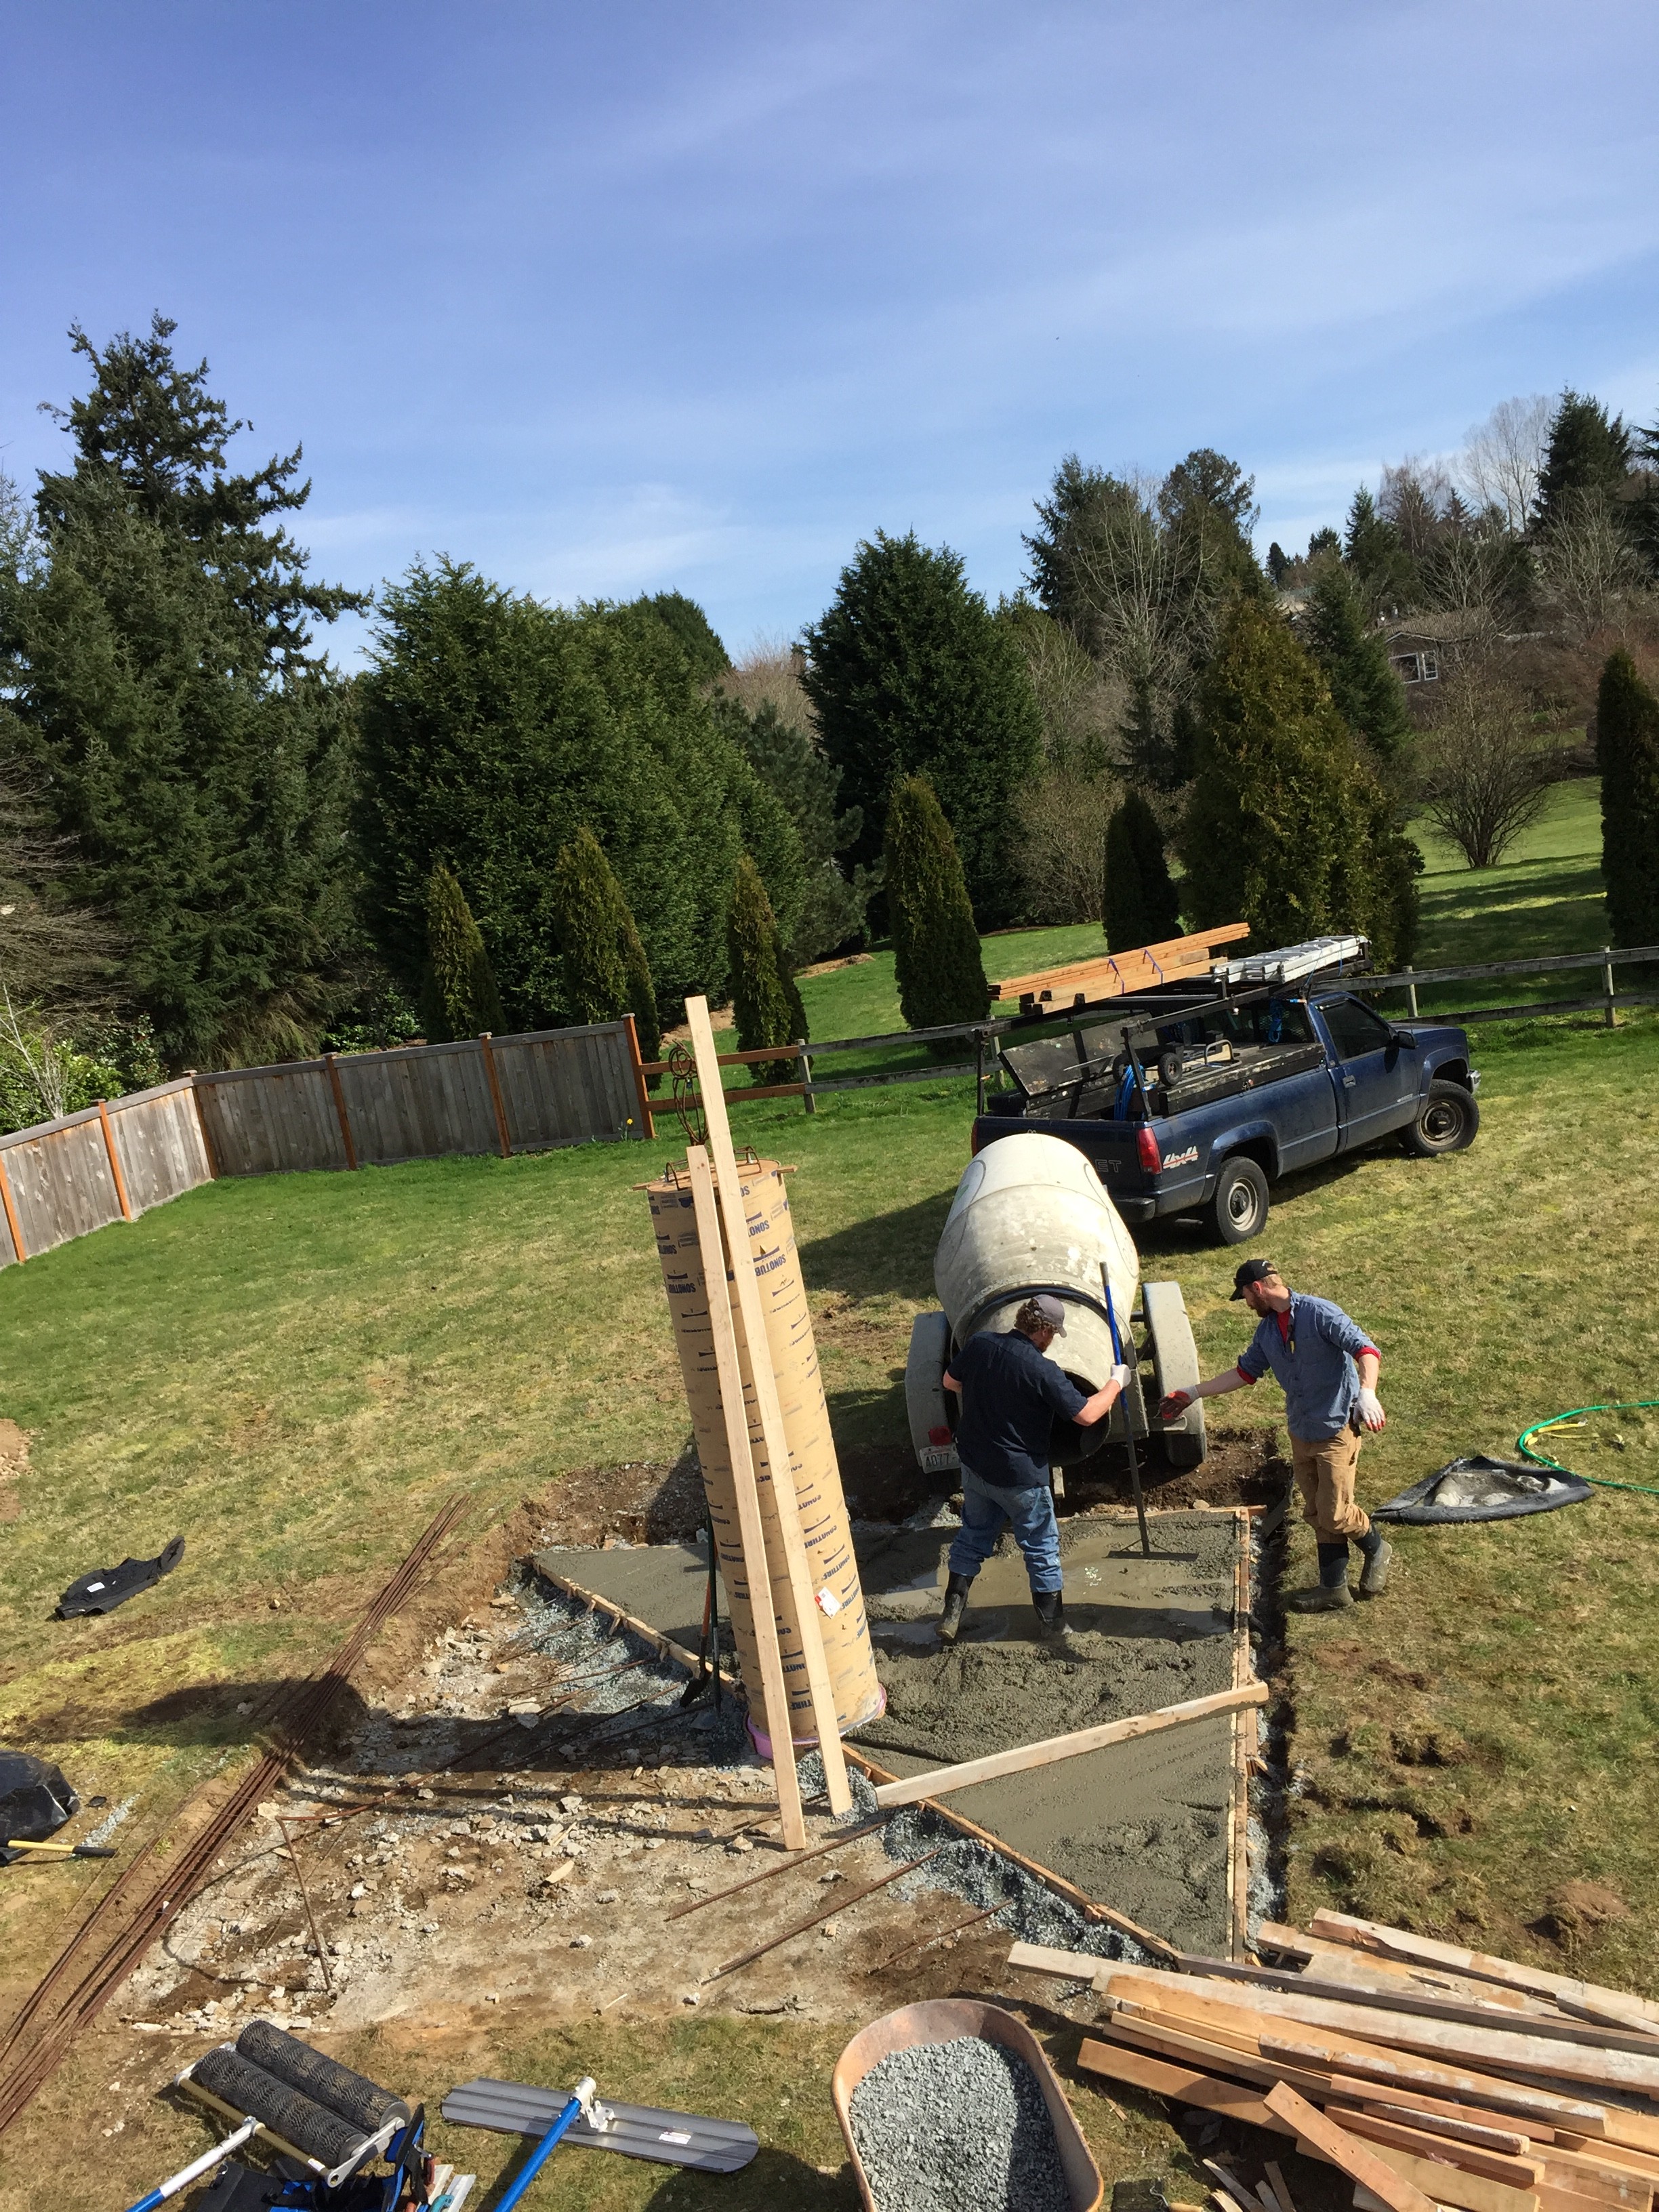
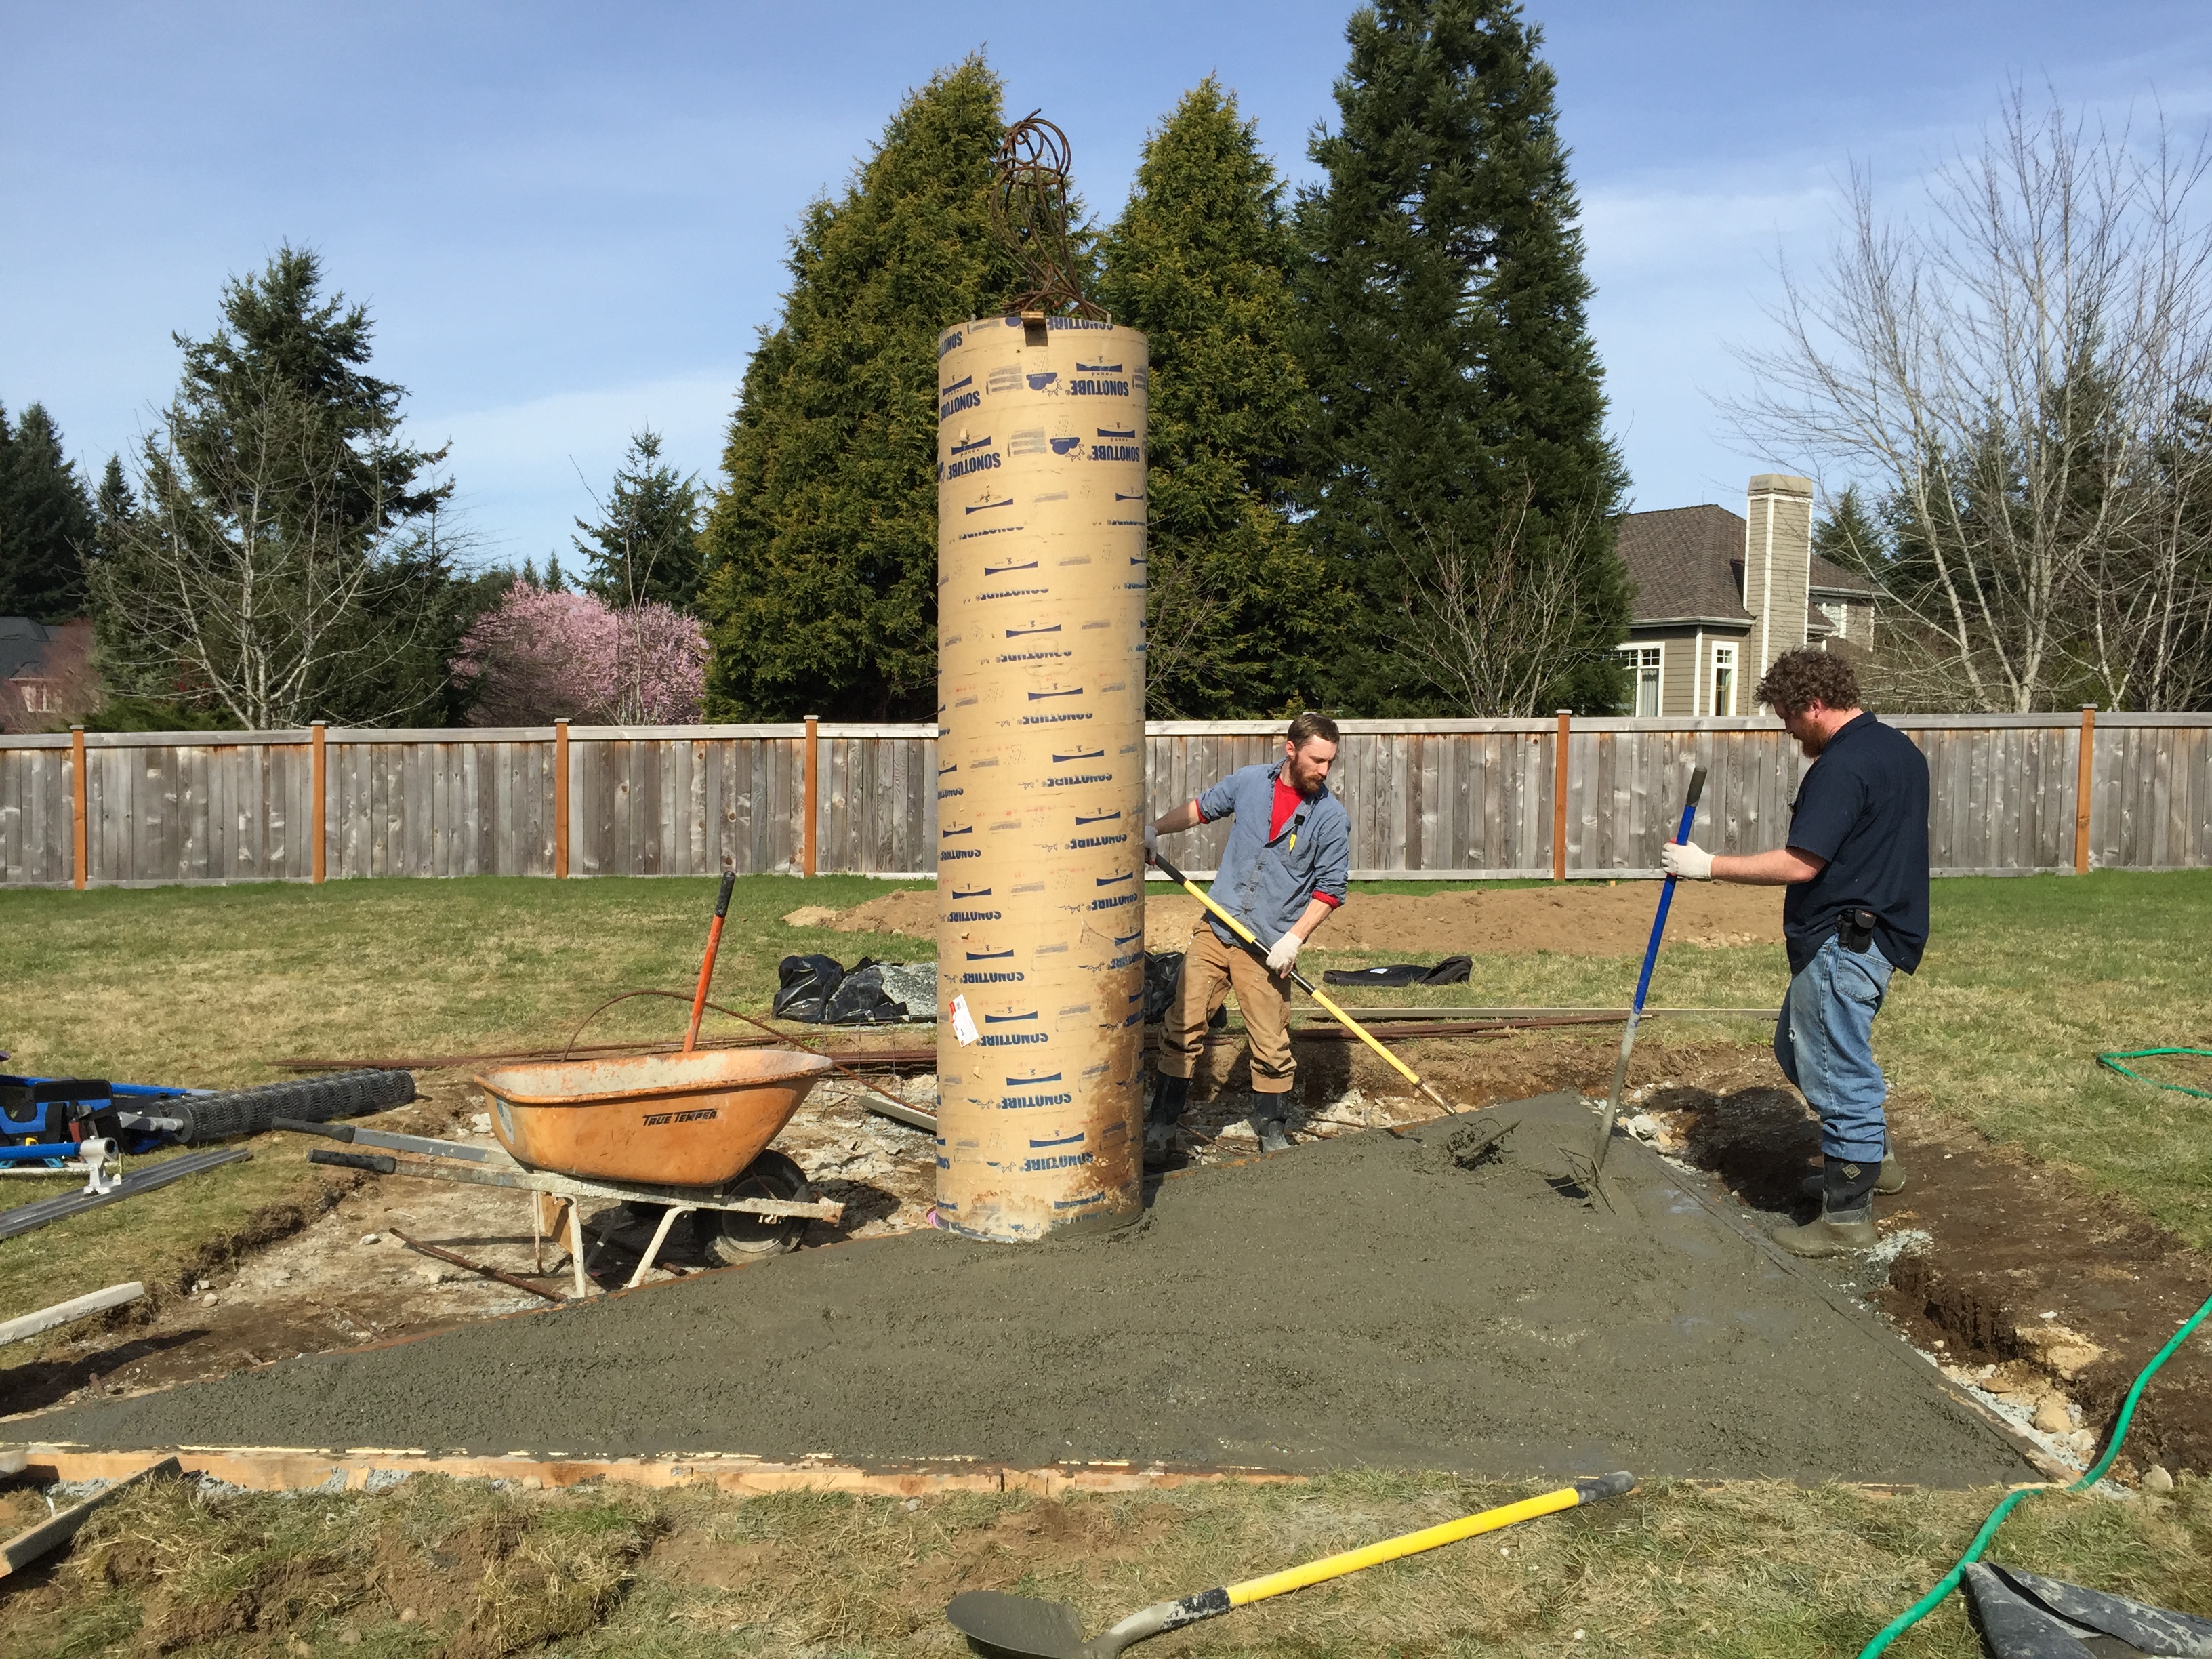
Unlike the pier pour, which required a pump truck (saved taking two yards of cement up a ladder, bucket by bucket), the pad could get done by a little towable mixer.
We decided to use closed-cell foam in between the pad and the pier (and the pier footing) to hopefully prevent vibrations in the pad (or the building, which the pad will support) from being transmitted to the telescope.
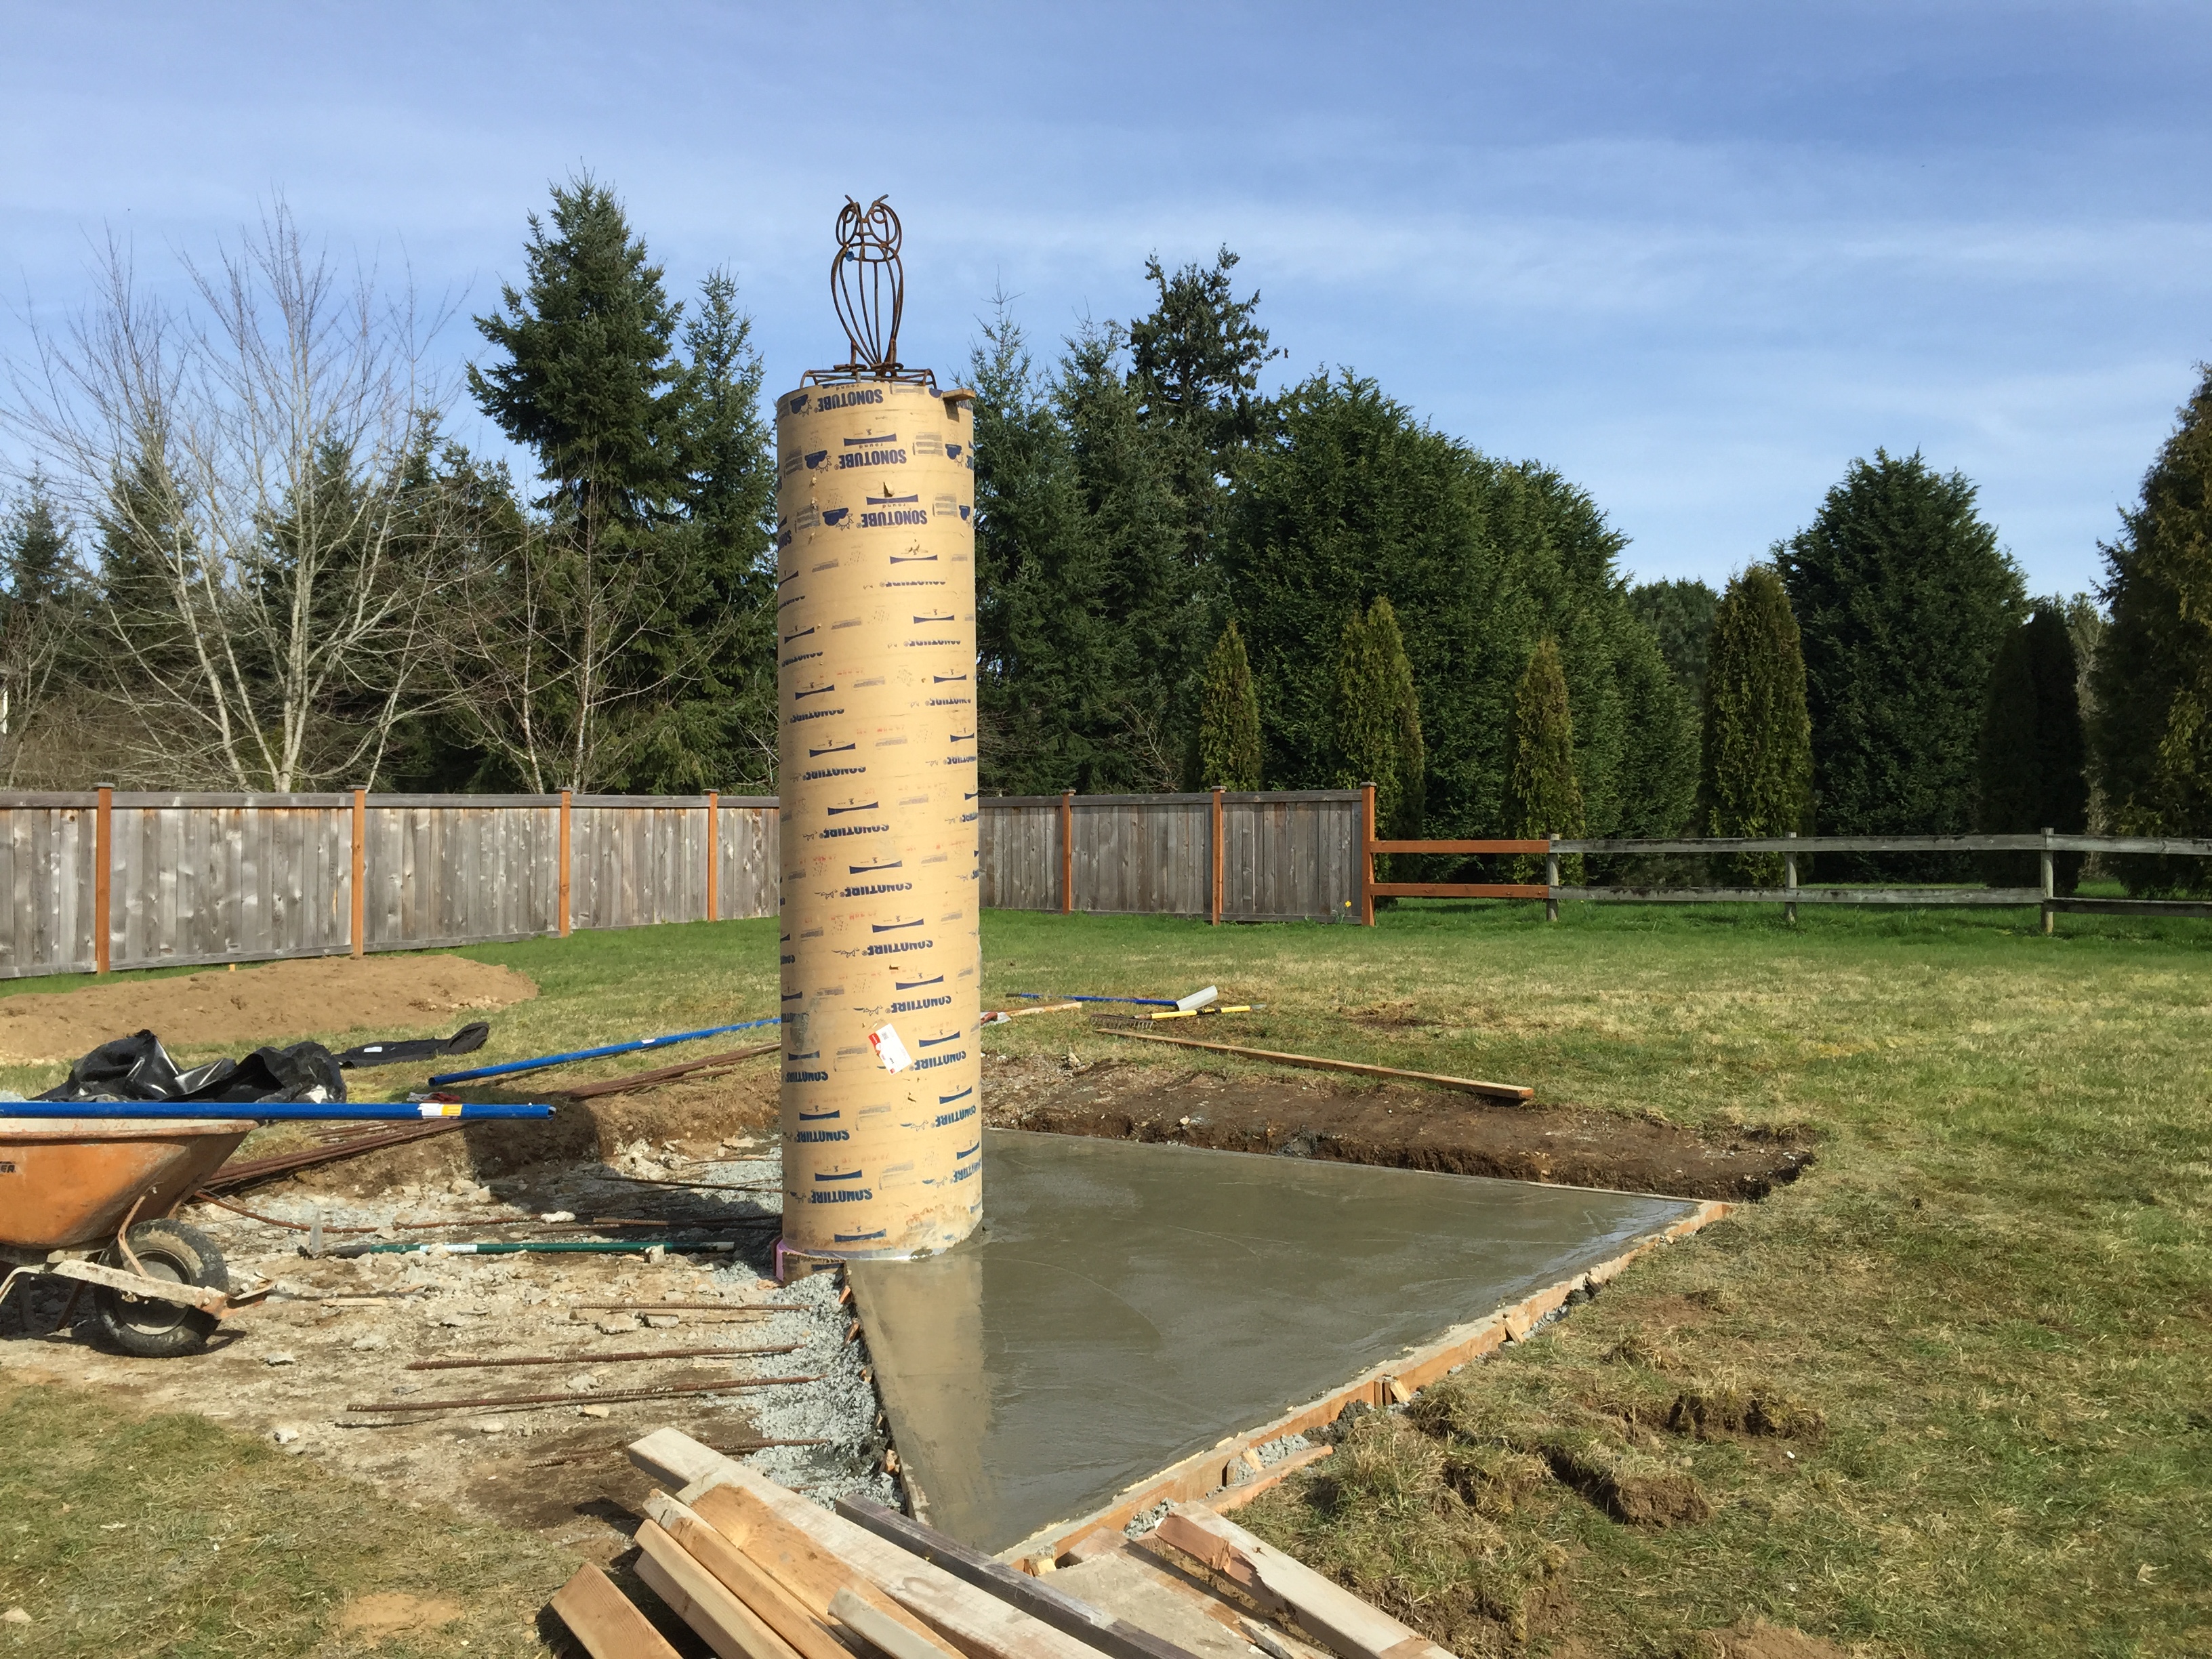
All in all, the pour seemed to go pretty smoothly; note that the pad will be laid one half at a time; the vagaries of concrete timing dictate how much area can be worked by how many people without having stuff start curing on you in the middle. So the long diagonal form board will be pulled in a few days, and then the existing pad will become “the form” for the second half. Nifty!
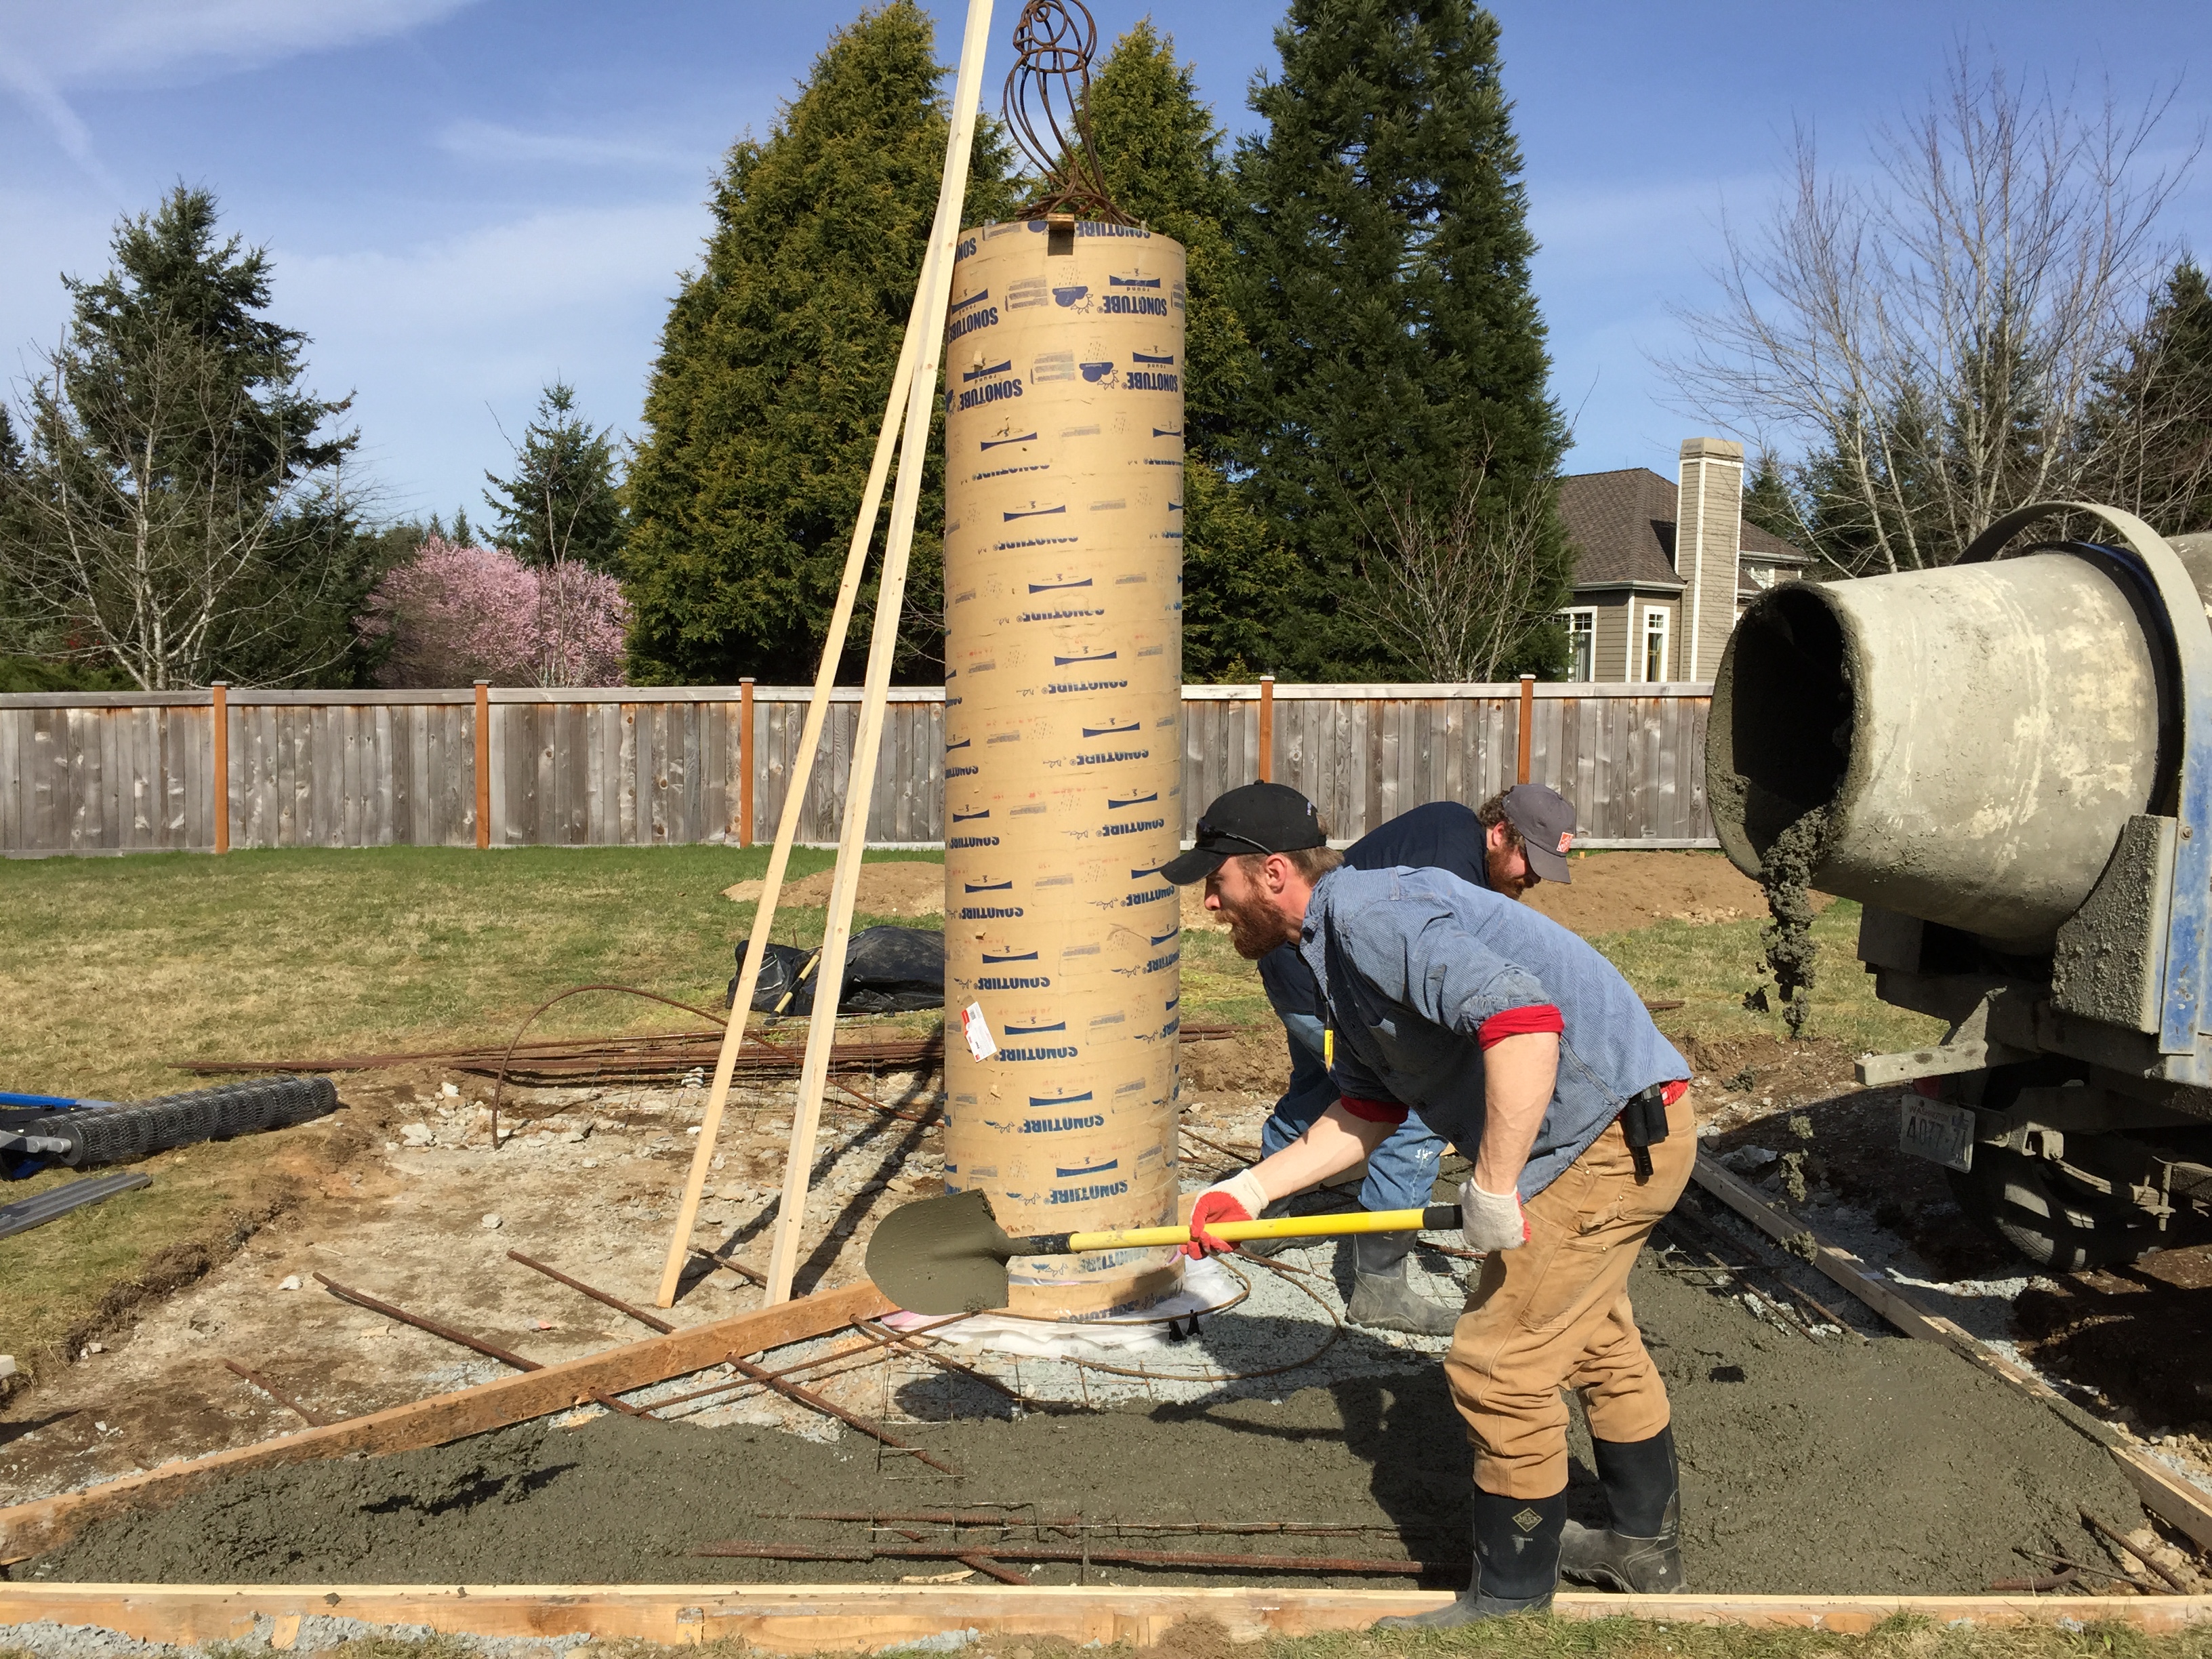
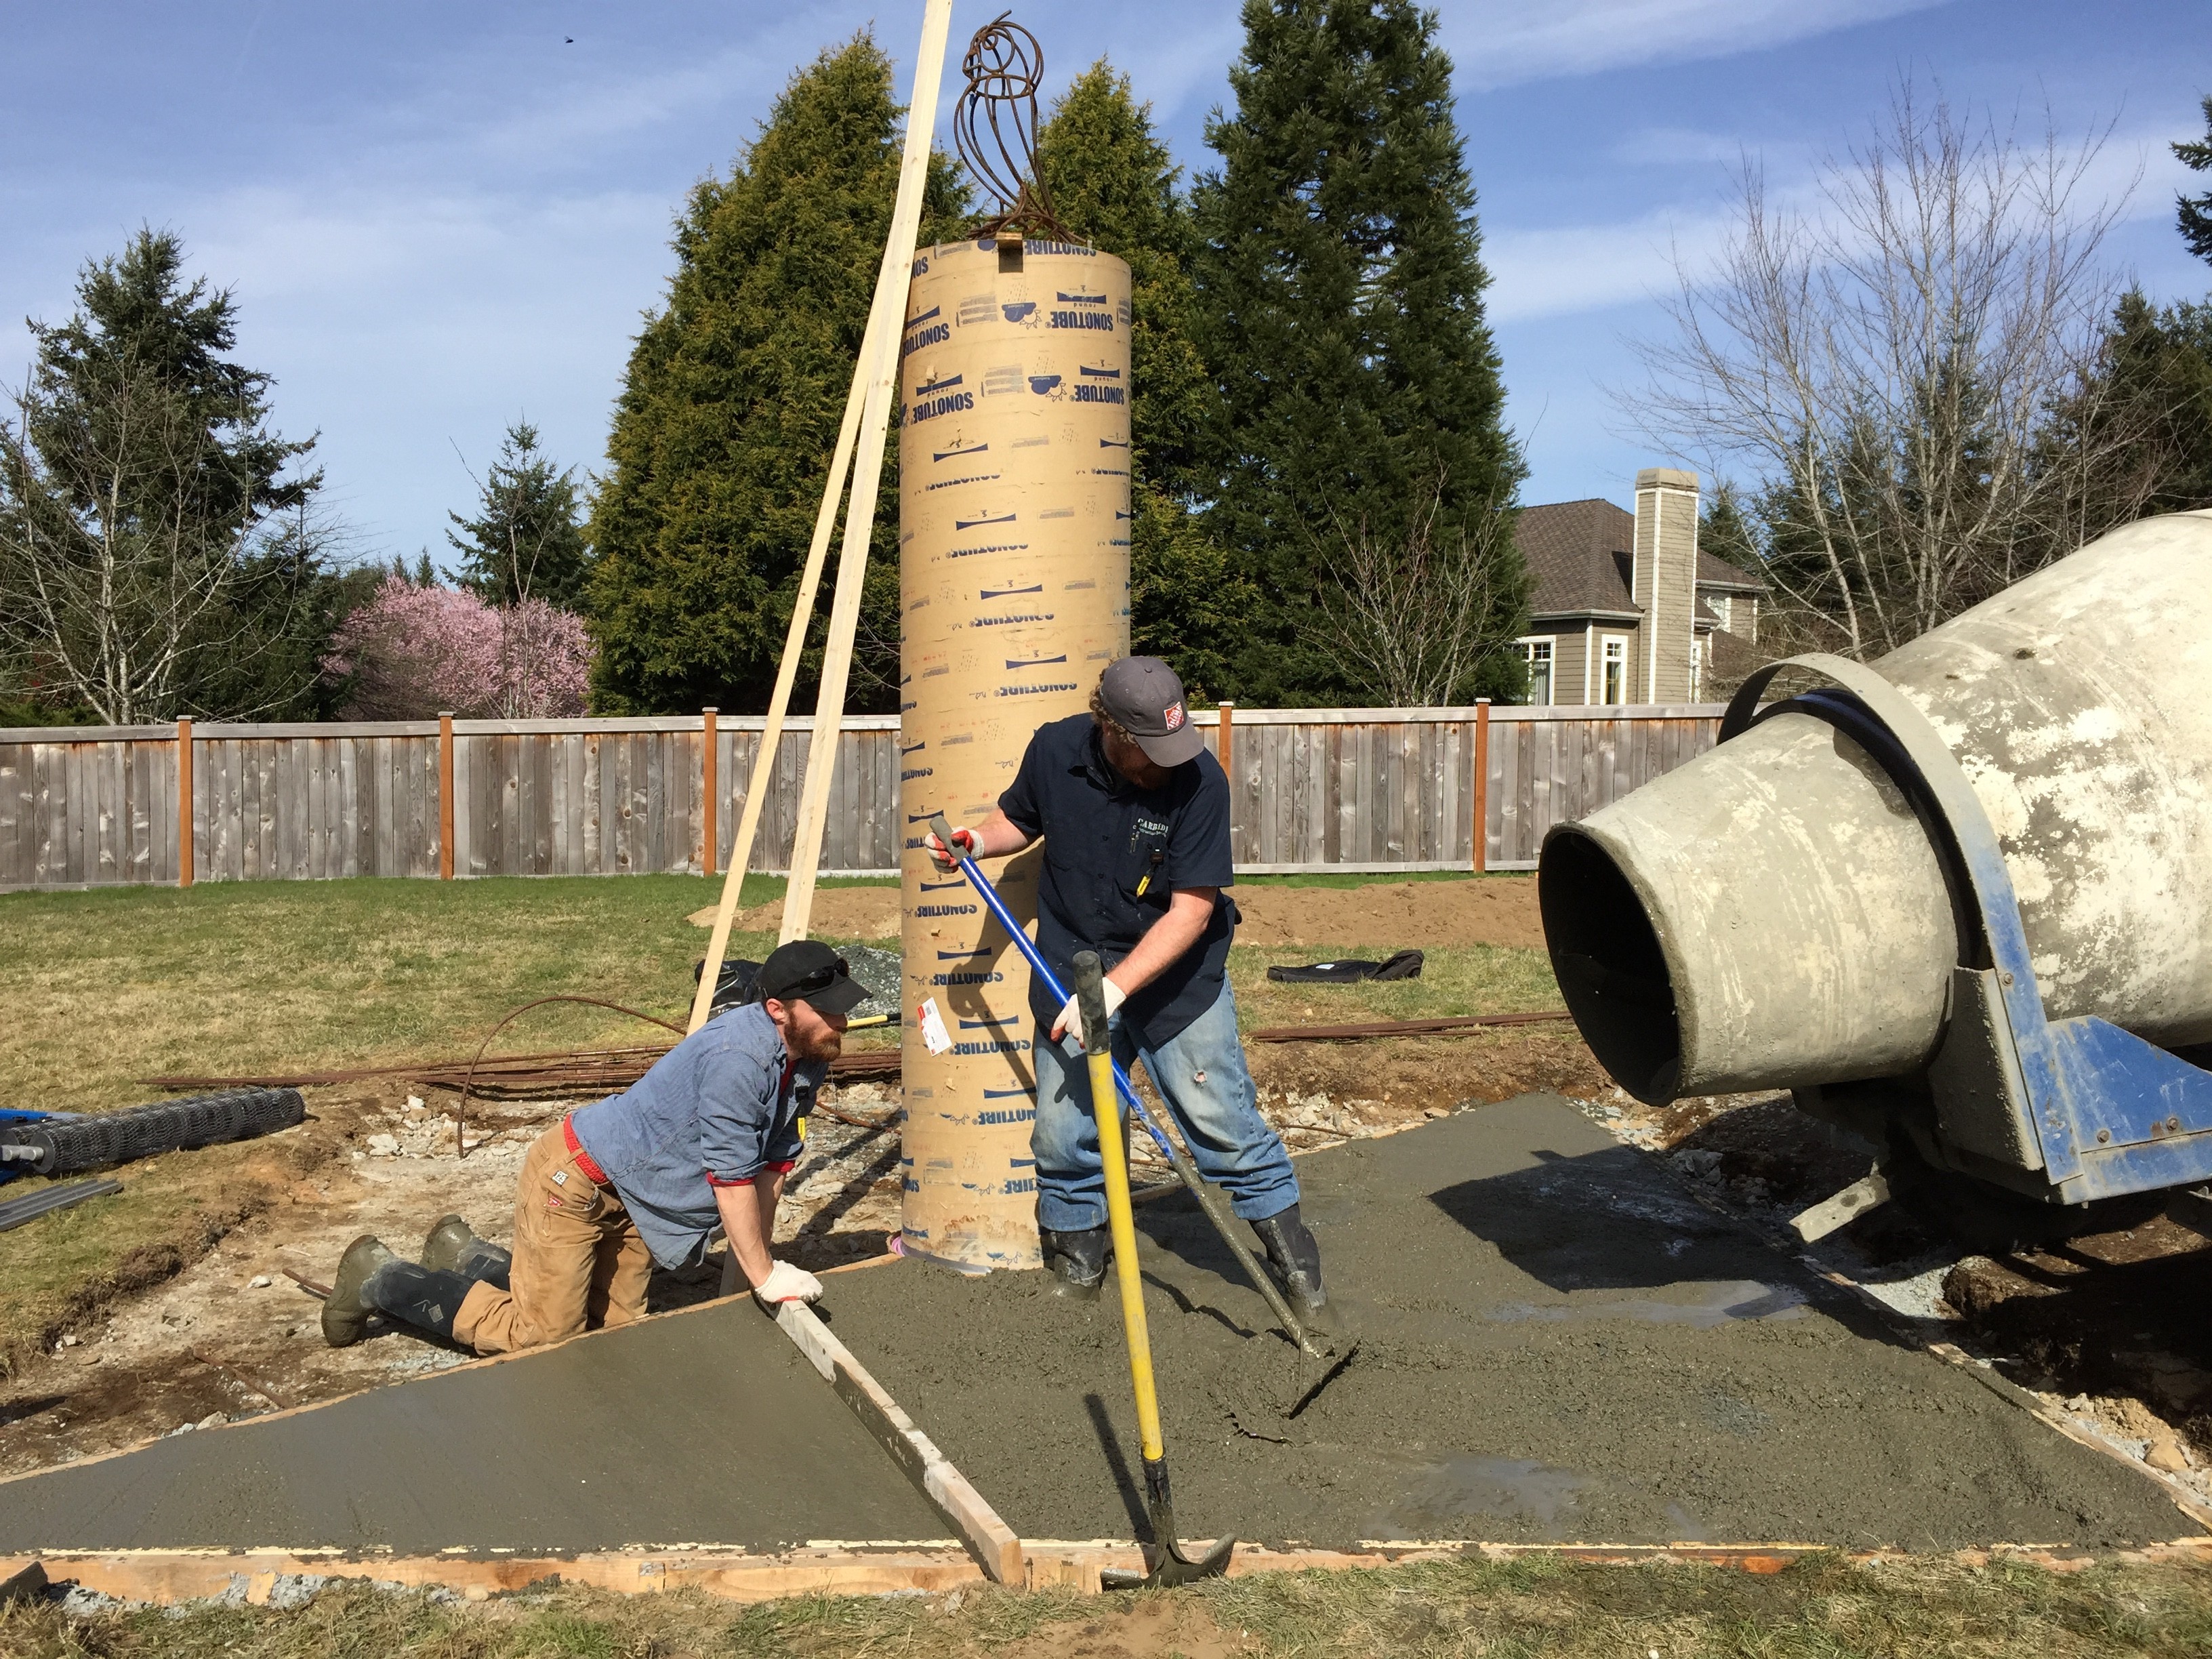
Once the concrete was out of the mixer and in the form, it was time for mixing and rebar-lifting and screeding and floating.
While the concrete is still super wet, it’s time to make sure all the edges are doing the right thing.
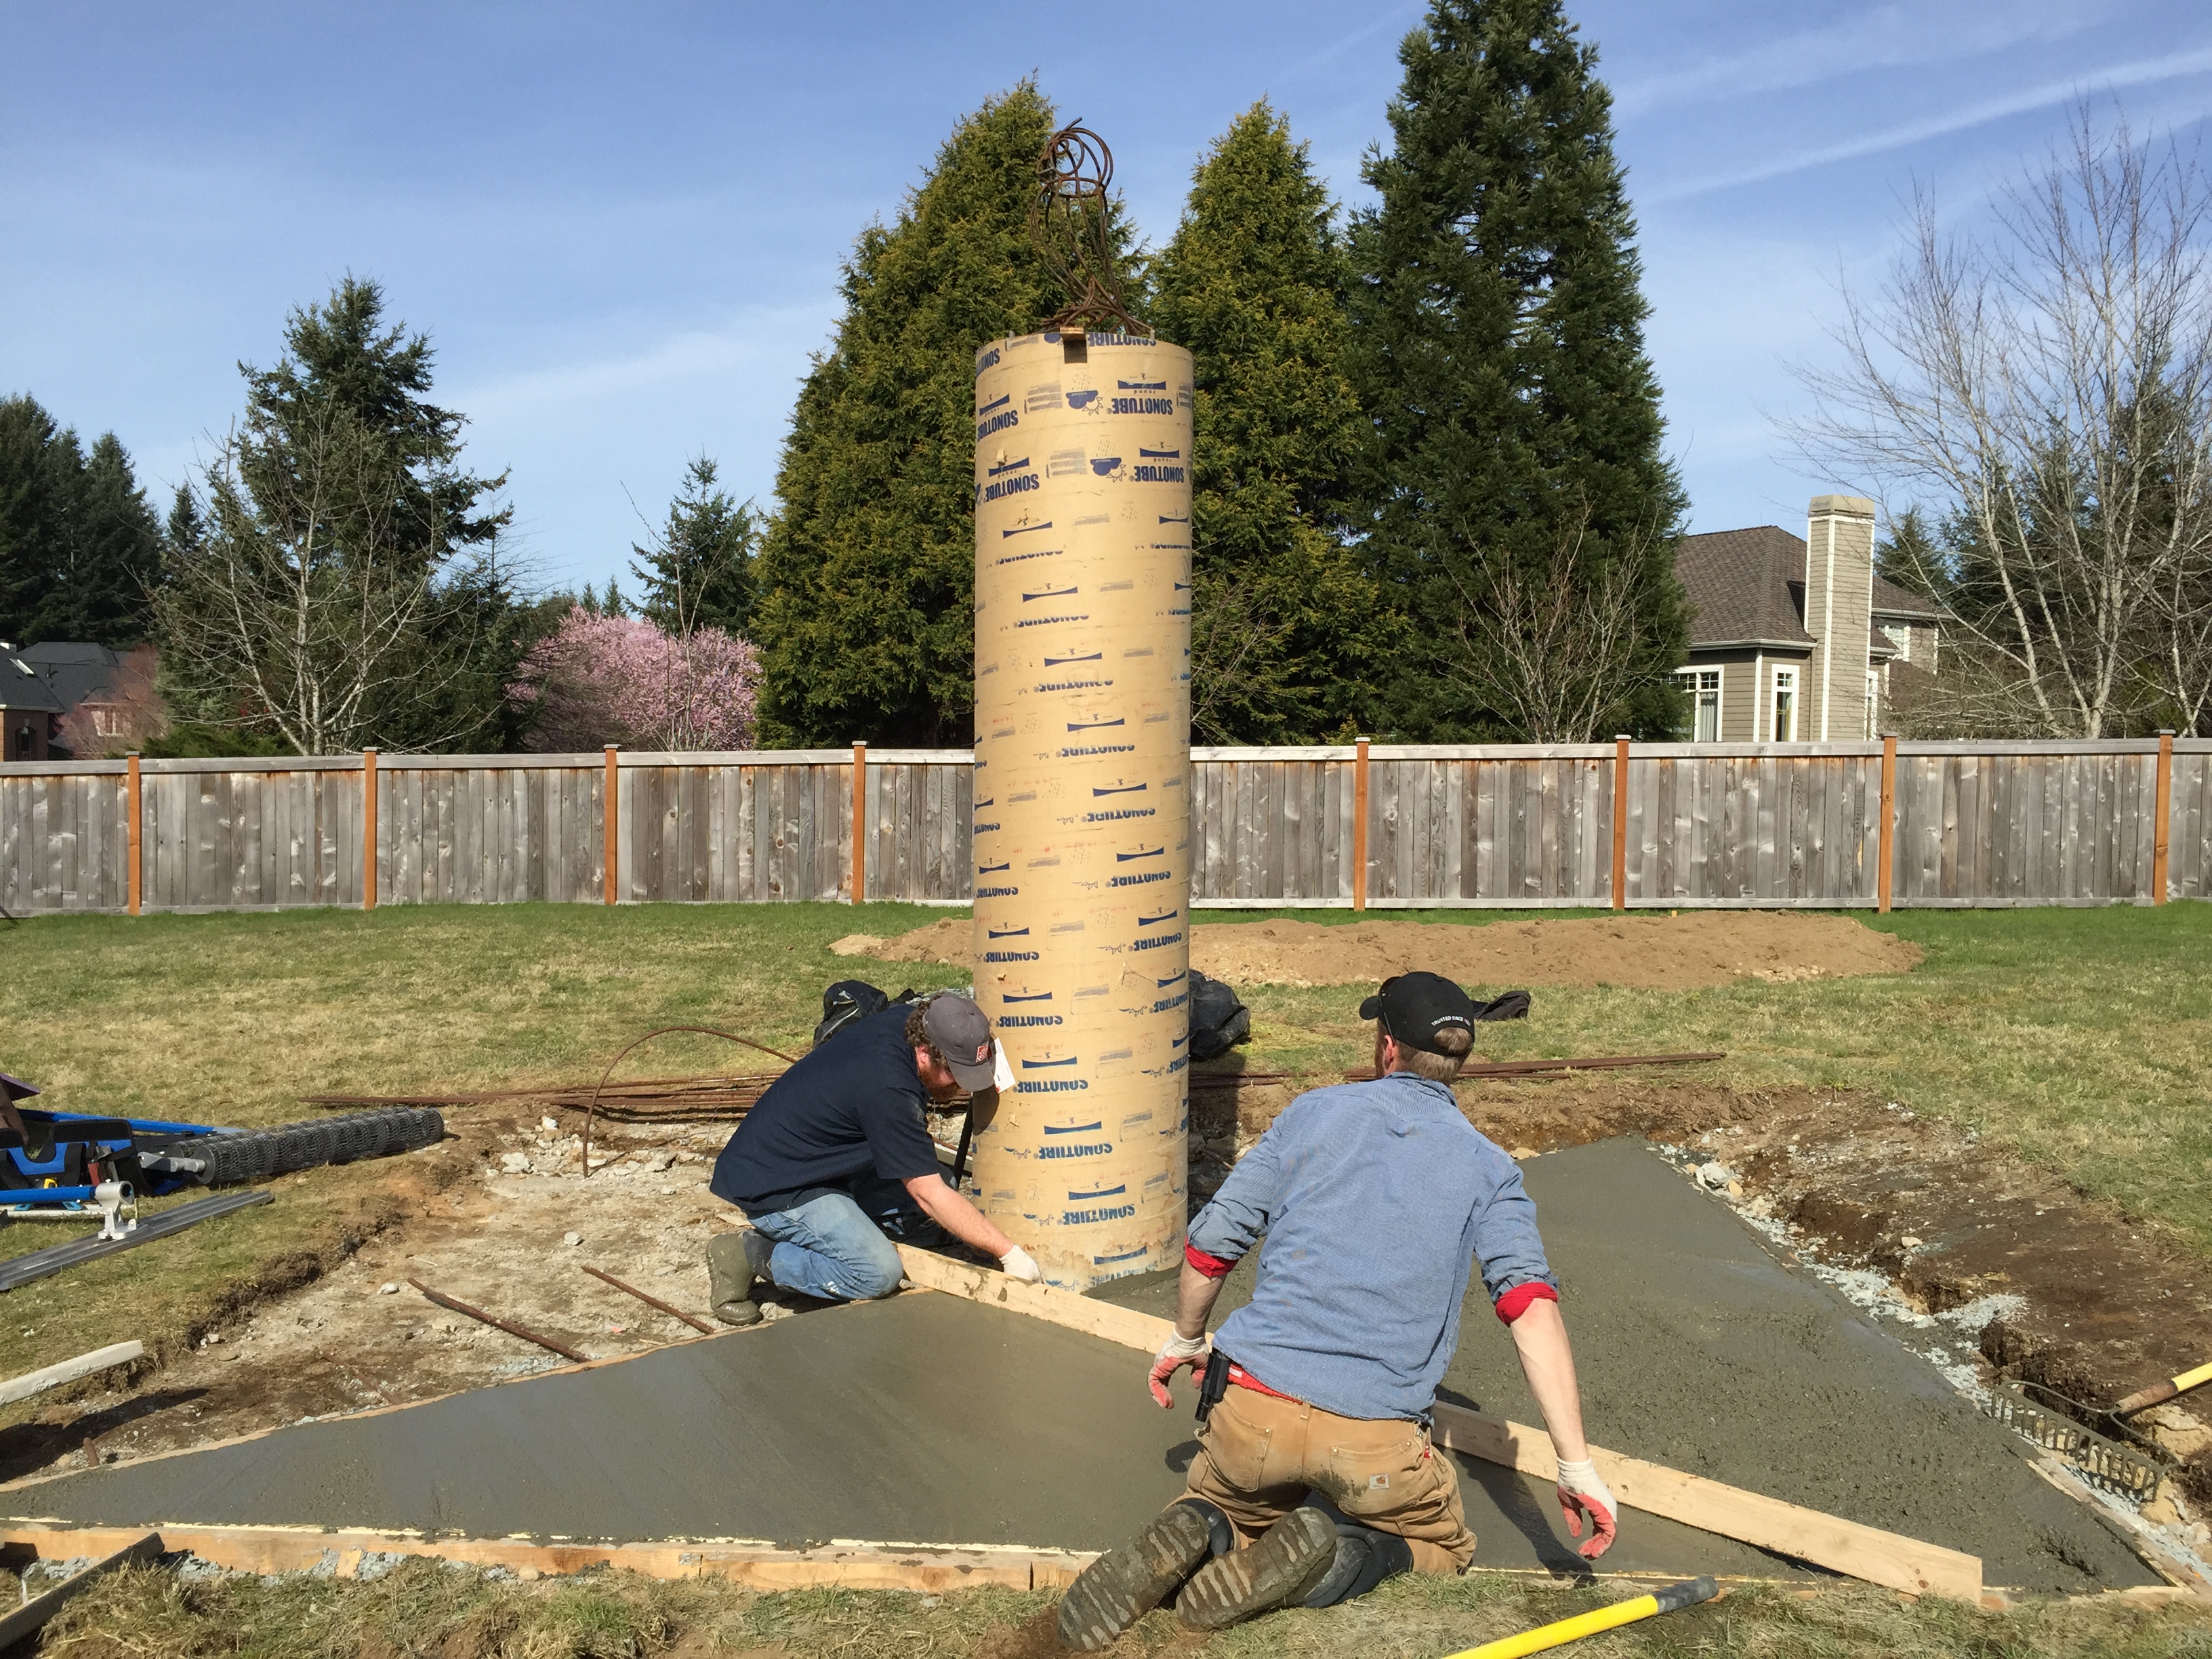
This is also the last chance to make sure that the rebar is “in” the concrete, and not “under” it, which is way less strong.
The floating is always the part that seemed most fun to me.
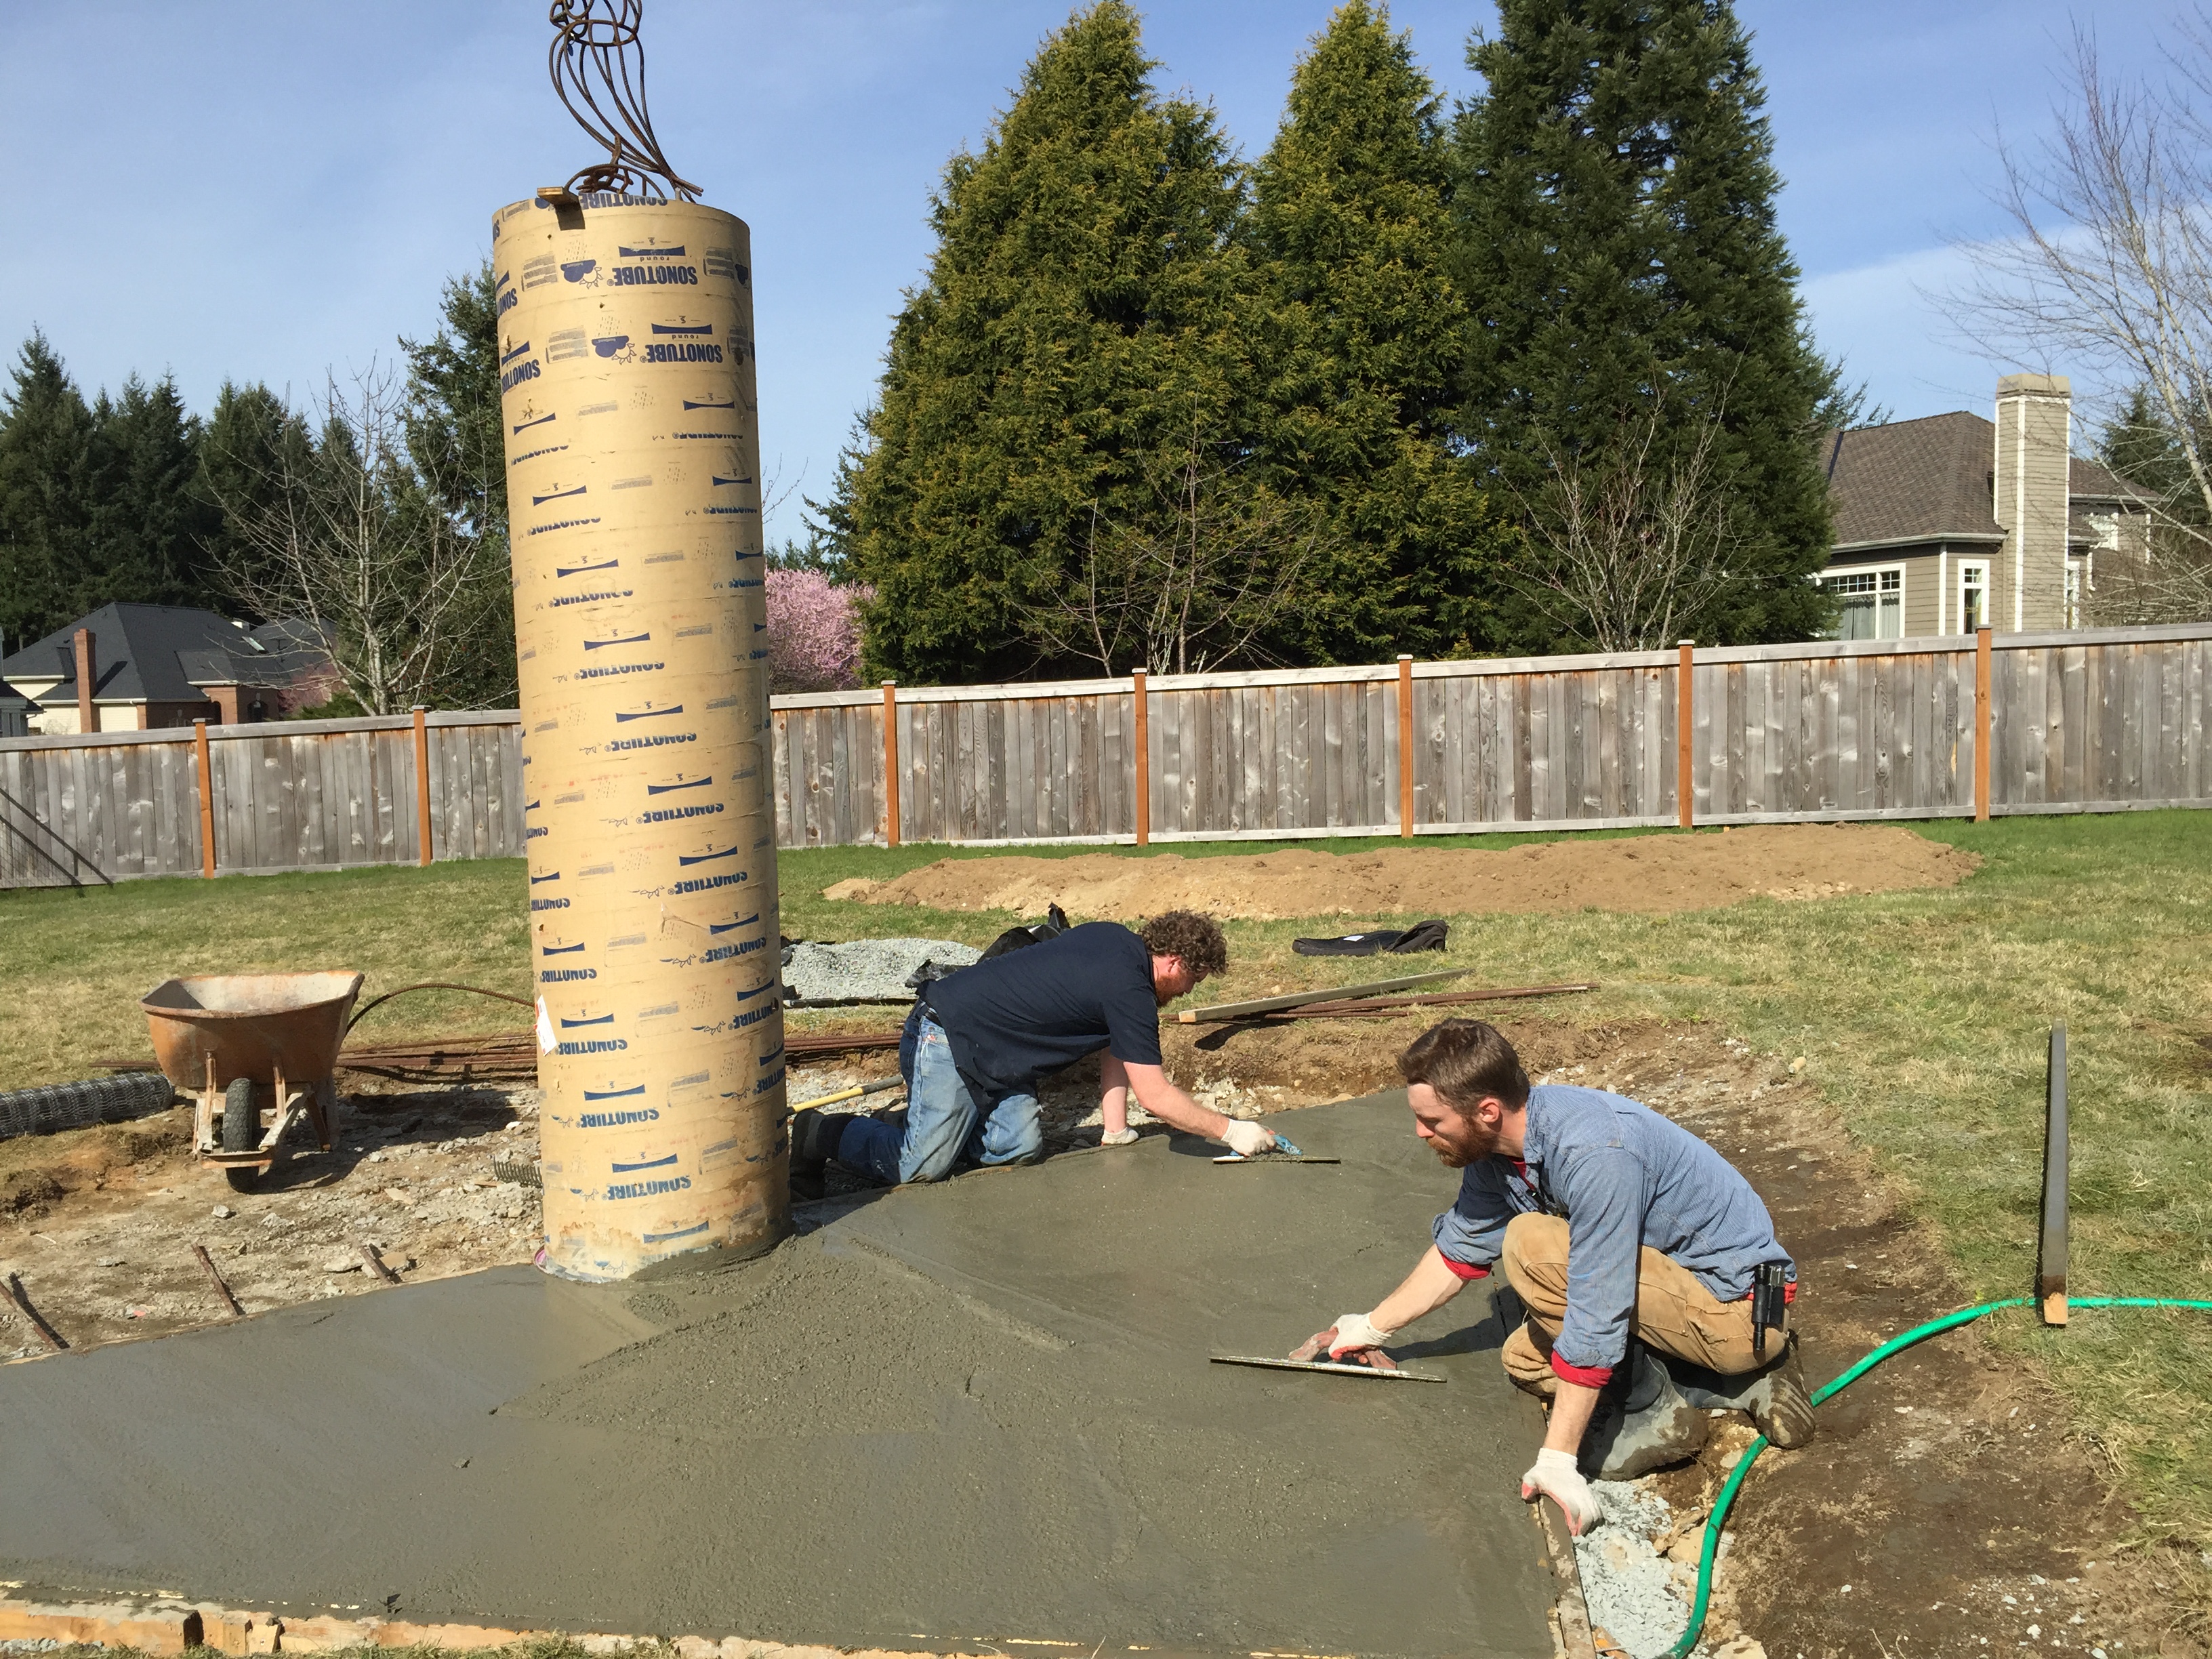
There were, at times, highly technological devices of uncertain intent…
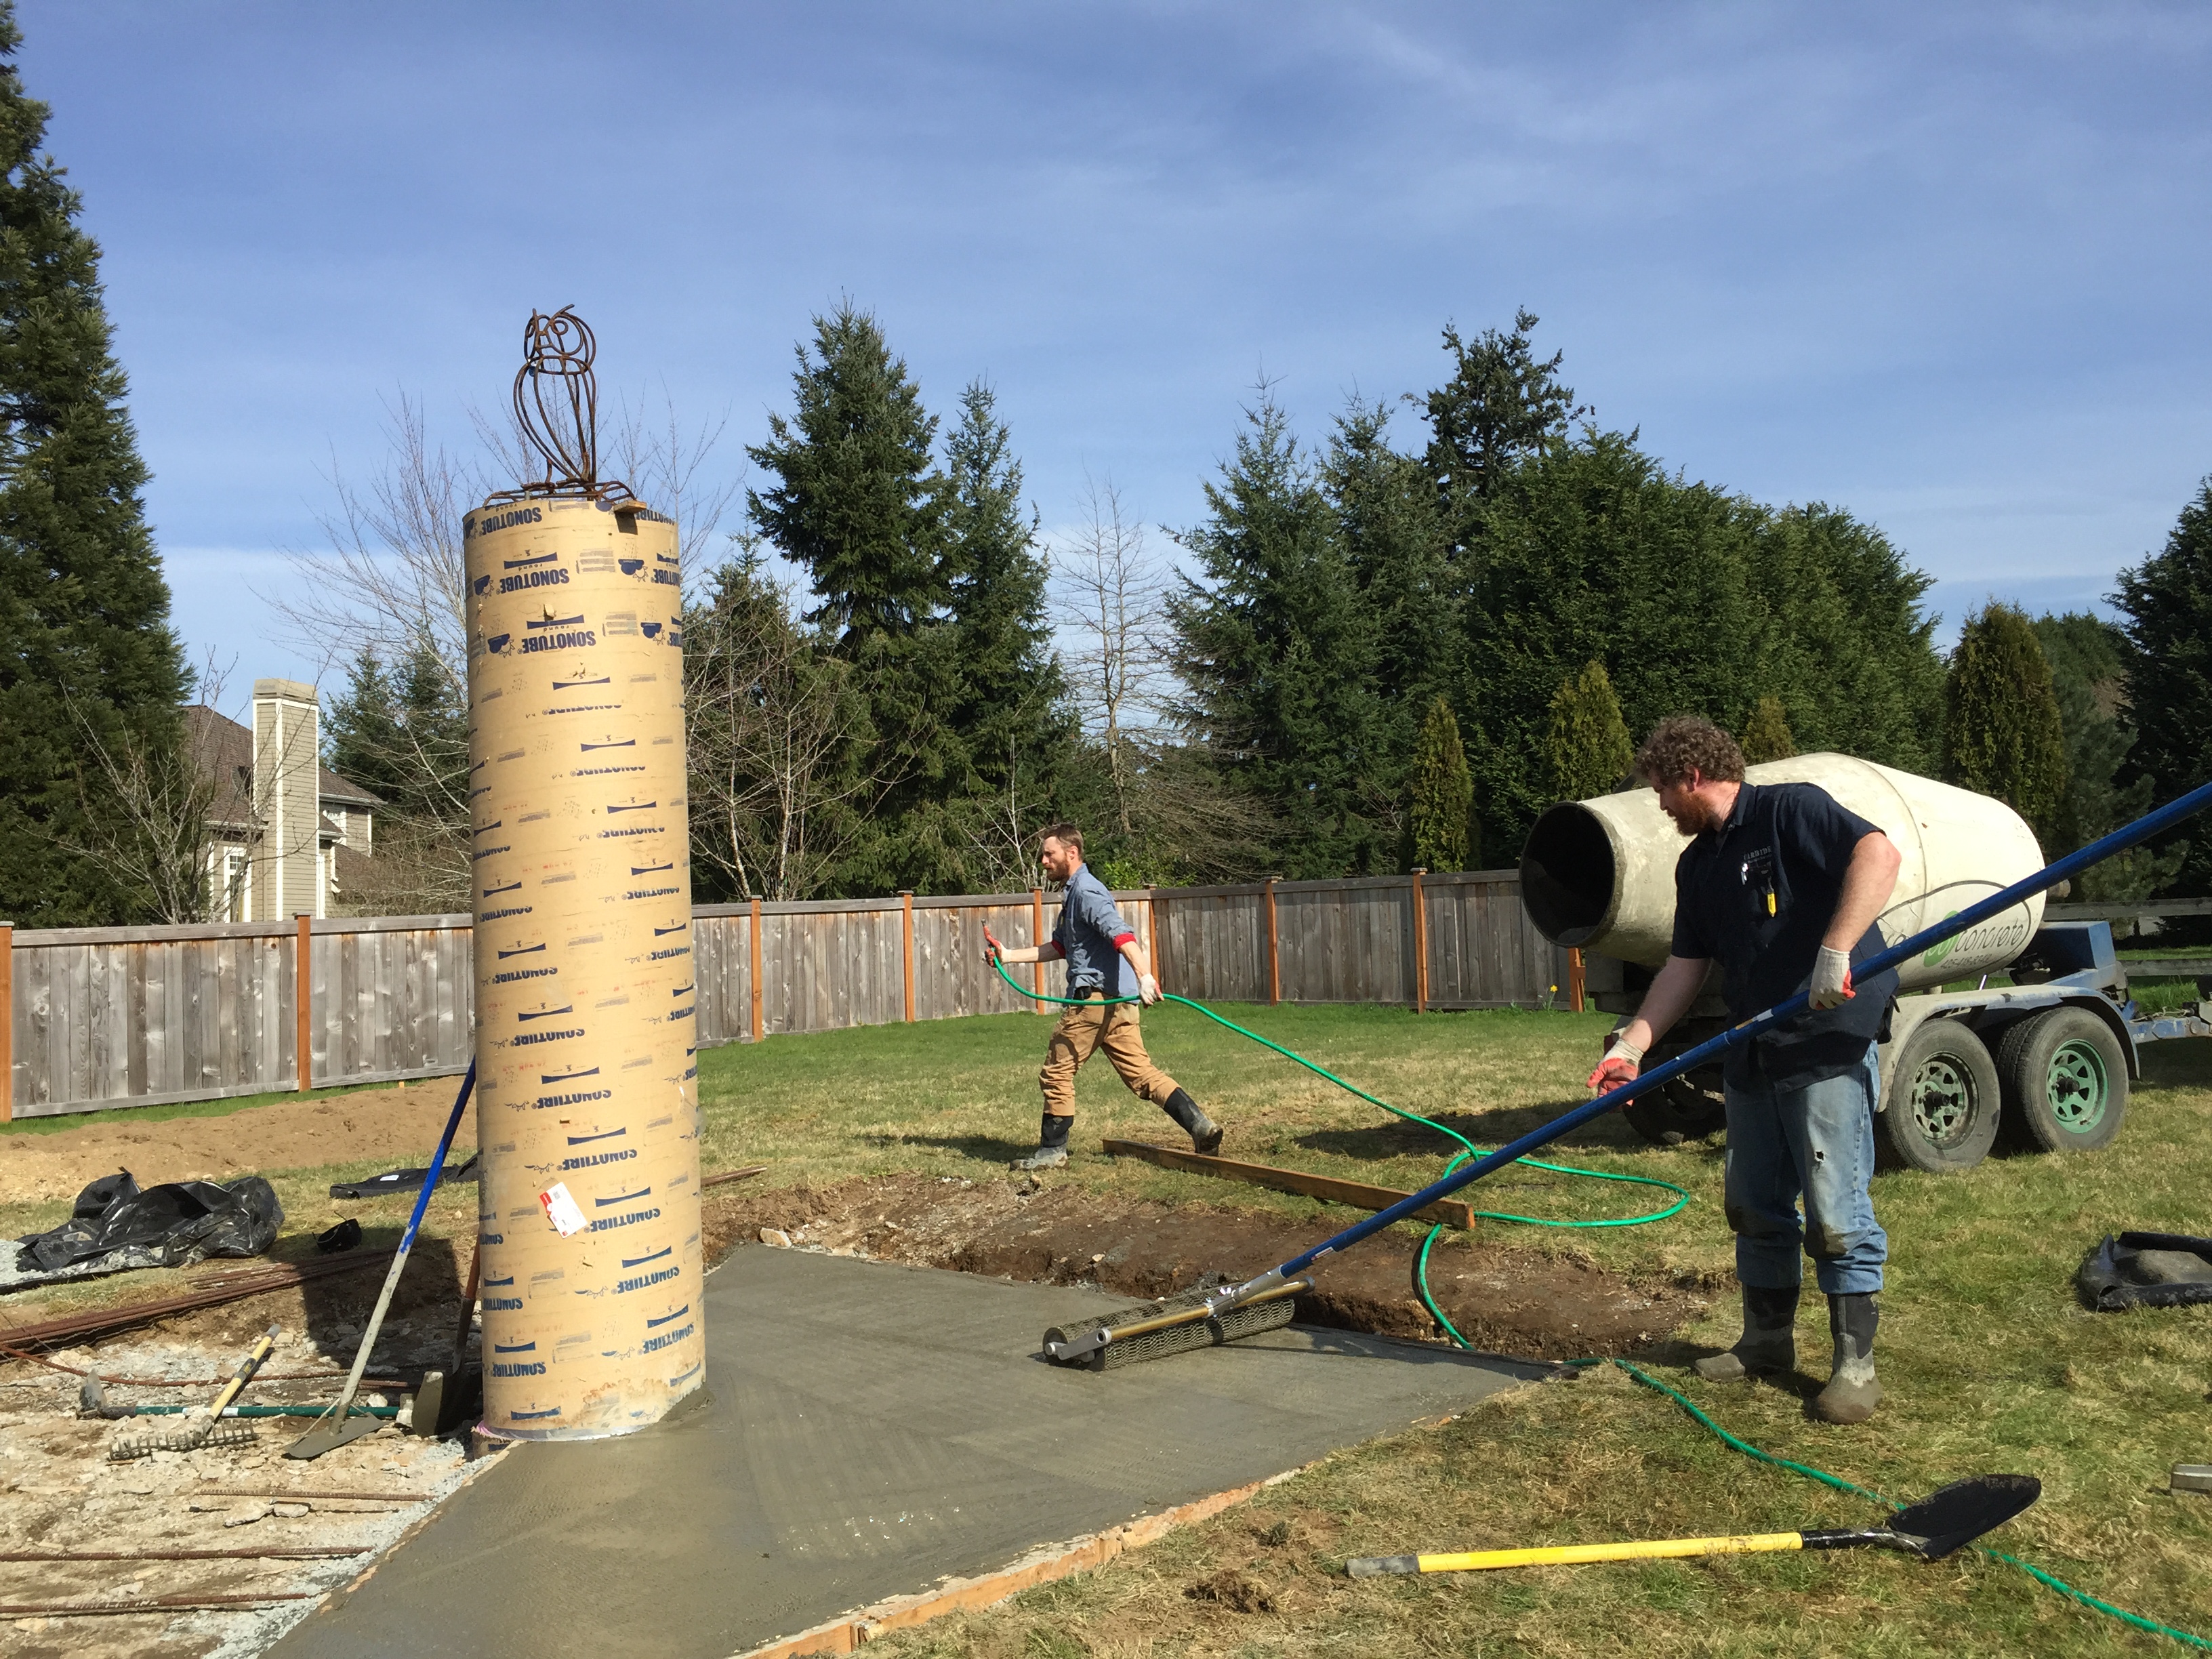
And of course the Big Ol’ Float was called in…
And, finally, result!
MOST COMMENTED
Observatory
Observatory 2.0 – Time has come today!
General / Maintenance
First Light, a deeper look
Mount / Observatory / Telescope
Observatory 2.0 – Result!
Observatory
Observatory 2.0 – The Pier goes in
Gear / General / Maintenance
Martin Farmer Wormblock installation notes
Deep Sky / Long Exposure Photography
NGC2244, The Rosette Nebula
Deep Sky / Long Exposure Photography
Another beautiful night.