
I had dreams of doing a day-by-day, blow-by-blow account of the observatory build, as I have been living it moment-by-moment.
However, there is both a lot of hurry-up-and-wait (how many hyphenated phrases can I have in this post? 🙂 ), and several other things going on in life right now (normal stuff, but it causes the build to happen in fits and starts), so I have a feeling that the build log will end up being a little more of the “highlights and milestones” style (see? no hyphens that time).
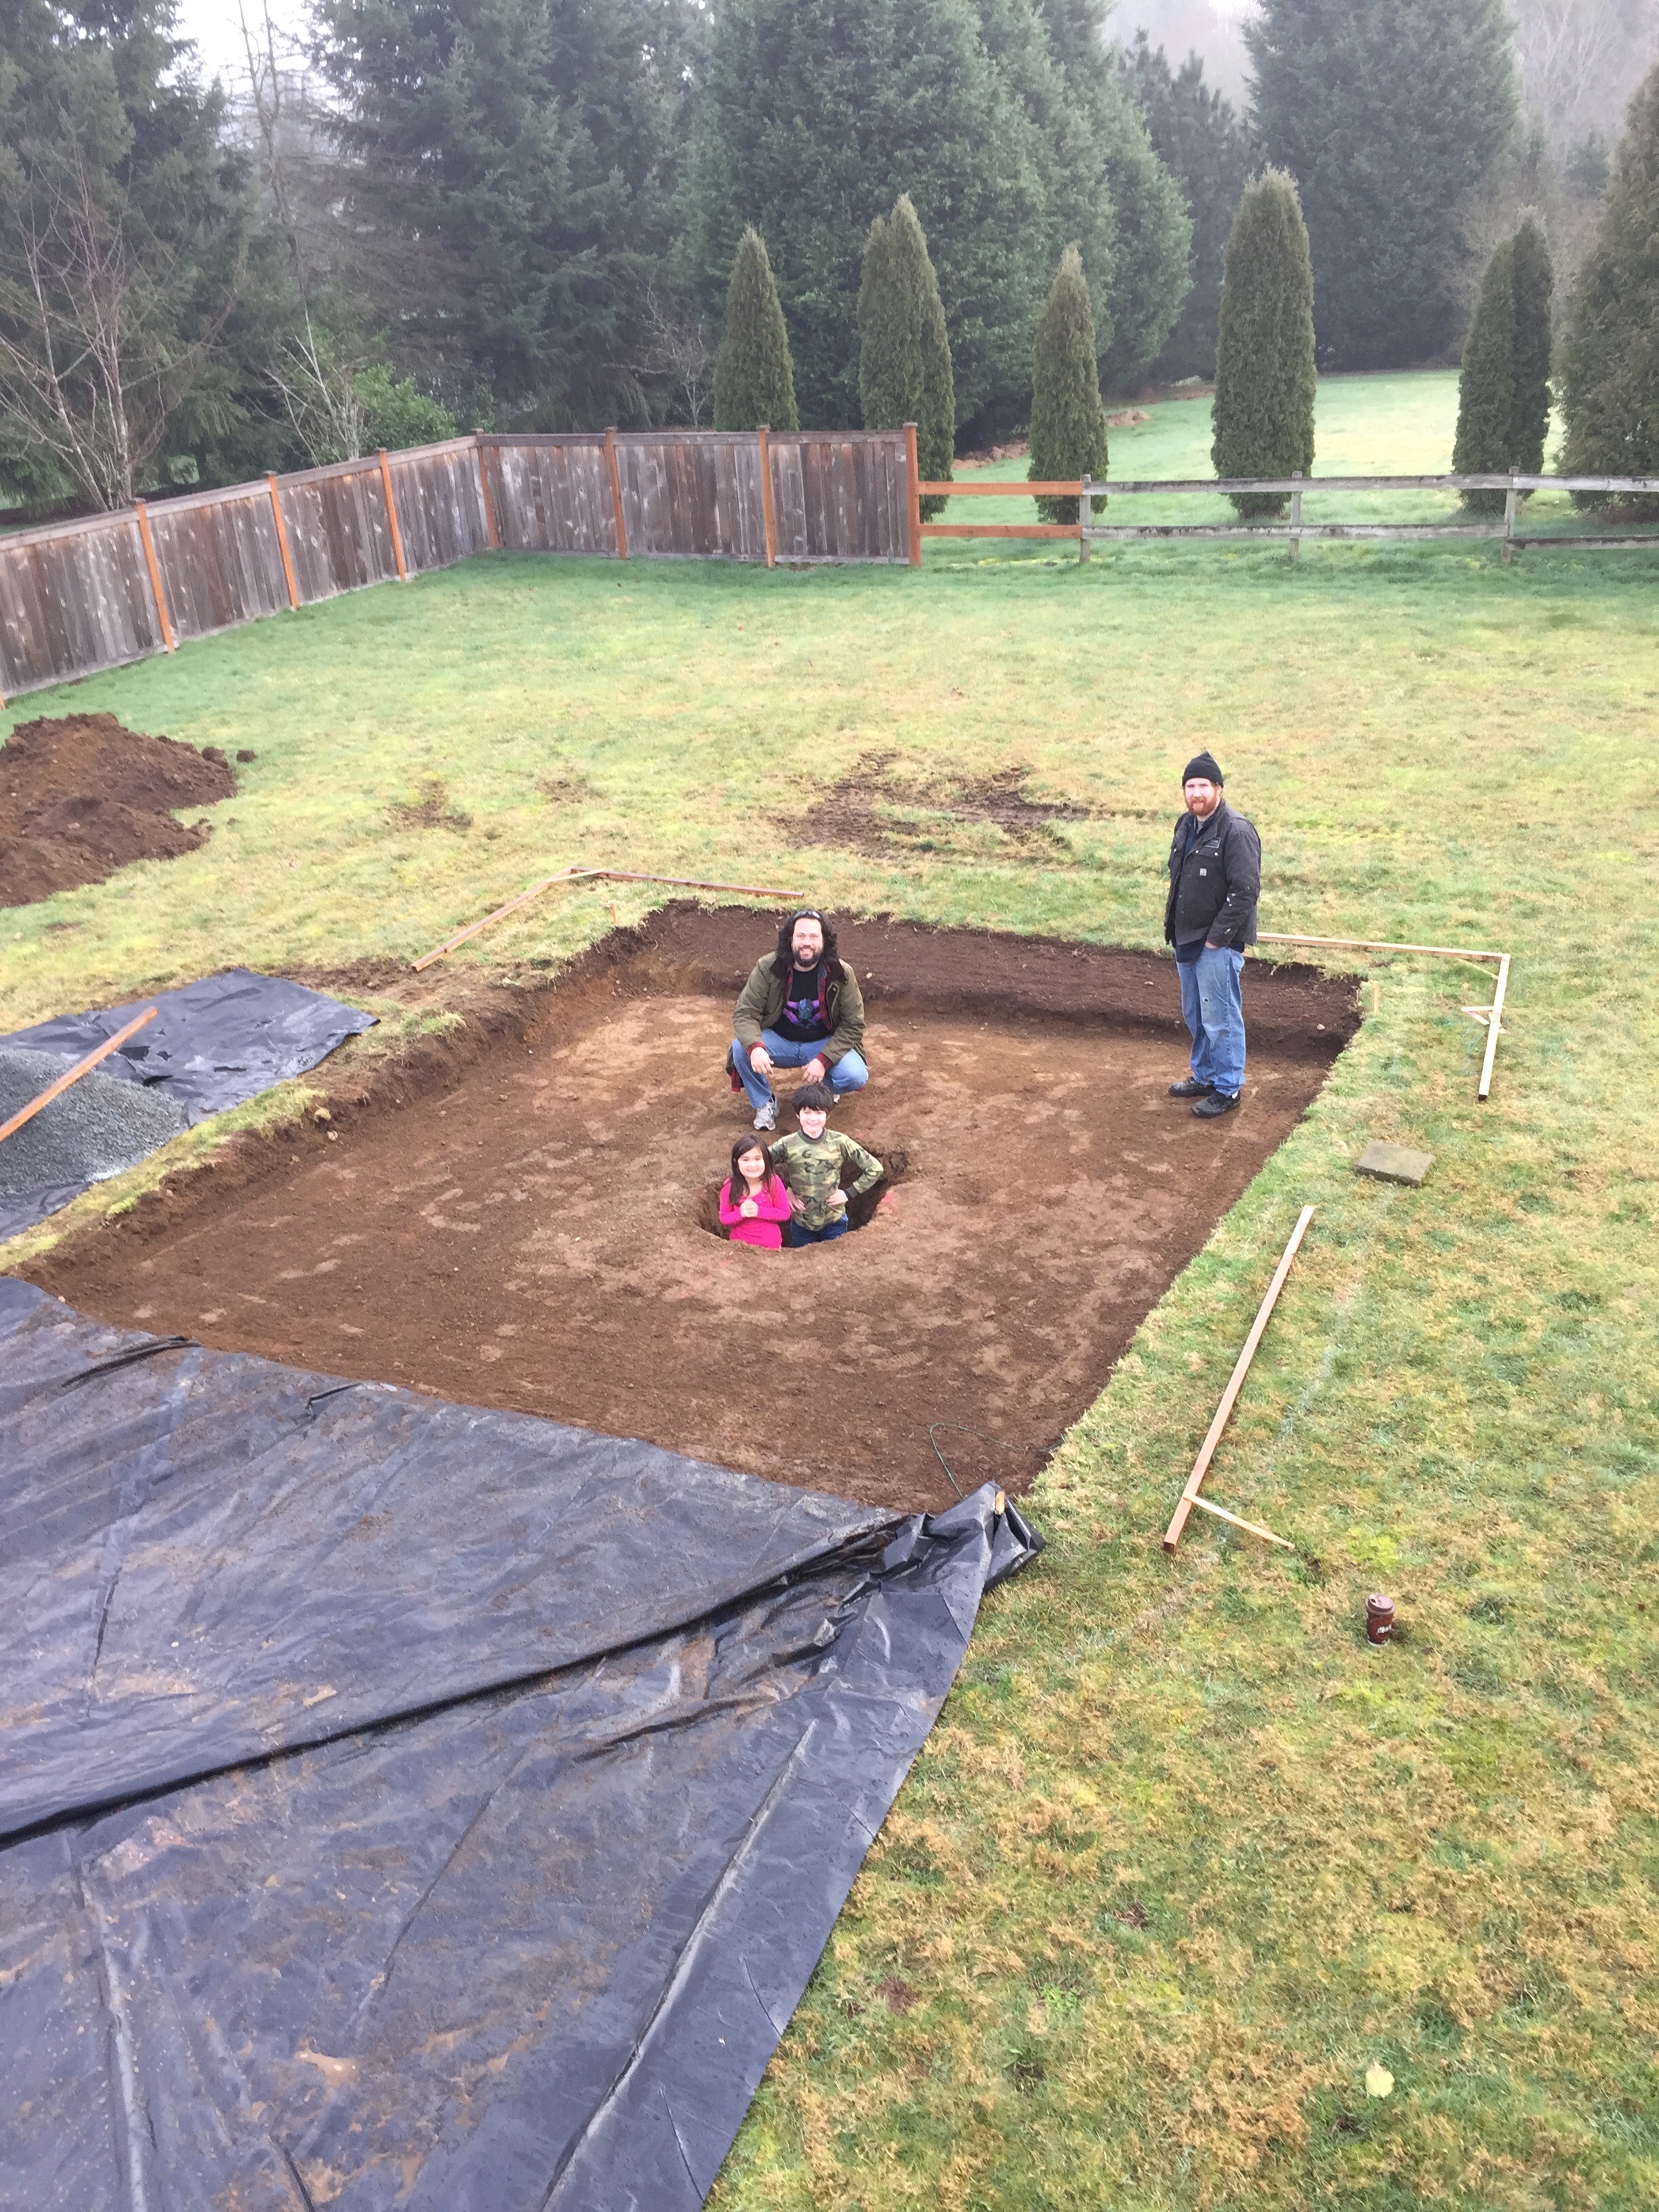
When we last left our intrepid build, the excavators had come and graded the area flat, for the pad. With the area cleared, I was able to carefully place the target where I wanted the pier hole to be dug. See previous post for all of this. The very next day, they came back and dug the hole for the pier.
Things stayed like that for several days, and then the concrete crew showed up to put in the forms for the pad and rebar for the pier.

They then came back the next day (see where I’m going with this? Lots of hurry/wait action) and finished the forms for the pier.

The build sat like this for another several days, waiting for the concrete truck. During that time, I needed to create a jig for the J-bolts that will go into the concrete pier; these bolts will hold the steel pier onto which the telescope mount will be installed, so it’s critical that the bolts be properly aligned (there is a “North” bolt).

My contractor, Jared of Carbide Construction Services, had a great idea, which is to add “key ways” onto the jig, so that the jig and Sonotube can be easily aligned. After some initial nervousness about how to properly set up and cut the jig, I went for it, and I think the result came out pretty well.

With the bolt jig ready to go, and the sonotube jig installed, we are ready to pour concrete for the pier!
Soon, the “Mud Flats Observatory” will become the “World’s Most Boring Lawn Ornament Observatory”. Stay tuned!
MOST COMMENTED
Observatory
Observatory 2.0 – Time has come today!
General / Maintenance
First Light, a deeper look
Mount / Observatory / Telescope
Observatory 2.0 – Result!
Observatory
Observatory 2.0 – The Pier goes in
Gear / General / Maintenance
Martin Farmer Wormblock installation notes
Deep Sky / Long Exposure Photography
NGC2244, The Rosette Nebula
Deep Sky / Long Exposure Photography
Another beautiful night.