More bathroom scale madness

I got the bathroom scale circuit logging data to an SD card tonight. The Adafruit logging shield came in handy again. I had to work through a number of issues; in particular, the sd card in the shield was dead, and I think that the RTC’s battery might be dead, too.

Anyway, I figured out how to create and append to files on the SD card.

There is something seriously wrong with the power situation on the circuit. Yet another example of my lack of knowledge of basic EE skills. Right now, the thing can only be powered from the USB port. The scale complains about low battery. I might switch the scale to use a wall wart.

I tried to figure out how to turn off the Arduino when not taking a reading, but that will involve some understanding of. Arduino interrupts, which I was not up for tonight. The scale itself stays powered all the time, probably in some kind of sleep mode while waiting for the user to step onto the scale.

I need to get the circuit installed onto some kind of permanent PCB. I am starting to lose track of all the wires.

So the scale is not quite ready for bathroom deployment. It is fully functional, but is too rickety for public consumption.

Posted in Electronics, Making | Tagged | Leave a comment

CNC – Super-PID

I got some time in the shop today and decided to test out the axis accuracy of the new CNC.

I still have tuning to do; you definitely can’t run the router through wood at the same speed as you can through air. Not ever having had a machine with a difference between “rapid” and “work” speeds, this was a revelation, even as the machine whined and complained about me trying to push it too fast.

After toning down the speed a bit, I was able to cut some nice squares. They came out the size I was expecting, and it was still cutting about 3x as fast as the Book Machine ever did.

Then I moved on to making a housing for the Super-PID. Because prt of the circuit runs at 110VAC, it’s important that nobody touch that part, even accidentally. After much hemming and hawing, I decided to just get something built, so it came out a little slapdash. But, by the end of the session, I had a working enclosure, and I was able to control the router’s speed using the potentiometer. W00t!

I will need to figure out what speeds the bit needs to be going for various materials. For wood, it seemed like anything below about 15k was pretty useless.

But, now that I can run down to 5k rpm or so, I have a good shot at being able to do plastic, and that means that I can work on cutting down old cutting boards into (for instance) housings for the home switches that I want to install.

With the initial sawdust made, there are a few things on the machine that need tweaking and tightening. The vacuum shoe is going to be worthless with the laminate router I have. We shall see whether that router lasts as the cutting tool, or whether I end up going with a bigger cutter.

A good day in the shop. Nice to have heat out there. Looking forward to the stovepipe being finished so that the starlings are gone for good.

Posted in Making, Woodworking | Tagged , | Leave a comment

Hacking a bathroom scale

I decided to keep closer track of my weight. As a geek, that means some kind of spreadsheet or database, and as a programmer, the thought of having to enter day manually seems wrong somehow.

So the obvious next step was to find a bathroom scale that I could modify so as to record data.

I had to go through a couple of different scales before I found one that would work. In particular, I found that LCD models were very difficult to modify (at least, without an oscilloscope), but models which use a 7-segment LED display are pretty easy to hack.

I found a Taylor 9865 at Target for $18. There is already a nicely documented hack of this scale online (link to follow), and I followed it somewhat, although a lot of the details were left as an exercise for the reader, like the tie points for soldering to, and how to decode the output from LEDs into numerals. The author included firmware, but as it was not a direct arduino build (the author used an atmega but the code was generic avr c), I decided to go it alone on the code part.

I was able to trace the points where the LEDs got their signal, and found the four transistors where the individual digits are driven. I soldered wires to each of these points, as well as the scale’s connections to the 9v battery.

I spent a little time figuring out the data coming off the wires, and realized that the transistors were all held LOW unless the digit was on. I got the wires swapped around until they were outputting digits left to right and also segments in standard 7-segment LED order, clockwise starting at the top segment, ending with the center segment and decimal point.

I bitmasked the pin data, and then figured out which values would code to various numerals. Once I got the timing all done, the circuit suddenly started working! I got it to the point where it would output the scale’s displayed weight to the serial monitor. Works like a charm, and the circuit and code went together in under a day of messing around with it.

Now that I have good output, the next step is to figure out how to get the output somewhere useful. There are a number of ways to do this. A wireless solution seems better than a wired one. At the moment, I am leaning toward simply writing to an SD card, and then seeing if I can convince an Eye-Fi card to forward the data. This seems like it might not work (they are designed for camera data and may only take jpeg data), so xbee or wifi or RF or Bluetooth may need to be the final solution.

The solution will need to use a minimal set of pins, as there are only eight pins left on the arduino. I left tx/rx available, as well as the sda/sdc pins for i2c, and the four spi pins as well. That should cover most communications rigs, but if things need to be squeezed more, I will have to use a 595 or other buffer to get the job done.

Pretty soon, I will have a bathroom scale fit for a maker.

Posted in Electronics, Making | Tagged | Leave a comment

CNC – more small tweaks

I had just a short session working on the CNC today.

I moved the router downwards in the mount so that I could reach the collet nut. This makes getting at the button more difficult, but nothing a flat screwdriver couldn’t handle.

I also used one of the hollow core doors for the lower shelf of the table, and moved the PC down there. I will need longer cat5 cables, and the use of the door as opposed to something thin like plywood means I still can’t get the monitor to fit down there. Meh. More work required there.

The list of “little” CNC projects is starting to grow; so far I know of:
– enclosure for super pid
– little mounts for the homing switches and magnets
– an enclosure for an arduino and logging shield
– a simple serving paddle for Anthony
– Lucy’s door sign (this one could be more complex)

Time to get this machine working.

Posted in Making, Woodworking | Tagged , , | Leave a comment

CNC – gross calibration

I needed to figure out the problem with racking in X (you can see it if you look closely at the video). Turns out that my initial suspicion was correct; the sprockets had been twisted relative to each other while I was installing the chains, so all I had to do was let the tension off the sprockets (by loosening the grub screws), then re-tighten them in a known position (with the gantry seated against the chain mounts, the physical “stop” at the end of X), and that fixed it.

I also wanted to work on the axis speeds in Mach3; I set them to:
889 steps/inch
800 ipm
25 acceleration

for both X and Y, and I hadn’t messed with Z, since it’s the same setup as I had before (13 TPI screw).

The new parameters make the axes move fairly quickly, but stop pretty quickly when I let up on the keyboard. Patrick (the designer of the machine) had suggested a very low acceleration in the 5-15 range, but that makes the machine keep going for a noticeable (2-5 seconds!) after the keypress stops. That often causes me to run into an end stop, and seems like generally a bad idea.

I didn’t have time for a full calibration workup, actually measuring the move distance and calibrating the steps/inch accordingly. However, I did confirm that the machine will move more than 48″ in Y. Nifty! I also confirmed that there is about 105″ of room in front of the endmill when it’s at X=0, but I was unable to move the full distance, because the computer is in the way. I’m going to have to figure out how long the motor cables need to be in order to properly run the machine, too.

The machine did a fine job at handling long and accurate (or at least as accurate as I was measuring) rapids; I gave it G0Y48 followed by G0Y0 and it did the job.

I got the endmill installed into the router, but I am going to need to push the router down in the mounts a little, because it’s impossible to get to the collet nut to tighten it properly.

I need to get a good full-axis measurement for Z. With the Z leadscrew from the Book Machine, I’ve definitely got enough length to make Z move to the limits of running itself off the rails at the upper end and running the vacuum shoe into the table at the lower.

I need to get the lower shelf put in, at least enough of one so that I can move the computer down there. I also need to scrounge some longer ethernet cables; I think that Y and Z will need at least 12′ in order to work.

I started looking at where I’d put in home switches. That will be a decently big project, as it will take at least a soldering iron, and will also require me to open up the computer case to do some wiring, as I think it’s not hooked up yet. While I’m in there, I will probably hook up the Super-PID wiring also. To the extent that I can keep those two projects uncomplicated, I have a better chance of completing them.

I wonder in the back of my mind whether the 425 oz-in motor will be strong enough to move X around, or how soon I’m going to be upgrading. I spoke with Gecko about trying to drive a larger X motor with the G540, and it sounded like that’s unlikely to be straightforward.

The plan, as always, is just to start moving forward, and to see what happens next.

I should be able to make sawdust this weekend.

Posted in Electronics, Making, Woodworking | Tagged , , , | Leave a comment

CNC Build, Day 40 – ready to cut

All that was left to do before I can start cutting is mounting the router and cleaning off the table.

I put the router in place, which went very smoothly. Then I got the clamp bolts drilled and installed. Easy as pie.

Then I tried to put the vacuum show back on, and ran into a show stopper. The hole in the vacuum shoe does not line up properly with the router mounts! Tragedy.

I needed to drill some new mounting holes in the vacuum shoe. I determined where the new holes needed to go, using nails sticking up out of the existing holes. Off to the drill press, and the new holes were in. Minor modification had the shoe installed.

I think that the router mounts have a design error which caused the shoe to be off a little. I will definitely be cutting a new gantry as soon as possible.

Here’s the router installed.
router installed

I then got to spend some time doing a thorough cleanup of the work area. There were lots of different types of nuts, bolts, and screws around that all needed to be sorted. Scrap wood need to be put away. Tools needed to be put in their cases and tidied up. And finally, all the garbage and sawdust got cleaned off, and the CNC machine is ready to cut!

Well, let’s say that there is a bunch of testing and tweaking of software parameters that need to happen, and I need to get a spoil board laid down, and all of that. But this is no longer a “construction” project — it’s a new tool.

I am awash in the glow of a job well done, or, at least, well, … Done. 🙂
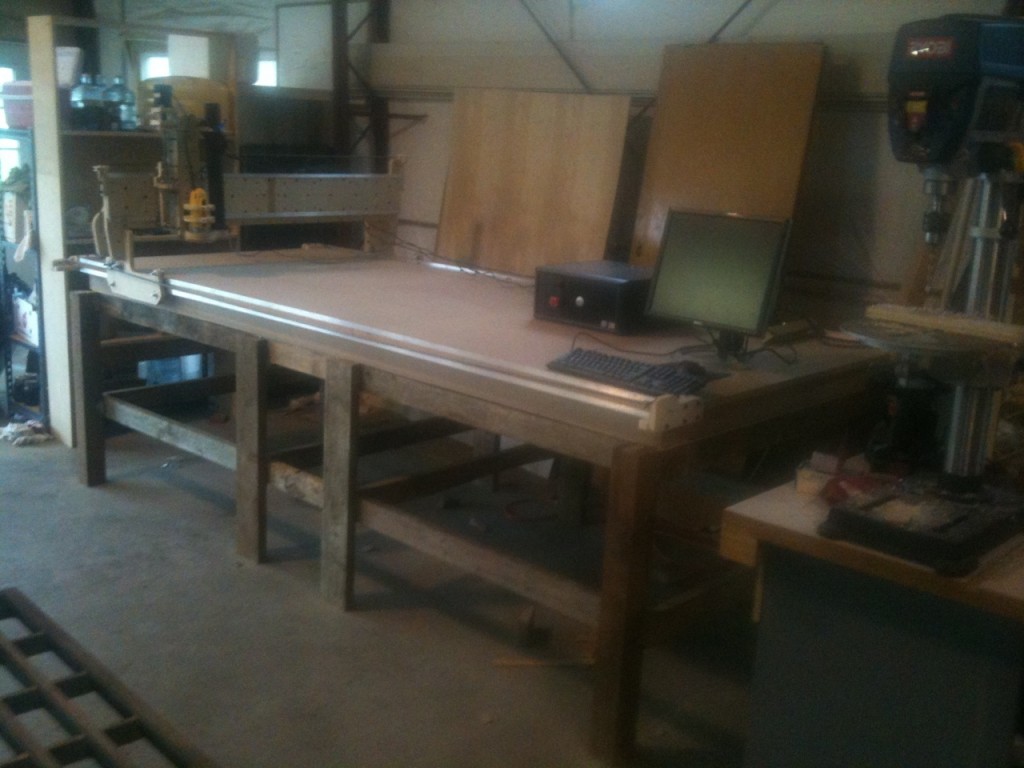
Blackfoot v4.1 4x8 CNC ready to cut

Posted in Making, Woodworking | Tagged , | Leave a comment

Eye-Fi — easy Arduino internet access?

The Arduino has multiple ways to get online, from ethernet shields to ones with built-in RJ45 jacks. Then there’s all the Xbee / Bluetooth type stuff or even the USB-to-serial bridge, if you are OK involving a PC.

But “easy” wifi has been a challenge. Until now.

Someone out there built a digital camera from an Arduino and a datalogger shield. The key element is that he used an Eye-Fi SD card. Eye-Fi has built-in Wifi capability. All of a sudden, every Arduino could become a device on your wireless network! The possibilities are nearly endless, and the fact that it comes from a ubiquitous and cheap datalogging shield (these are $20) just makes it an insanely good deal.

The Eye-Fi cards are relatively cheap, too; $45 on Amazon gets you a 4GB one with 802.11n speed.

Just as a for instance, I’ve been thinking about building an ethernet-enabled IR-blaster.
Trail cam, of course. This could also fit in with any number of home automation projects — control your lights/thermostat/etc from your iPad? sure!

Posted in Computers, Electronics, Knowledge, Making, Technology | Tagged , , | Leave a comment

CNC Build, Day 39 – The birth of a new machine

I now have a 4′ x 8′ CNC machine in my woodshop.
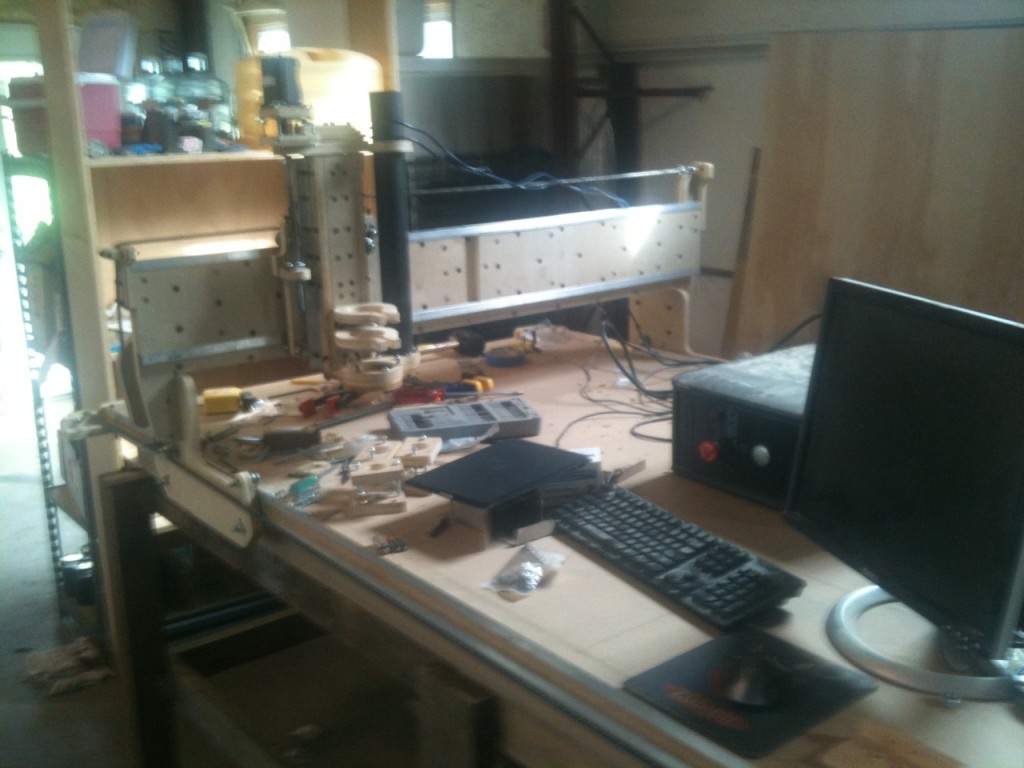
Three axes in motion

After picking up hose clamps on Saturday, I got the Y axis chain installed right away.
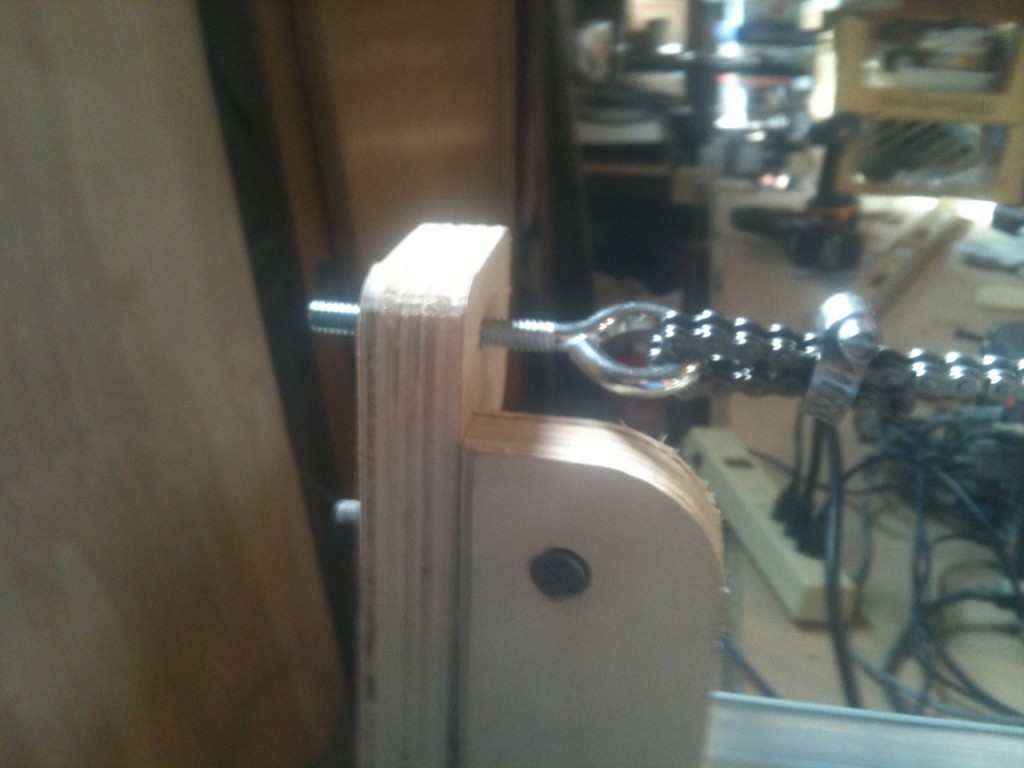
Hose clamp holding the chain

I decided to get X installed next, which was a bit involved — I had to remove the back of the machine, then do some finalization on the motor mount. I mounted up the motor, started putting on couplers, and realized I had to uninstall the motor to get the south drive screw installed. I got the screws installed, and Brett helped me to get the chains strung. He really enjoyed working the wrench on the clamps and tensioners. That was fun.

Here are a couple of photos of the chain all installed — looks really cool!

This is X, with dual idlers (ooo…)
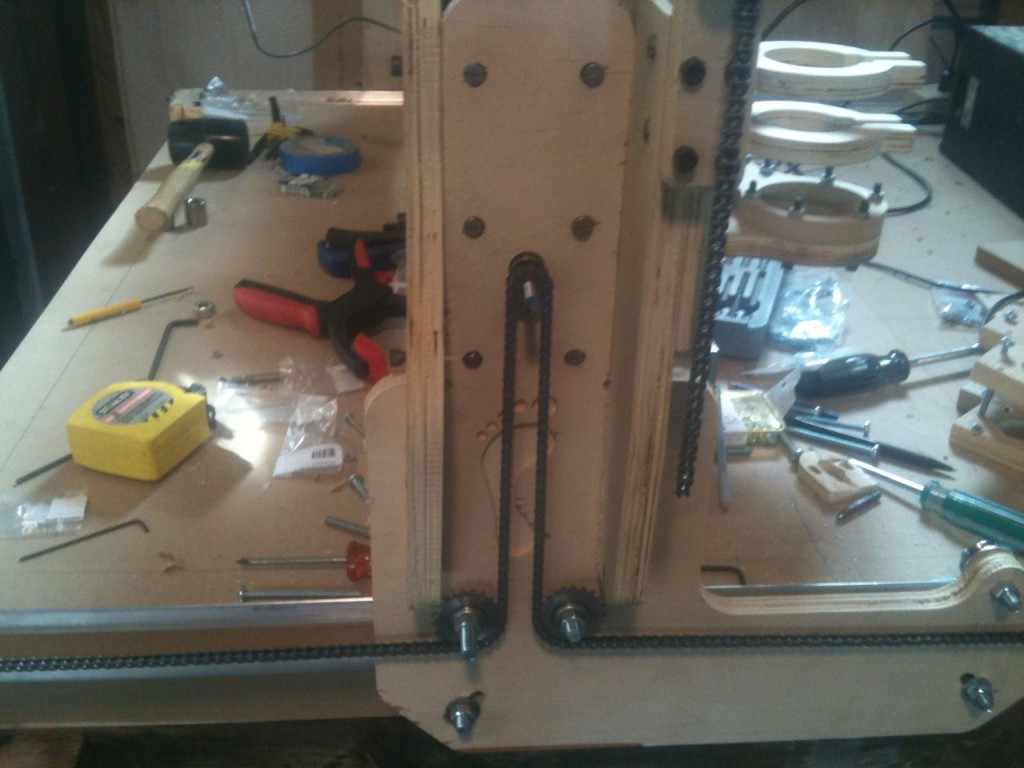
mmm... two idler sprockets...

and Y, with a serpentine thing going on (ahhh…)
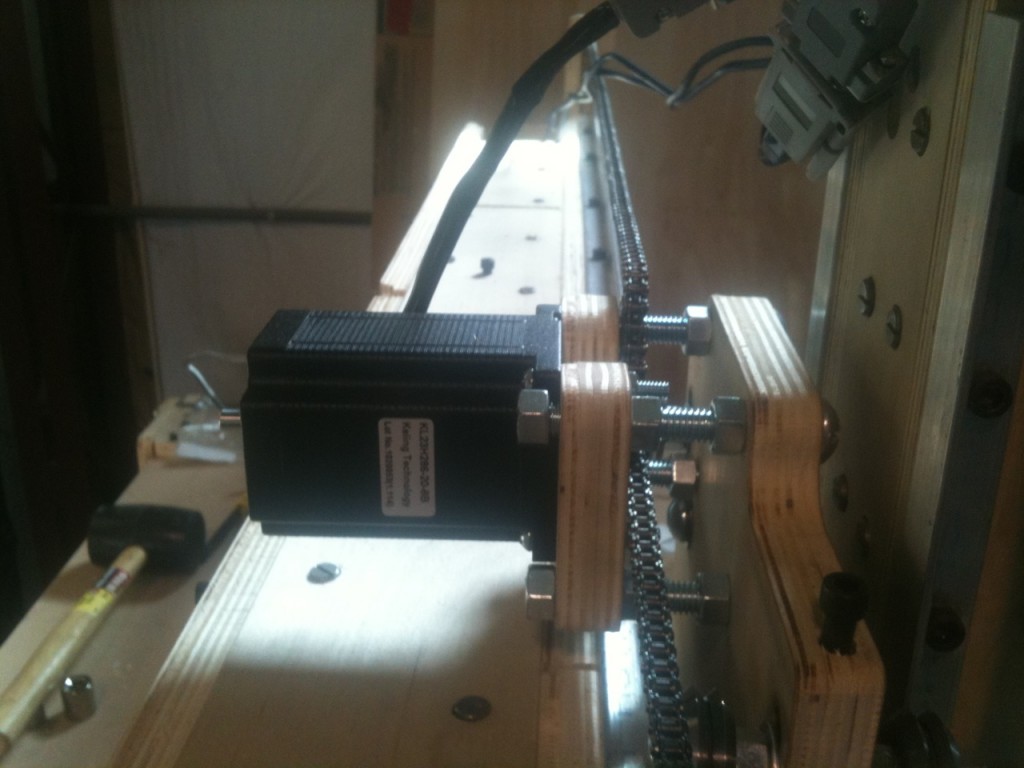
Y chain
The drive rods were a little too long, so I cut those to length. I also swapped direction on a couple bolts where I wanted “heads” to be sticking out into the walkway instead of “threads”.

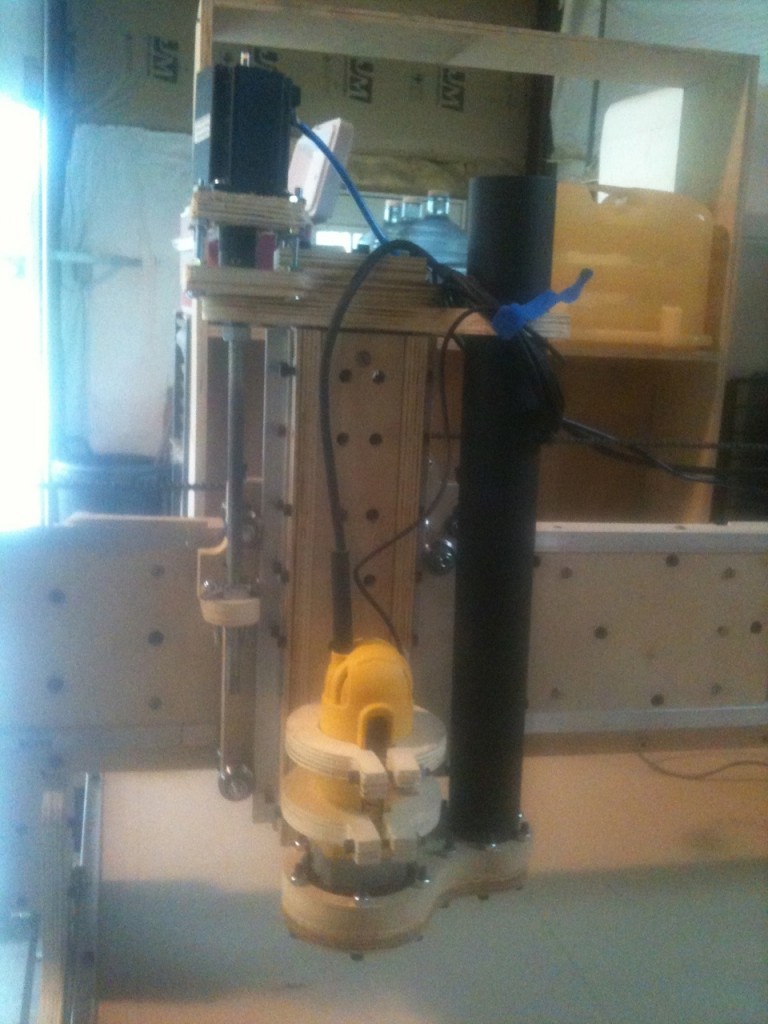
With the X axis chains installed, all I had left was to put on the Z motor. I started out by mounting the transmission nut onto the Z table. It only took a couple tries to get that right — it’s more or less installed the same way it was on the Book Machine. I just needed to work out the spacing.
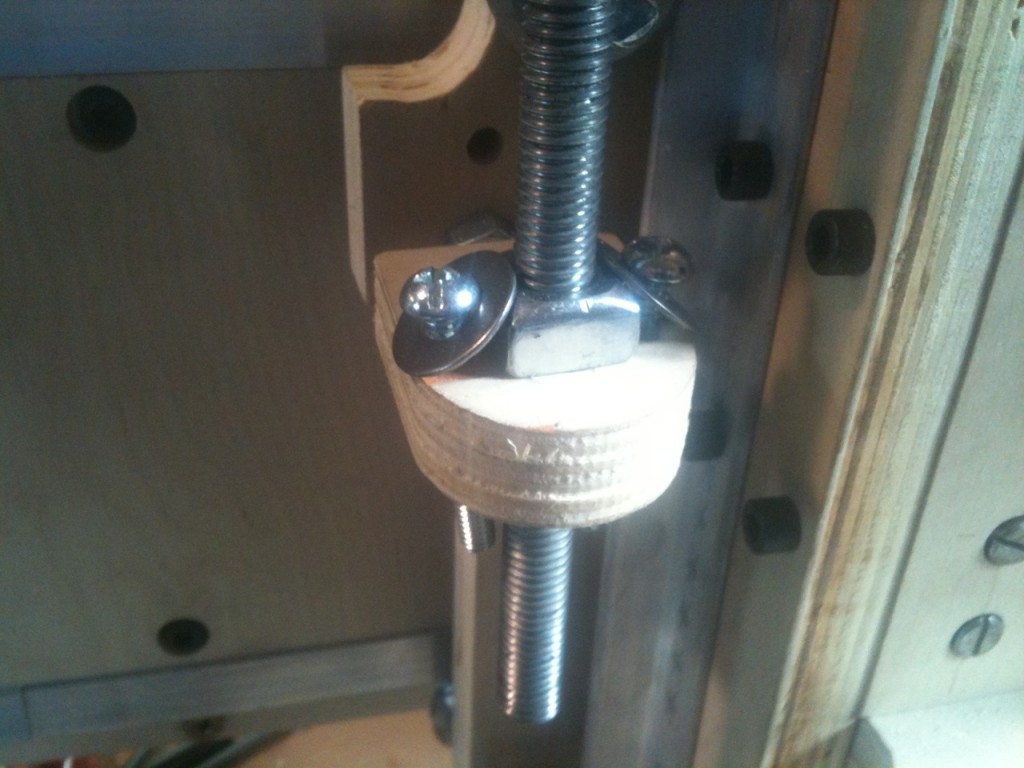
Z axis, same as it ever was

I moved on to getting the motor itself plugged in, but ran into a small problem — the 3 pieces of the mount (upper and lower bearing seats and the motor mount itself) were all made separately, of course, and the motor shaft holes didn’t… quite… line up. I figured out how to solve the problem, by redrilling holes in the proper places on the drill press — man, that upper motor mount looks like swiss cheese right now, with twelve 1/4″ holes on a piece that’s only about 3″x3″ and with a 1-1/2″ hole in the middle.

With all 3 motors installed, all of a sudden, I had a functional CNC machine! I moved the computer and electronics from the 2×4 machine, and what do you know, it worked the first time.
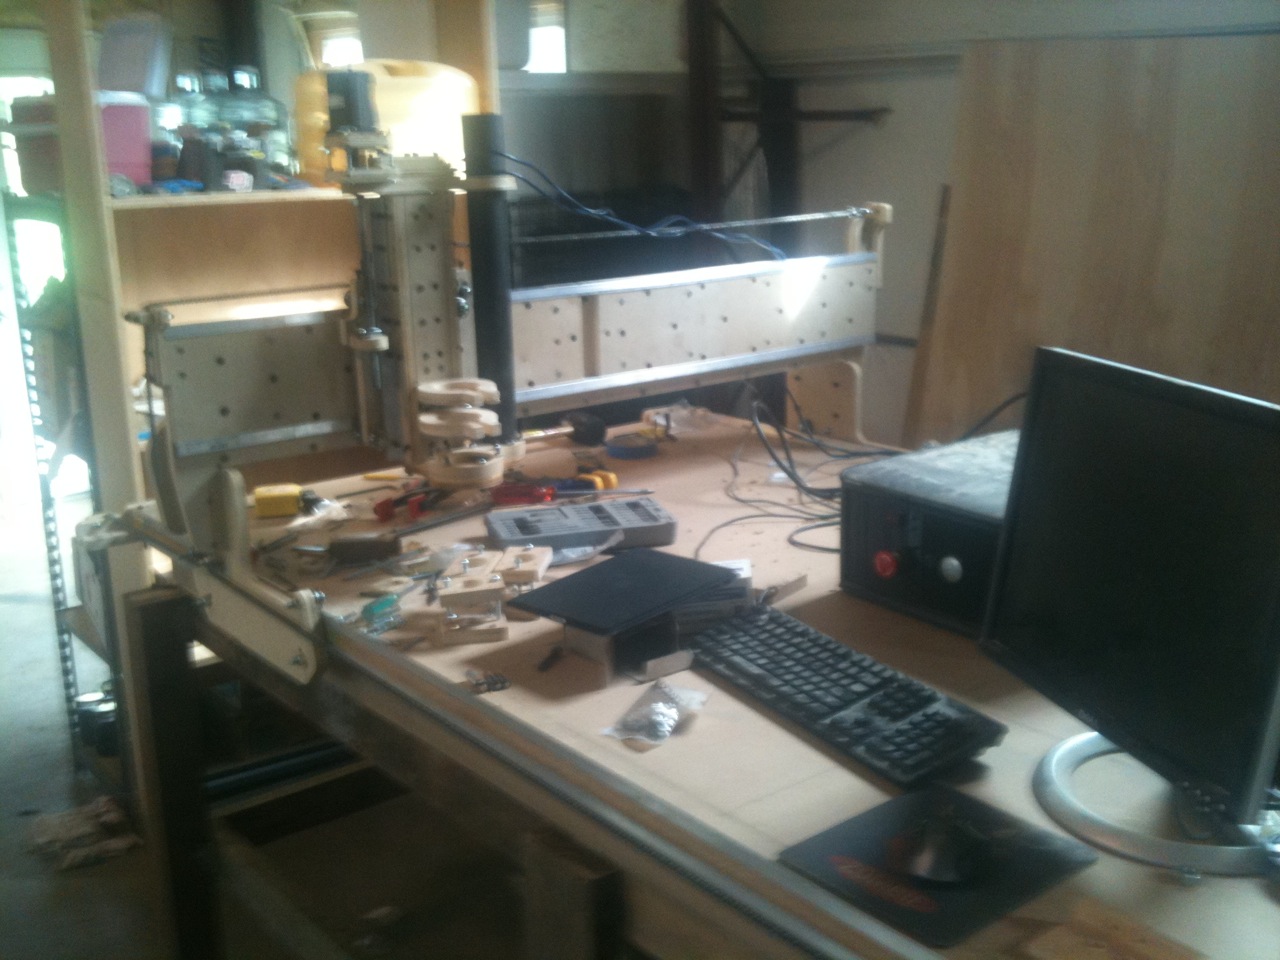
a short movie of the CNC in motion
Click to see a movie (in .MOV format, use QuickTime Player) of the machine in motion. It’s 9mb, but worth the wait.

I needed to play around with the motor tuning parameters a bit, but I was easily able to get the machine to move around at 1000ipm.

There is a clear racking problem in X, I need to work on acceleration parameters, and all 3 axes seem to be running “backwards” relative to the keypad. But all 3 motors were on the correct wires, and the machine moved around just like it’s supposed to.

I decided to stop at this point, as I’d been working for about 5 or 6 hours straight. Let the record show that I probably could have gotten the router installed and made some sawdust, too — I was just satisfied to have gotten the machine completed.

Everything from here on out will require the computer. I need to get the router installed (and wire up the SuperPID). I need to tune the speed and acceleration parameters. At some point, I need to install the Hall Effect homing/limit sensors.

I need to get the computer installed properly, and of course I need to get the table cleaned off and all the hardware put away properly.

I need a spoilboard and some scrap for a workpiece.

There’s still work to be done, but this is all on the “use” side, not the “build” side.

It feels good to bring this project in for a landing. It’s been a long time coming, and I’ve been waiting.

Posted in Making, Woodworking | Tagged , | Leave a comment

CNC Build, Day 38 – decommissioning the 2×4

I got in just a short session tonight, but it was emotionally significant — I finally reached the point in the build of the 4×8 machine that I needed electronics, so I pulled the stepper motors (and Z axis screw) off of the 2×4 machine, and started getting the motors installed onto the new one.

One interesting thing that I hadn’t really grokked until now (at least not lately or consciously) is that, unlike the Book Machine, where I use couplers on each axis, the Blackfoot only uses a screw coupler on Z. The bones of the old machine can still be resurrected to make it work again, but there is an interesting and motley set of parts that will be needed (or, rather, that got reused).

I got the Y axis motor installed first (the other two are more complicated), which took a little longer than it should have — I bought 1″ screws to mount the motors, but it turned out I needed 1-1/2″ to get through the 3/4″ ply and the motor housing.

With the Y-axis motor installed, I decided to try to install the Y chain. Figuring out the looping was interesting. I also realized that I really did need hose clamps, because I don’t have any bolts small enough to go through the links in the chain.

Oh well, off the the hardware store. Again.

I should be able to get the X axis motor installed next session, and maybe figure out the Z transmission nut, too. If I get those installed, then I just have to pop the router in place, and we’re making sawdust! Might even get there this weekend

Posted in Making, Woodworking | Tagged , , | Leave a comment

CNC Build, day 35, 36, and 37 – x axis assembly

I have had a few days out working on the CNC machine without posting, so I figure I should put in some kind of update.

When we last left the build, I had attached the z table and all its bearings.

I spent a couple minutes getting the z axis motor mount installed as best I could. I need some more hardware for this, more on that later.

The next order of business was to drill the holes in the x axis rails. They were already clamped to the table, but after thinking it over, I only drilled the first pilot hole and then used the drill press to drill holes in the rest of the rail. In this way, I had a good reference ( the holes in the rails lined up ), and I could use that to ensure that the rails were square ( using a carpenters square ) down the table edge, despite the edge not being even, and having no other reference to work from. This felt like a somewhat advanced woodworking maneuver, and I came up with it on my own. W00t.

After one short session on Sunday, I had the first rail installed.

The second rail was aligned to the first by the simple expedient of using the gantry itself to make sure that the spacing was correct. It is possible that the gantry sides are not quite parallel, but this won’t be a problem I think. The second rail went on quickly, and I was able to get the rear bottom bearings on both sides of the x axis by the time I had to quit for the night. By the way, I need to figure out how to deal with aluminum swarf as opposed to sawdust. It feels wrong to just trash it or to mix the two, if at all possible to avoid.

That was Monday, or maybe Tuesday. I think I took a day off in there somewhere; the furnace went out in the house and I was paying attention to that.

Tonight, I quickly got the final two bearings installed on the x axis, and installed the four x axis idler sprockets also. The lower bearings for the x axis seem like they are a little too tight. I have them at the extreme end of their travel, and I had to force the axis rails between the bearings. I don’t even have the adjuster cross dowel in yet. This will take some monitoring.

I moved on to installing the x axis chain mounts. There is one at each corner of the machine, each one consists of three pieces that are cross doweled together and then bolted to the table. I was able to get all four installed before I had to quit for the night.

I am nearly out of wooden pieces. I think that all that’s left is the little teeny chain tensioner pieces, which will go on pretty quickly. I am essentially done with the wood portion of the construction, and now have to move on to installing motors and then chains.

I need to drop by Tacoma Screw one more time, to get some more fully threaded machine screws for the z axis motor mount. I also need to figure out how to mount the z axis transmission nut, as I am not using the parts suggested by the kit. Should be straightforward though.

There are a couple more sessions of assembly, add on one more to get the computer and router installed, and I should be cutting in the next few days! This seemingly endless project feels really close to a conclusion. I look forward to first sawdust.

Posted in Making, Woodworking | Tagged , | Leave a comment