I now have a 4′ x 8′ CNC machine in my woodshop.
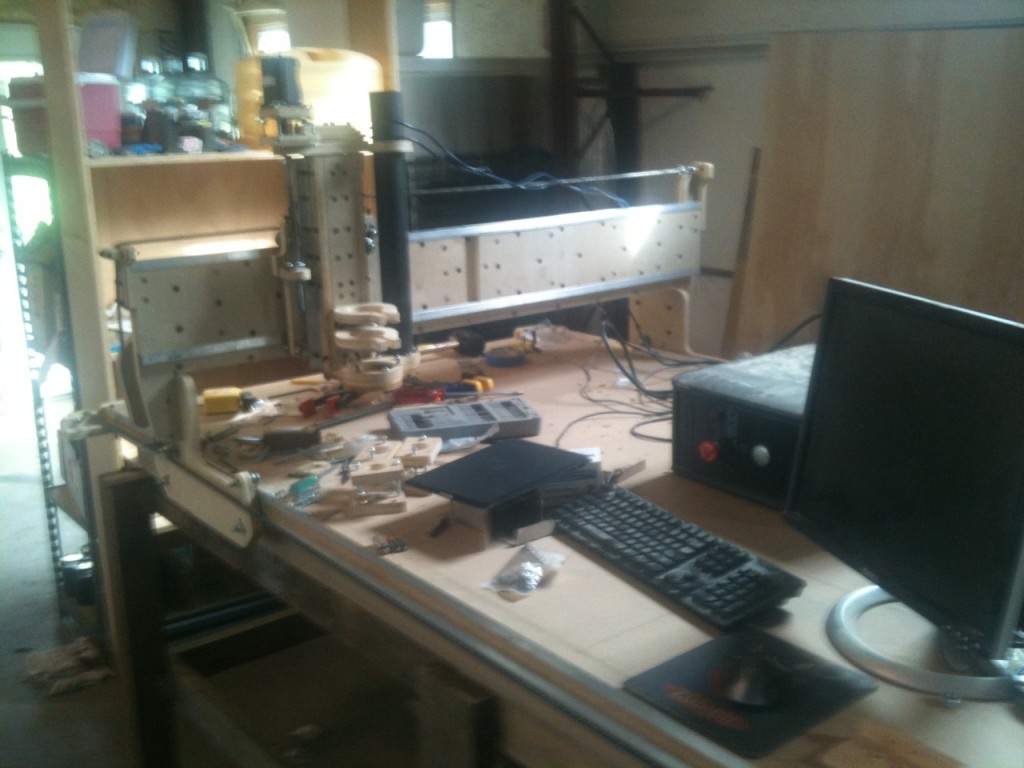
After picking up hose clamps on Saturday, I got the Y axis chain installed right away.
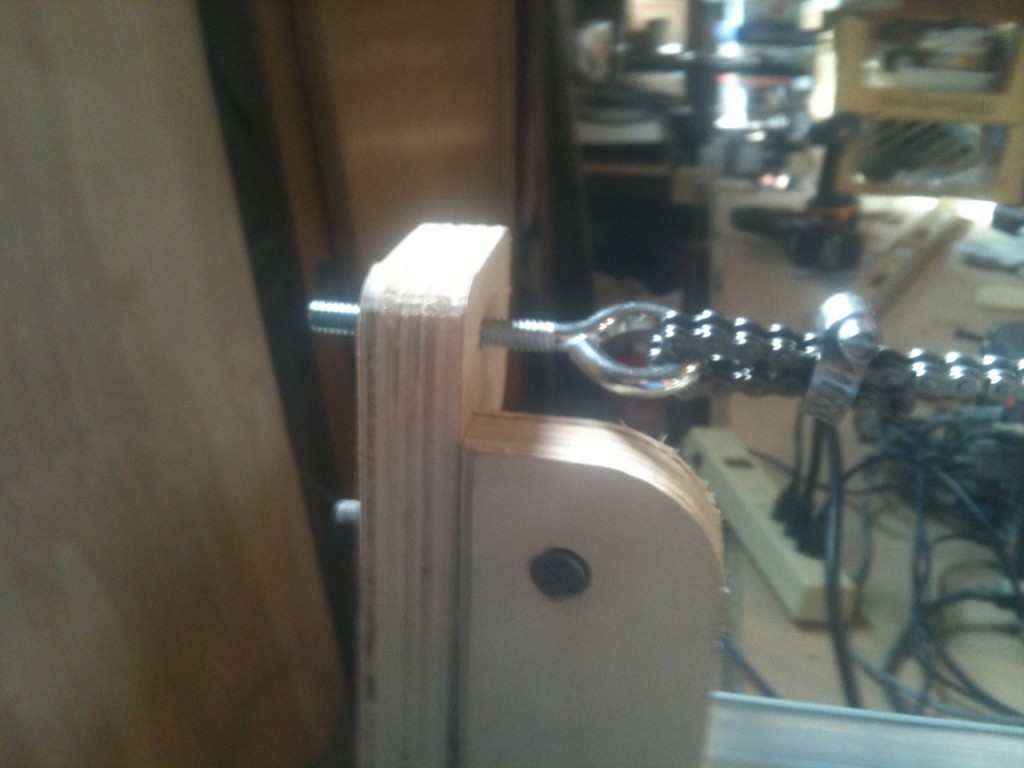
I decided to get X installed next, which was a bit involved — I had to remove the back of the machine, then do some finalization on the motor mount. I mounted up the motor, started putting on couplers, and realized I had to uninstall the motor to get the south drive screw installed. I got the screws installed, and Brett helped me to get the chains strung. He really enjoyed working the wrench on the clamps and tensioners. That was fun.
Here are a couple of photos of the chain all installed — looks really cool!
This is X, with dual idlers (ooo…)
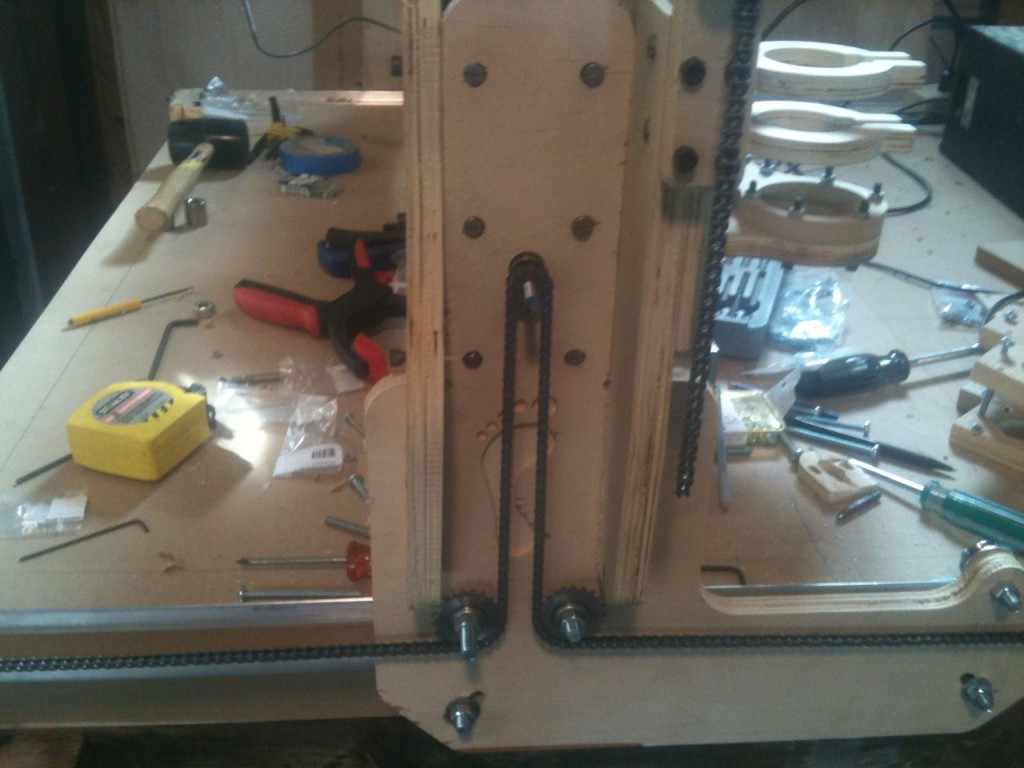
and Y, with a serpentine thing going on (ahhh…)
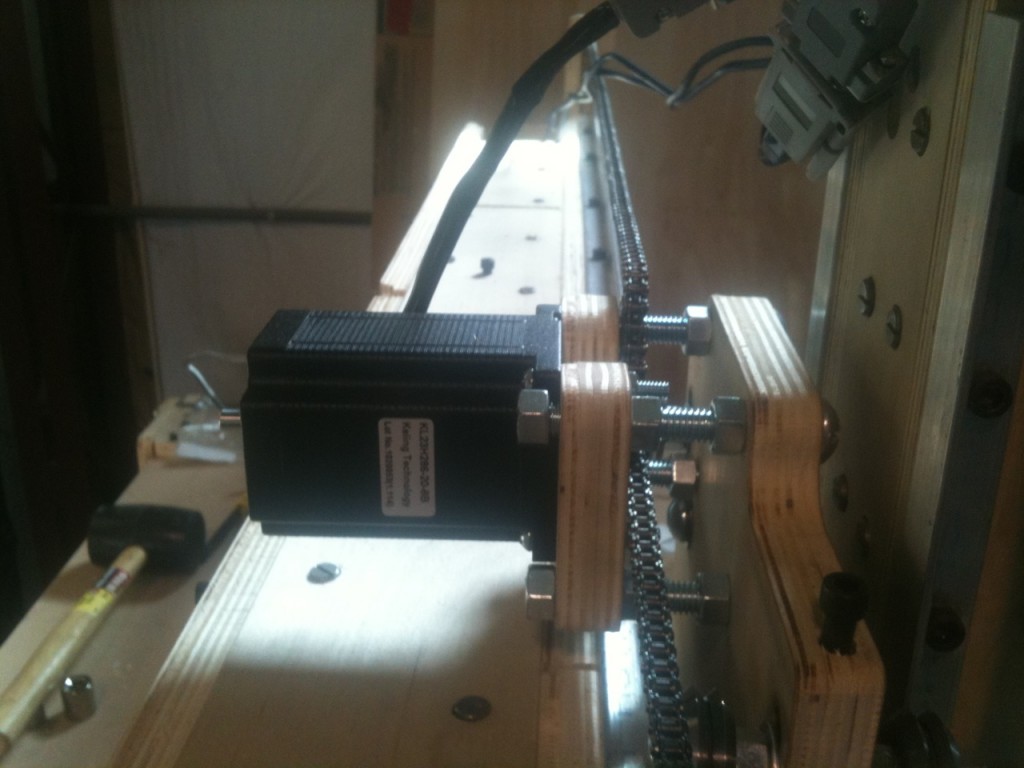
The drive rods were a little too long, so I cut those to length. I also swapped direction on a couple bolts where I wanted “heads” to be sticking out into the walkway instead of “threads”.
With the X axis chains installed, all I had left was to put on the Z motor. I started out by mounting the transmission nut onto the Z table. It only took a couple tries to get that right — it’s more or less installed the same way it was on the Book Machine. I just needed to work out the spacing.
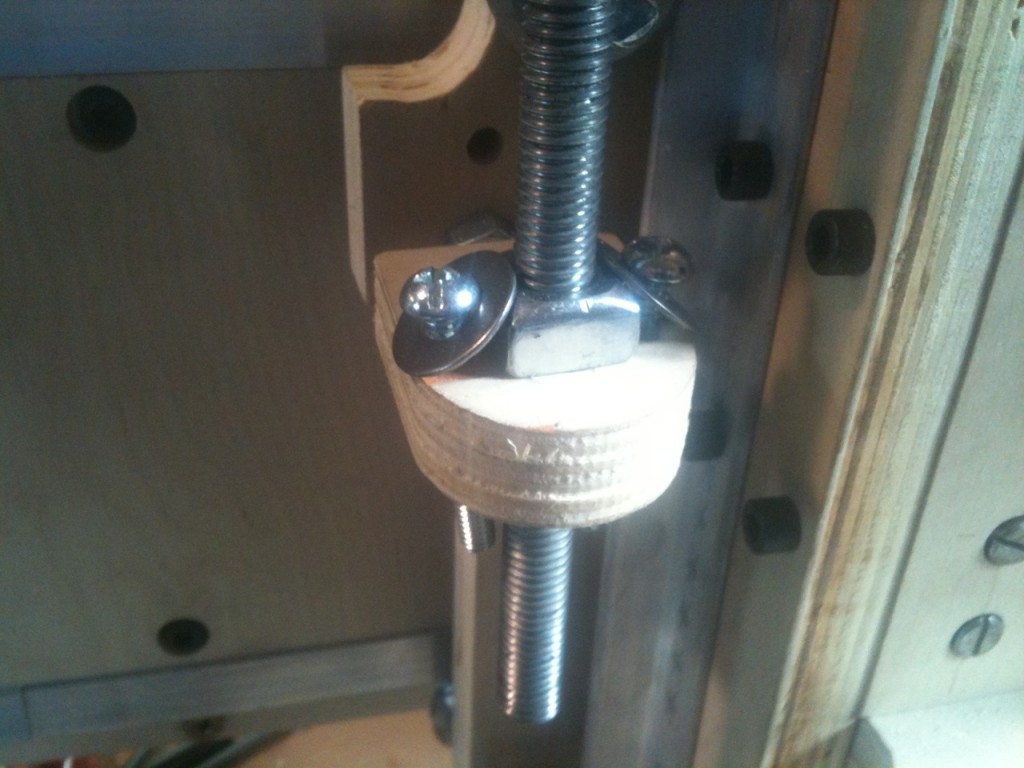
I moved on to getting the motor itself plugged in, but ran into a small problem — the 3 pieces of the mount (upper and lower bearing seats and the motor mount itself) were all made separately, of course, and the motor shaft holes didn’t… quite… line up. I figured out how to solve the problem, by redrilling holes in the proper places on the drill press — man, that upper motor mount looks like swiss cheese right now, with twelve 1/4″ holes on a piece that’s only about 3″x3″ and with a 1-1/2″ hole in the middle.
With all 3 motors installed, all of a sudden, I had a functional CNC machine! I moved the computer and electronics from the 2×4 machine, and what do you know, it worked the first time.
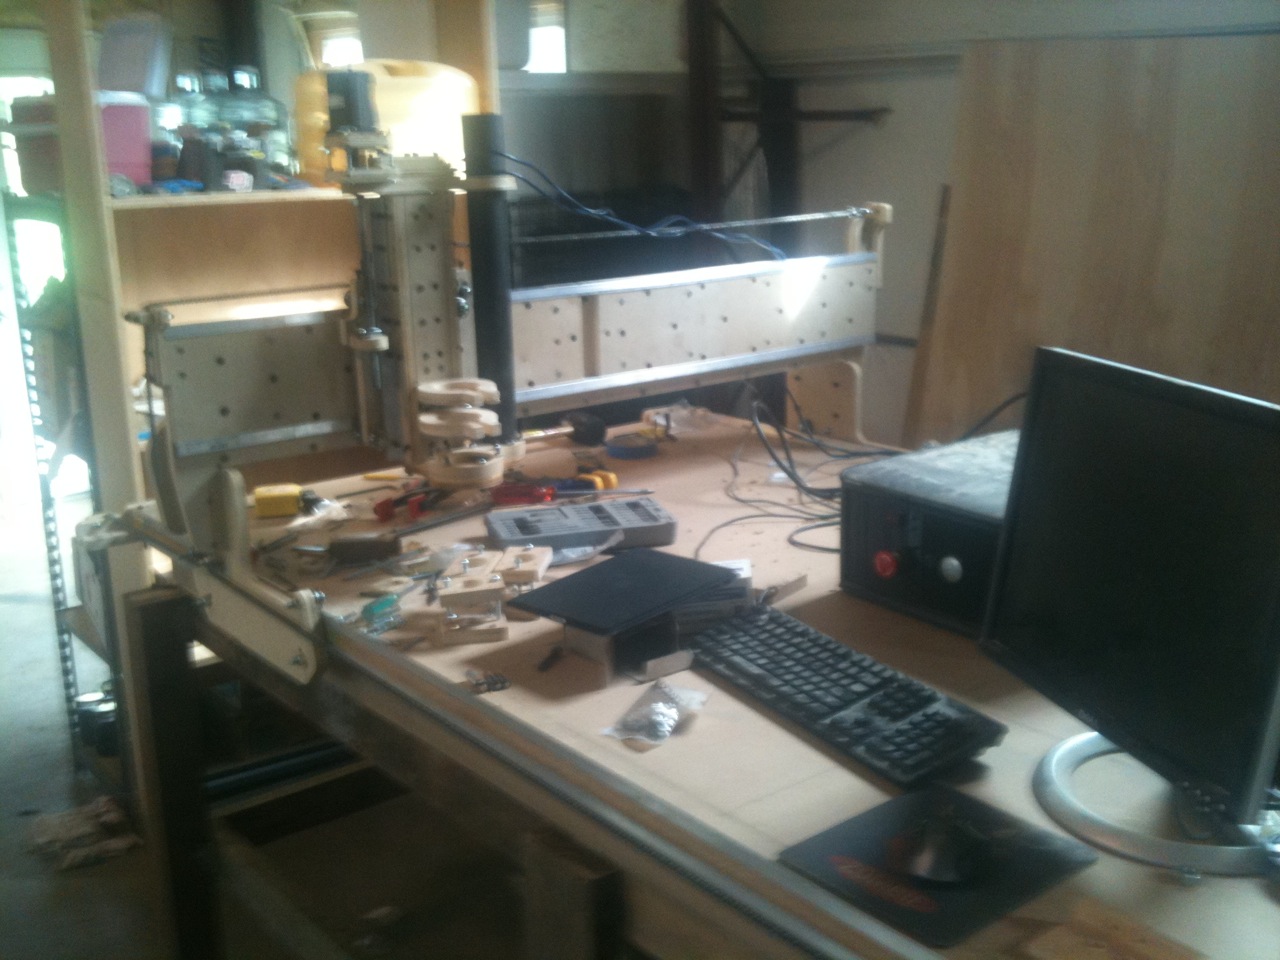
Click to see a movie (in .MOV format, use QuickTime Player) of the machine in motion. It’s 9mb, but worth the wait.
I needed to play around with the motor tuning parameters a bit, but I was easily able to get the machine to move around at 1000ipm.
There is a clear racking problem in X, I need to work on acceleration parameters, and all 3 axes seem to be running “backwards” relative to the keypad. But all 3 motors were on the correct wires, and the machine moved around just like it’s supposed to.
I decided to stop at this point, as I’d been working for about 5 or 6 hours straight. Let the record show that I probably could have gotten the router installed and made some sawdust, too — I was just satisfied to have gotten the machine completed.
Everything from here on out will require the computer. I need to get the router installed (and wire up the SuperPID). I need to tune the speed and acceleration parameters. At some point, I need to install the Hall Effect homing/limit sensors.
I need to get the computer installed properly, and of course I need to get the table cleaned off and all the hardware put away properly.
I need a spoilboard and some scrap for a workpiece.
There’s still work to be done, but this is all on the “use” side, not the “build” side.
It feels good to bring this project in for a landing. It’s been a long time coming, and I’ve been waiting.
