
Trixie’s new OTA is complete.
It took some hard work this weekend, but the new design is a pretty beast. It’s like a testament to the power of trigonometry.
I’m excited to try Trixie out again!

Trixie’s new OTA is complete.
It took some hard work this weekend, but the new design is a pretty beast. It’s like a testament to the power of trigonometry.
I’m excited to try Trixie out again!
Looks good…can’t wait to see the results.
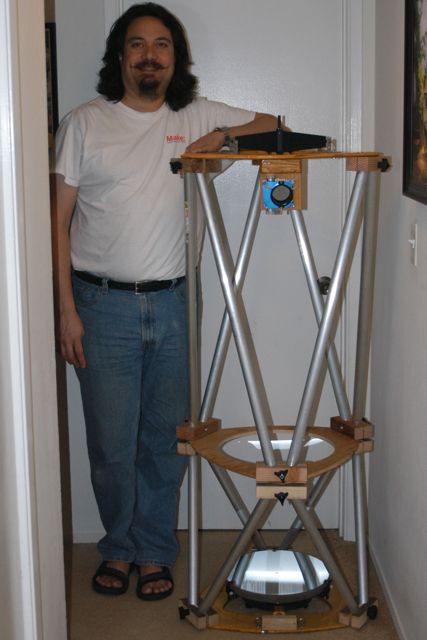
With the perspective is a bit hard to tell, but it looks like in each section you have 6 pieces each in a ‘V’ shape, correct?
Yes, it’s a Serrurier Truss design.
A “half-Serrurier” design is very popular with amateur telescope makers, as it makes a very rigid and stable telescope. There’s a photo of one of these on the Wikipedia page.
Interestingly enough, the “full” Serrurier truss, as used on the Hale Telescope, is actually designed so that each truss will sag in the same direction and by the same amount, while maintaining perfect collimation. With such a large scope, it was impossible to prevent flexure, so the telescope was engineered to flex in a predictable way.
With an amateur-sized telescope, the design goal is to have no sag in the telescope due to flexure. It’s simply a matter of choosing large enough tubes to do the job.
I believe that I could probably have done the telescope in 3/4″ aluminum tubing and came out with an equally rigid scope. I intentionally “overbuilt” the scope, because:
1) I’m really trying to ensure that I get zero flexure,
2) The extra weight isn’t really all that egregious (the tubes only represent about 10% of the telescope’s weight), and
2) I already had a bunch of 1-1/4″ tubing on-hand, from the original build.
I’m keeping my fingers crossed that I’ve done a worthy job of getting the flex out of my telescope!